
How to Winter Hike
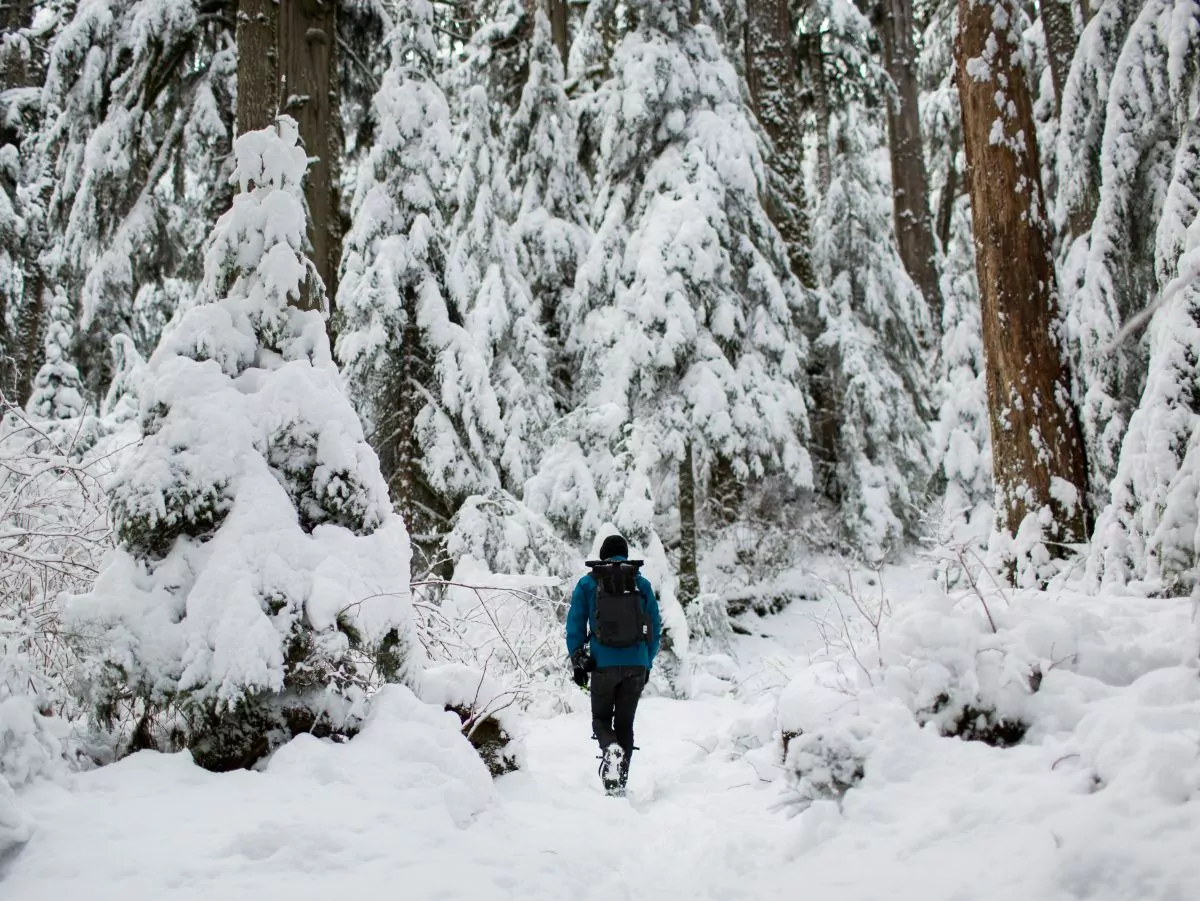
Photo by Char Beck on Unsplash
Winter hiking gets a bad rap. Sure, dropping temperatures and falling snow might like a bad time to hit the trail. But with some preparation and cold-weather experience, you can discover the joy and serenity of winter hiking.
In the winter, your favorite hiking trails are transformed: snow crunches and squeaks underfoot with each step, a light dusting of fresh powder covers tree branches, and animal tracks abound along the trail. You’ll have to learn the art of layering, how to use snowshoes or microspikes, and how to fuel your body in the cold weather. But you’ll also be rewarded with fewer crowds and solitude you can’t find in the warmer months.
Hiking is a four-season sport. And while different regions have different characteristics of winter hiking trails, the same general guidelines apply. So, it’s important to know how to winter hike. Read our winter hiking tips below so you can have a safe and comfortable trip into these chilly, snowy landscapes.
All Inclusive Backpacking Trips
what Makes Winter Hiking Different?
Winter conditions (like snow, ice, and cold temperatures) impact what you’re able to hike in the winter compared to other seasons. For a safe and enjoyable hike, you’ll need to consider your layering system to stay warm, traction devices to tackle snowy or icy terrain, and plenty of snacks and water to stay satiated, warm, and hydrated.
Is It Safe to Hike in the Winter?
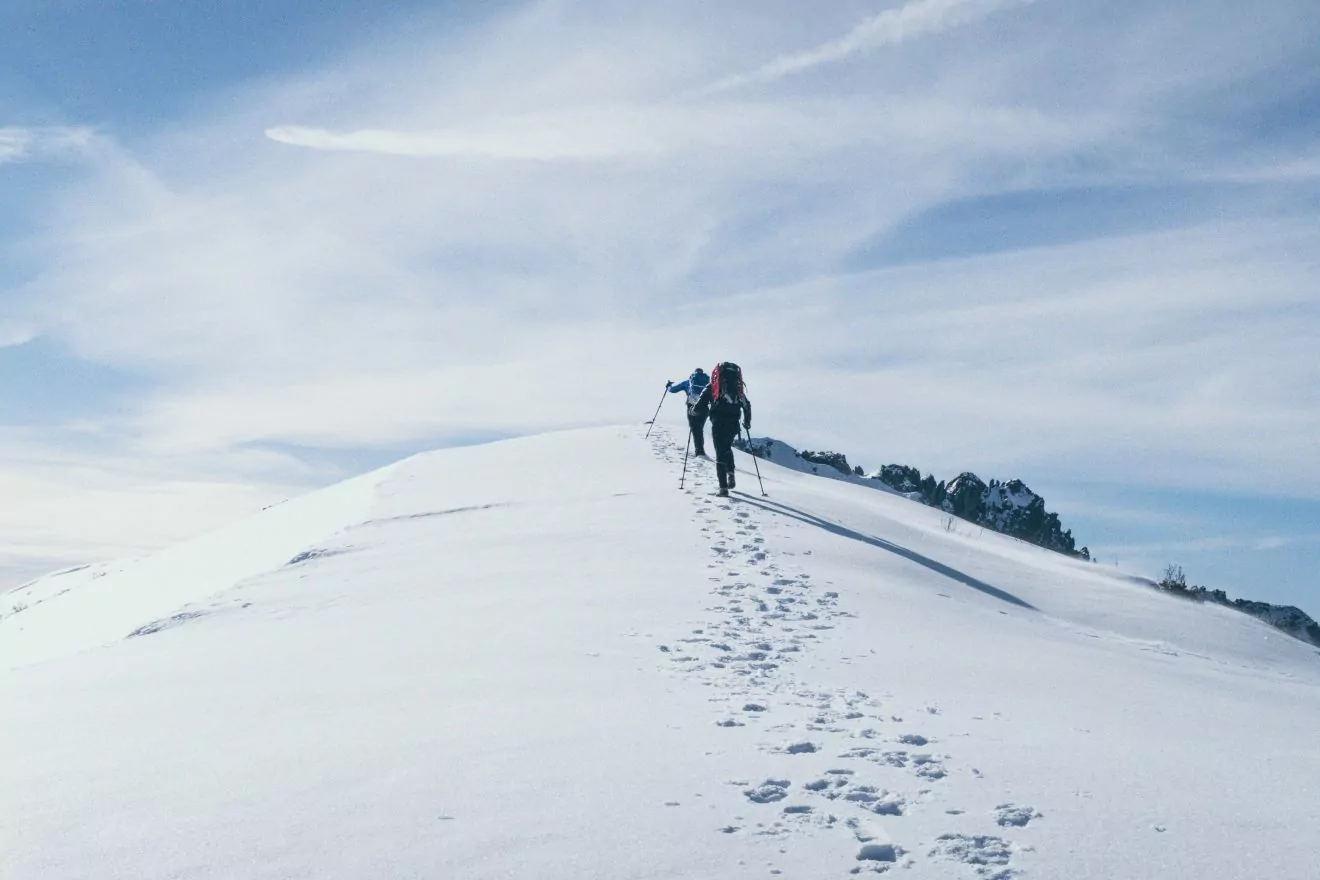
Photo by Fabrizio Conti on Unsplash
Hiking in the winter comes with more trail considerations than summer hiking — but yes, you can safely hike in the winter if you’re prepared.
To ensure you don’t get stranded in the cold or encounter undesirable conditions, it’s key to plan your trip in advance, tackle it with a partner, and know when to call it early.
Prepare for your hike
Before you head to the trailhead, you’ll need to check the weather forecast to make sure the trail is in a condition that meets your abilities. Will the trail be snowy, icy, or clear? Be mindful that trail conditions can change a lot in a day or two. During storms, trail conditions sometimes change in a few hours. If you’re looking for up-to-date information, you can use a trail app (like AllTrails or Trailforks) to see if anyone has hiked the trail in the past few days.
Assess Avalanche Danger
If you winter hike in areas prone to avalanches, you’ll need to consider the avalanche danger of your trail. And avalanche knowledge is nuanced and complex — so we highly recommend staying out of avalanche terrain if you don’t have proper training.
Avalanche terrain requires two conditions: 1) a slope angle of 30 degrees or more, and 2) a lot of snow. At this angle and above, snow can slide. But even if your hike isn’t steep, you have to factor in terrain above you, too. Does the trail go through a narrow gulch with steep slopes above you? It might be avalanche terrain. Avalanche terrain is more common in the western ranges (Sierra Nevadas, Rocky Mountains, etc), but can also be a concern in eastern ranges like the White Mountains.
However, plenty of hiking trails are safe from avalanches in the winter. If your favorite summer trail isn’t on or near steep, open slopes — you’re probably good to go without worrying about avalanche danger. Also, if there is only a thin layer of snow on the ground, you don’t need to worry about avalanches.
While it’s easy to avoid avalanche terrain when you know the basics, it’s important to know if your trail travels through avalanche terrain before you start hiking. Check websites like AllTrails to see if any alerts are up, or use a mapping app like CalTopo to see the slope angle of the surrounding terrain.
If you are traveling in an avalanche area, be sure that you check the avalanche forecast. You can call ahead to ranger stations and ask about avalanche conditions. Regional avalanche centers like the Northwest Avalanche Center and the Utah Avalanche Center share detailed information, updates, and maps. Take a class so that you can properly assess avalanche scenarios. The most basic avalanche gear you should carry includes a beacon, shovel, and probe. If you don’t yet understand basic avalanche preparedness, stick to the safer trails.
Hike with a Partner
You may want to consider hiking with a partner for convenience and safety in the winter. Having a friend help navigate, share hot water and snacks, and make decisions about conditions can be invaluable. Besides, sharing experiences with another hiker can be more fulfilling than going it alone.
Know Your Limits
Be prepared to call off your hike if conditions don’t allow you to complete your planned trip. Flexibility is key in winter conditions since Mother Nature can quickly change trail conditions and safety. It’s not worth it to try and tough it out if conditions don’t allow — when in doubt, turn around and hike it on a better day.
How to Prepare to Hike in the Winter
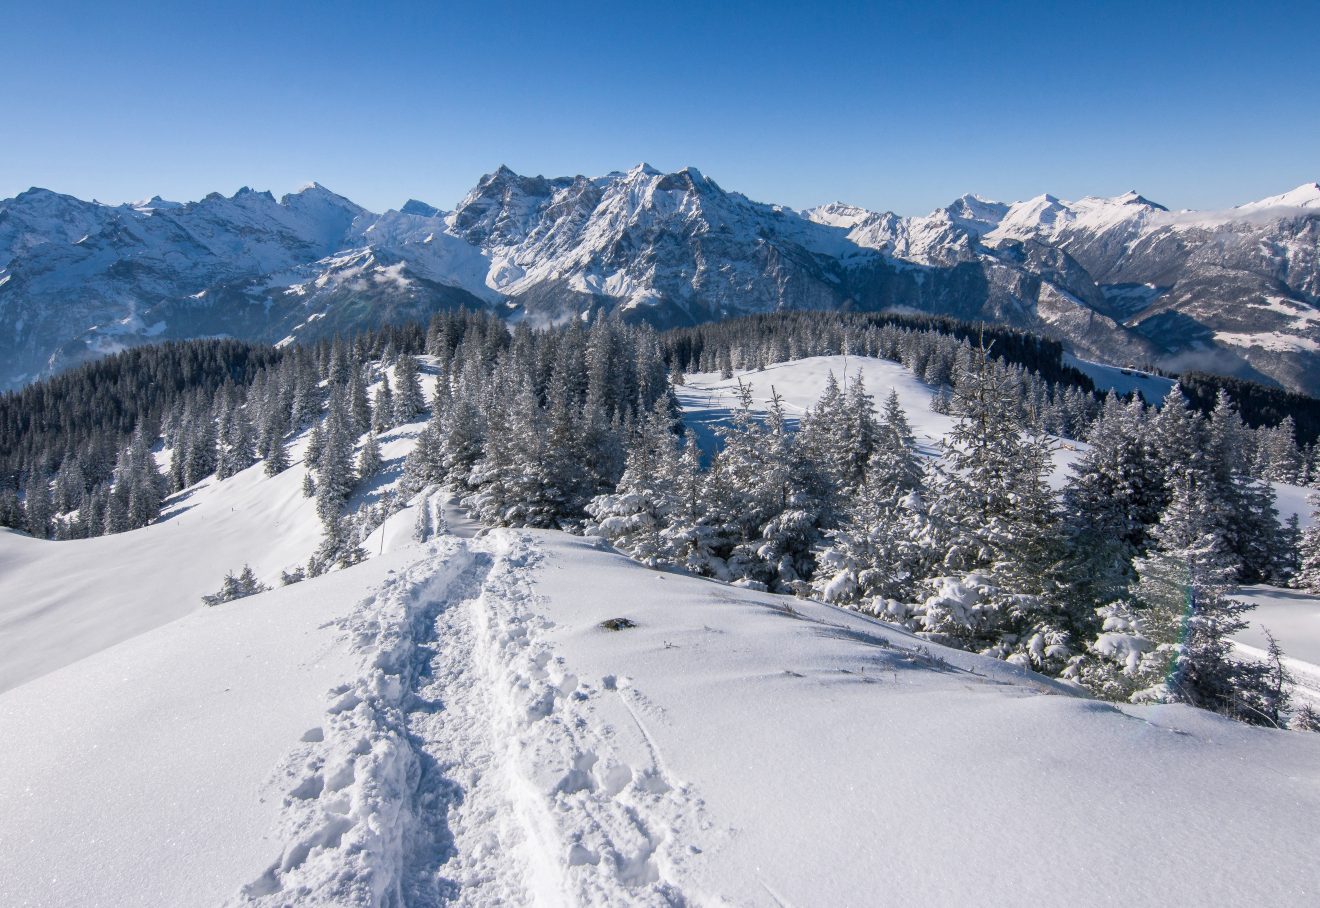
Photo by Jan Huber on Unsplash
How to Choose a Winter Hiking Trail
You might be surprised how snow, ice, wind, and other winter weather affect your favorite summer hiking trail. Heck, it might even change day to day in the winter! Before you head out, consider how safe the trail is. Is it sloped or near dangerous features like cliffs or running water that could prove dangerous in icy weather?
Popular trails can be a great choice in the winter. Not only is proximity to others helpful in a safety situation, but more popular trails typically have people “breaking trail,” before you get there. Breaking trail means creating a fresh path through the snow after a recent snowfall. When people have broken trail before you, you’ll have an easier time navigating and hiking, too.
To reiterate, always check the weather forecast and understand upcoming weather conditions before you head out. Be prepared to turn around early or update your plans if conditions change. Heavy snowfall, sleet, and high winds are not enjoyable if you haven’t adequately prepared for them.
Consider cell service before you go. If you need to reach somebody, does this trail have enough cell service to make the call? Satellite phones can be useful in areas with no cell receptions, but cloud cover can weaken their ability to send and receive messages, so you should still plan around storms if you’re hiking deep in the backcountry.
Clothing and Gear Tips for Winter Hiking
1. Wear Layers
Layering is an essential skill you must learn to stay comfortable outside in the winter. You’ll need a baselayer to wick sweat away from your skin, a mid-layer to keep you warm, and a waterproof shell to keep the snow, rain, and wind out. Sometimes you’ll need several mid-layers to stay warm, depending on the weather conditions and your exertion level.
Layering is important so that you can keep yourself insulated from the cold but can also take off layers when you get too hot. You want to avoid sweating too much in the winter because too much perspiration causes you to cool down too quickly. If the temperatures are really cold, sweat will make it hard to recover body heat. Ideally, you want to be warm and comfortable in whatever weather Mother Nature throws at you, while also being able to dump heat and perspiration during exertion.
Baselayer: Wicking base layers are key for breathability, as they wick perspiration away from your skin. Wool and synthetics are ideal because they dry quickly and wick moisture away efficiently. Bonus points: merino wool is also smell-resistant.In the winter, avoid wearing cotton. It gets wet easily and takes a long time to dry, which means you’ll be damp and cold during your hike. This can be a safety hazard in cold weather. Additionally, don’t wear a baselayer that’s too tight; restricting circulation can increase your chance of frostbite.
When you’re purchasing a baselayer, you should consider the garment’s weight. Outdoor clothing companies usually display weights for different levels of cold weather: 100 for warmer activities, 200 for colder weather, and 300 for the coldest conditions. As you spend more time recreating outdoors during the winter, you’ll get a better idea of what weight to use.
Mid-layer: The mid-layer is your insulating layer that protects you from the cold by trapping your body heat. There are plenty of mid-layer options, both synthetic and natural. Fleece, down, and wool-blends are all excellent choices for staying warm during the winter. Product descriptions and tags tell you if the layer is lightweight, midweight, or heavyweight fabric. In general, thicker fabric is warmer but less breathable. You’ll likely need different mid-layers for different outdoor situations. A snowy day below zero will call for very different mid-layers than a sunny, bluebird day. People can vastly differ in what they need to stay comfortable; some people will require more mid-layers to stay warm, others will need less.
Shells/waterproof exterior: Shells will protect you and your other layers from rain, snow, and wind..Breathable, waterproof or water-resistant shells allow you to perform high-exertion activities without getting soaked and cold. Check the tag on your shell — waterproof and breathability are usually listed as 10k, 20k, or 30k for both qualities; the higher, the better. Cheaper options like soft shells and non-breathable shells are ok for easier, less risky winter activities, but you’ll definitely notice a comfort difference.
2. Cover your Skin
Photo by Daniel Ferrandiz Mont on Unsplash
Depending on the weather, you’ll need to cover your skin to stay warm. Gloves and a hat are necessary for all winter hikes. It can be helpful to carry a lightweight pair of gloves for camp tasks or snapping photos, and pack a heavier pair in case of freezing temps or snow. Likewise, having a thin and breathable hat might be great while hiking, but you should also pack a thicker one to use when you’re not moving, so you can trap in body heat. You might also consider a neck gaiter or face mask to keep your neck and face covered, especially if there’s a high wind or the temps are below zero.
3. Carry Enough Gear
You’ll need to carry a bit more gear in the winter to make sure you can safely stay warm and comfortable during cold winter hikes.
- Ensure your backpack has room for extra layers you may need to shed or carry in case the weather turns.
- A stove can bring convenience and peace of mind in the cold. Just remember to pack extra fuel since it takes a lot of fuel to boil snow.
- Pack a headlight (and extra batteries) in case you have to navigate in poor lighting — remember, days are shorter in winter.
- Sunscreen is essential since sunlight bounces off the snowy ground — be sure to include the bottom of your nose and chin.
- Chapstick is great to avoid windburn.
- Sunglasses or goggles are necessary for bright days; snow is extremely bright, so don’t forget these!
- Trekking poles are helpful to keep your balance and move more confidently and quickly.
- An ice ax may be necessary on steep sections in case you fall. However, if you carry an ice ax, you should know how to self-arrest so it isn’t just a sharp hazard. A snow travel course is a great way to learn.
- And as always, carry the 10 Essentials to ensure you’re adequately prepared.
Footwear Tips for Winter Hiking
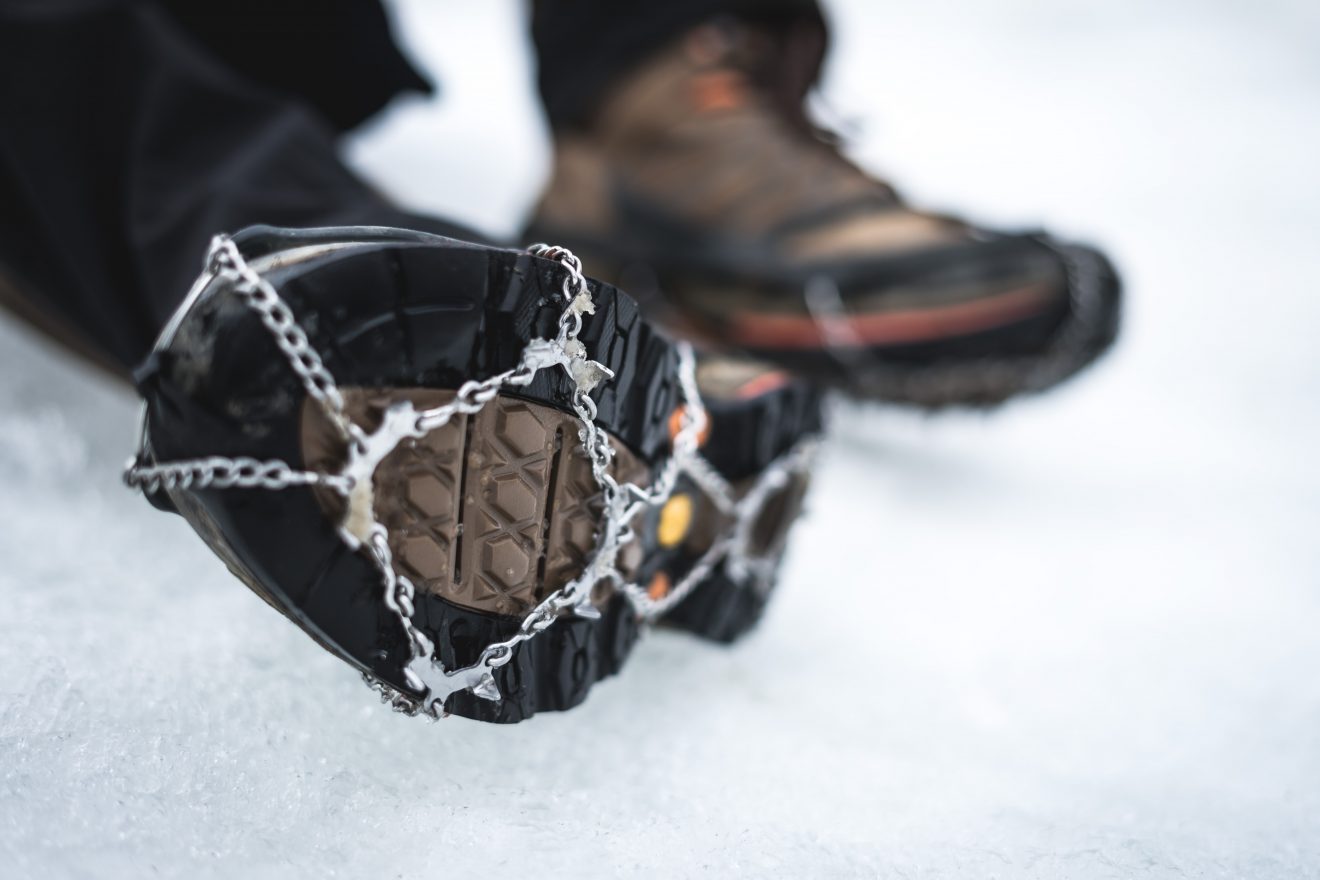
Photo by Patrick Schneider on Unsplash
Footwear Insulation
Since you’ll be tromping through snow and ice, your feet are very susceptible to frostbite. So, it’s essential to have insulated, waterproof boots. It’s also a good idea to wear a pair of wool socks that can wick away moisture and trap heat. Don’t forget: you’ll need to plan ahead to make sure your boots are compatible with traction devices you may need, like microspikes, snowshoes, or crampons.
Traction
Traction devices are essential to navigate slippery, wet terrain in the winter. Let’s cover some of the differences in traction devices:
- Microspikes are useful for packed snow on trails that aren’t too steep.
- Crampons are great for steep and icy terrain.
- Snowshoes are helpful in flat areas with loose snow, but can be difficult to use on sloped terrain.
Sometimes, a hike may require you to carry several traction devices so you can adapt to changing terrain. Additionally, if you’re the first person to hike a trail after a recent snowfall, you’ll need to create a path through the snow, which is known as “breaking trail.” This is more energy-intensive hiking and slower, as you might sink into the snow with each step. (This is why we suggest hiking on popular trails — chances are someone already took on the hard work!) If you will be breaking trail, snowshoes can be a game-changer because they disperse your weight on the snow.
Hydration and Snacks for Winter Hiking
Hydration
We’ve all heard how important it is to drink water when recreating outdoors, and winter hiking is no exception. The cold weather can make it a little tougher to stay hydrated, though, because it’s common to not feel as thirsty in cold weather. One easy way to know if you’re properly hydrated in the winter is to track your output — if you have infrequent or dark urine, you’re likely dehydrated.
Cold weather poses another problem for staying hydrated: Cold weather can cause your water bottle to freeze. It’s important to keep your bottle insulated from the cold weather, either by storing it in the middle of your pack or keeping it inside your jacket. You can use water bladders in the winter, but you will likely need to use insulated tubing to keep the hose from freezing. Alternatively, you can blow air into the hose after each sip so the water goes back into the bladder and doesn’t freeze.
While water bladders are convenient in the summer, I find water bottles to be more convenient in the colder temps of winter. One benefit of using a water bottle is that you can visually see how much water you’re consuming, which makes it easier to ensure you’re getting enough. Depending on the size, you can also carry it in your jacket to keep it from freezing. One helpful tip is to store the water bottle upside down; since water freezes from the top down, any water that does freeze in your bottle will be on the bottom — allowing you to still drink the remaining water. Just be sure your water bottle properly seals!
Finally, consider packing warm drinks in an insulated bottle. Hot cocoa or uncaffeinated tea or coffee is your best bet, as they’ll keep you nourished and hydrated. Not only do warm drinks keep your body nice and toasty, they add an element of coziness, too.
Snacks
It’s smart to pack extra food when hiking in winter — you’d be surprised how many more calories your body needs when you’re working hard to keep warm in cold weather. Not only do you need to fuel your body, but the added weight of winter gear causes you to burn more calories. So, you’ll need to pack lots of snacks.
Keep calorie-dense snacks readily available so you can grab ‘em when you’re on the trail. Sometimes, stopping for a long lunch can invite the cold since movement keeps you warm, so any food you can eat on the go is ideal. Consider packing extra portions of meals if you plan on staying out longer — it’s not uncommon for a family-size meal to become a one-person lunch after a long day in the cold. When hiking, I like to keep my snacks in an inside coat pocket to keep it from freezing. Nothing’s worse than having to gnaw at a half-frozen energy bar because you stashed it in an outside pocket that wasn’t insulated from the cold.
How to Identify and Prevent Frostbite and Hypothermia
frostbite
Frostbite is the freezing of your body’s tissues — usually on your fingers, toes, and ears. It’s important to insulate your body from the elements to prevent it. Signs of frostbite include cold and waxy skin, tingling or numb sensations, or hard or soft skin. Mild frostbite is called frostnip, and it can be treated by covering and warming up the area. Place your fingers in your armpits or change into warm socks and get in a sleeping bag if necessary.
You can easily damage frost-nipped skin, so don’t rub it or pour warm water on it. Blisters are a sign of more severe frostbite, which requires a doctor’s treatment. Try to stay ahead of frostbite — it’s always easier to keep your skin covered and adjust as you go than tending to frost-nipped skin.
hypothermia
Hypothermia occurs when your body temperature drops below normal; this condition can be life-threatening. Like frostbite, it operates on a spectrum. Mild hypothermia signs include shivering, confusion, or clumsy behavior. Moderate hypothermia signs include stumbling, forgetfulness, irritation, and more intense shivering. If you have severe hypothermia, your body will stop shivering to conserve energy, you may act disoriented or irrational, and your pulse may be undetectable.
To treat and avoid hypothermia, try to bring the hiker’s body temperature back to a normal range. If possible, go inside immediately. However, when that’s not possible, get out of the wind and snow. Swap out wet clothing for dry clothes and drink water and eat food so that your body can create heat. Then, once dry, add more insulating layers to capture body heat. It’s possible for hikers with mild hypothermia to recover and continue a trip, but moderate and severe hypothermia requires treatment so you must hike out as soon as possible.
guided winter hiking vacations
Photo by Colby Thomas on Unsplash
If you’re not ready to brave cold-weather hiking on your own, a guided winter hiking trip will allow you to learn essential skills for winter hiking. From trekking to the Everest Basecamp to the wild mountains of Patagonia, you’ll learn how to properly navigate winter terrain and stay safe in freezing temps. We also have an Iceland Winter Wonders Tour with technical glacier hiking and breathtaking waterfalls, plus a Yosemite Autocamp Winter Tour with far fewer crowds than summer. Not only does hiking with a guide teach you new skills, but you’ll also learn more about a region’s rich natural and cultural history, too. The more you learn about winter hiking, the more you’ll appreciate getting outside in hiking’s cold, unsung season.

