
How to Plan a Backpacking Route
Backpacking through the wilderness provides a variety of health benefits both mental and physical yet it can be stressful to plan for. Set yourself up for success with these pro tips for planning your next backpacking adventure. This article will dive into the details of planning your route, like how to decide your trail, secure a permit, and know your water sources. But if it’s your first backpacking trip, check out our post on how to start backpacking for an overview on basics like packing, guided vs DIY trips, and leave no trace principles.
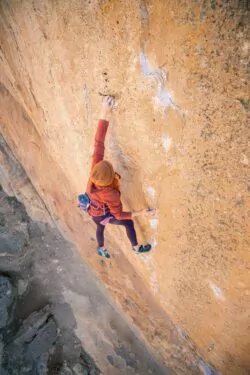
Learn from the pros on a beginner-friendly tour
Determine Your Route
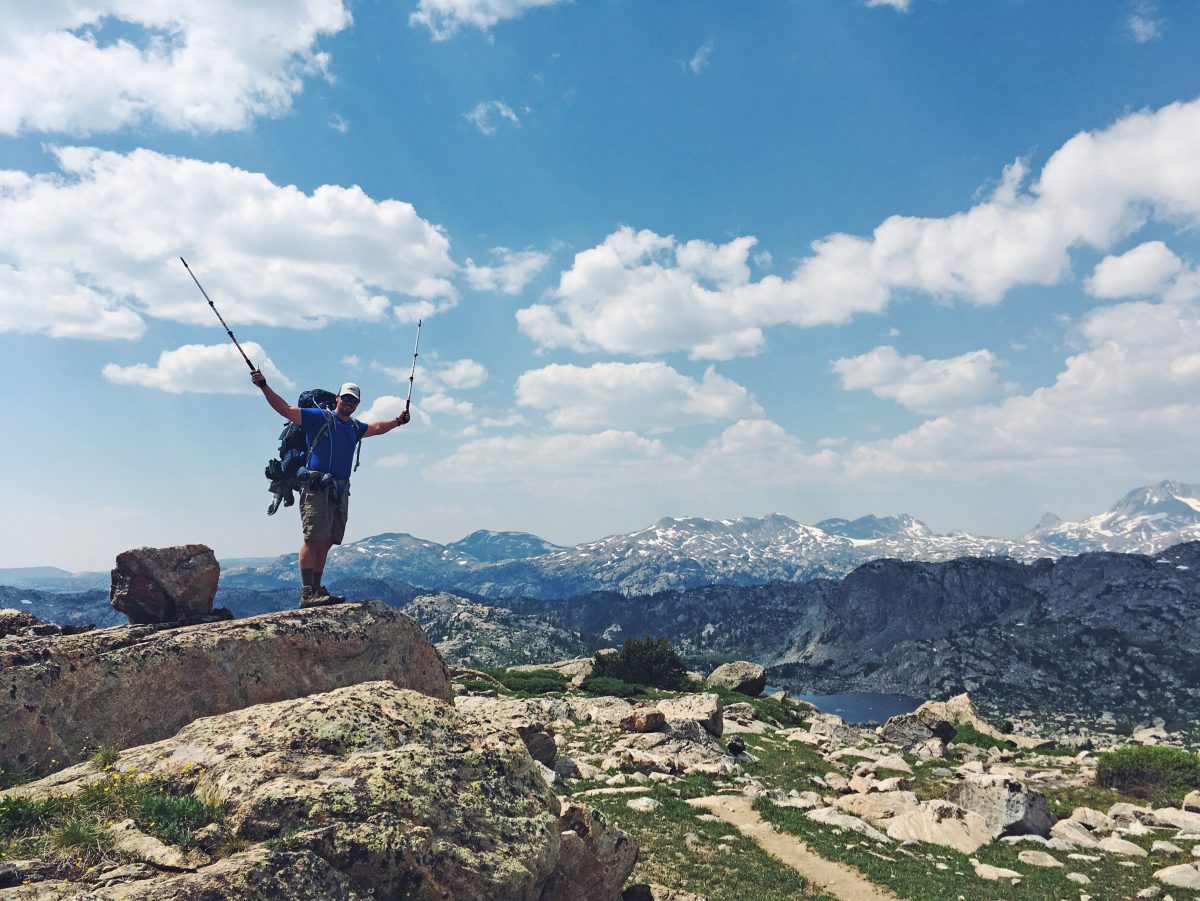
Where do you want to go? Deciding your backpacking route could be one of the hardest decisions you make. Think about what excites you: waterfalls, mountain summits, vast starry skies—or is it solitude you’re seeking?
To help you choose a route, consider the following:
- Length of the trip. How many days do you have? How many miles can you comfortably travel a day? Most new backpackers can travel between 4 – 10 miles a day, but this will depend on the type of trail you’re hiking. Elevation gain and loss will slow your pace.
- Camping Spots. Ensure you know where the allocated camping is on the route and that you have the fitness to make it between camp spots.
- Understand the terrain. Is it technical and rocky or flat and smooth? Prepare yourself by doing training hikes of what an average day on your trip might look like.
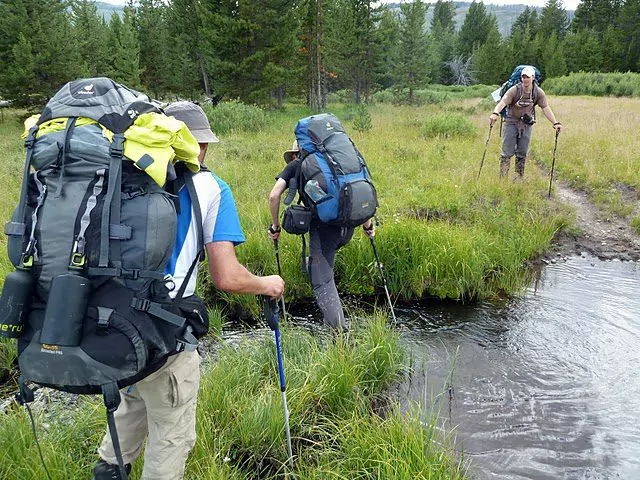
- Water sources. We can survive without food for a few days but not water. Make sure you’re aware of where you can get this precious resource along your trail.
- Time of year. Is it the best season for this route? You don’t want to get caught in a snowstorm or a heatwave.
- Permits. Does your route require a permit? Is the permit competitive or easy to attain? If you’re planning to hike a popular route, consider having a backup route in case you’re unable to get a permit.
Guided Trips
If the above sounds overwhelming perhaps look into a guided trip. Guided trips provide the opportunity to dip your toes into backpacking without all the blood, sweat, and tears it takes to plan one. You’ll learn a considerable amount of backpacking skills from professionals and gain the self-confidence necessary to plan your own trip.
If you have little time to plan a trip or if you’re traveling from abroad, guided trips can be the best option. Check out Wildland’s guided trip options here.
Permits
Permits are required for many backpacking routes, especially ones in popular or at risk areas. Understanding the park and route permitting requirements is crucial to the success of your trip.
Once you’ve determined your route, you should apply for the permit(s) immediately. Some trails and campsites require you to submit your permit application months in advance, so don’t waste time here. Most popular park permits can be done online through the National Parks recreation website, however some parks will require in-person, phone, or fax methods. Research your park and give the rangers a call if there are any questions.
Flexibility with your route and plan will offer the best chance of success. Apply for multiple route permits to better ensure you get at least one of them, and try not to get too let down if you didn’t get your first choice. Keep your head up and try again next season! If your party is large enough, everyone can apply for the permit to allow for greater success rates.
Wildland Permitting Situation
For our guided backpacking trips, Wildland takes care of all the permit requirements. Even with strong relationships to the parks we travel within, we also have to submit our permit requests in advance. So sometimes you might see “Pre-Permit Trip Dates” on certain destinations, as well as an additional discount listed for booking before the permit deadline. But by giving us plenty of notice, you stand a better chance of getting a permit to trending destinations including Angels Landing, the Grand Canyon, and more.
Travel Logistics
There are three types of backpacking routes:
- Out-and-back hikes (Where you start at point A, hike a certain distance, and return to point A on the same trail)
- Loop hikes (where you start at a trailhead and end at the same trailhead but hike a loop trail to stay on new trails the entire time.)
- Thru-hikes (where you hike from point A to point B)
Out-and-Back and Loop Hikes
On both out-and-back and loop trips, you will only need one vehicle. Usually, you can leave your car at the trailhead. However, each park and trailhead will have specific rules.
At some popular destinations, you may be required to park at a specific location for overnight stays. In this case, the National Park Service provides shuttles to transport backpackers to and from these trailheads. For example, Bryce Canyon National Park offers free public transportation shuttles for the most popular hikes and is a fabulous option for thru-hikes as well as out-and-backs. Shuttles offer a predictable service, running every fifteen minutes with some parks providing a shuttle tracking application for convenience.
Using the park’s shuttle services can reduce congestion in the park and reduce your carbon emissions! All of the shuttle and travel logistics will be found on the parks’ websites, be sure to check ahead of time to make sure shuttles are running and parking lots are open.
Thru-Hikes
Thru-hikes are more logistically challenging because you’ll be starting and ending at different points. However, you have a couple of options.
First, you could hire a shuttle if there is not one provided by the park itself. Many commercial companies run shuttles to popular trailheads. This eliminates the need for multiple cars. You could also ask friends or family if they could drop you off or pick you up at the end of your trip.
Alternatively, if you have multiple cars available, you could leave one car at point B (your end destination) and drive another car to point A (your starting trailhead). When you finish your trek, your vehicle will be waiting and you can drive to pick up the other car. This is a great option if the trailheads are fairly close together.
-
Deeper Dive: Planning Considerations
-
Food
When you’re backpacking, you’ll need to consume more calories than you do regularly. The amount of food you need depends on a few factors such as the length of your trip and the intensity of your route.
You can choose to eat ready-made dehydrated meals which provides a lighter pack, but if that doesn’t satisfy the pallet you can pack “real” food like dried fruit, rice, and peanut butter and jelly sandwiches. Aim for foods that are lightweight and portable.
Find the best combination for you by testing out your meals ahead of time during training hikes. It would be a shame to pack only dehydrated meals to discover you hate them on day one of a twelve-day journey.
For best results, pack between 1.5 – 2.5 pounds of food per day, per person. This equates to 2,500-4,500 calories. When considering the ideal amount, think about the terrain of your trip. If you’re climbing 3000 feet of elevation in ten miles, you’ll burn substantially more calories than hiking ten miles of flat terrain.
Always pack an extra day’s worth of food in case of emergency, even if it’s just bars or dehydrated meals to save on weight and space.
Helpful hints when considering what foods to pack:
- Make a meal plan. Even if it’s on scratch paper, it can be helpful to write down every time you’ll eat, and what you’ll eat, to make the shopping process run smoother.
- Think about your days. Longer days spent on the trail mean less energy to cook at camp. Perhaps you’ll pack ready-made meals for those extra-long and grueling days.
- Pack foods you like. This probably isn’t the best time to experiment with new foods. Bring your favorite comfort foods. On the trail it tends to be the small things that get us through!
- Bring a variety. Variety is the spice of life and this rings true on the trail as well. It can be motivating to have different meals to experiment with and enjoy.
- Spices. Often backpacking meals can be bland and boring. A way to add some kick is to pack along a few essential spices like cinnamon, garlic salt, and red pepper flakes.
- Try to include some fresh fruits and veggies if possible. Not all backpacking meals need to be processed and packaged.
- Ensure you have the proper fuel for stoves and cooktops.
- Consider the amount of water it will take to cook the meals on your meal plan. Plan in accordance with your water resources along the route.
Water
Lugging around 15 days’ worth of water simply isn’t possible in a backpacker’s world. This is why it’s essential to carry a water filtration system and know where water sources are along your route. Water sources should be clearly marked on topographical maps and in guidebooks. However, stay mindful of “intermittent streams,” as marked by a dashed blue line on a topo map. These water sources do not run year-round, so you should check their status before your trip. If you are struggling to find water sources, talk to park rangers and hikers who have done the route before you (preferably at the same time of year). You could also scour internet forums for helpful information.
Always pack backup water storage just in case. There is a wide range of water storage containers to choose from, some firm and others more malleable. Keep in mind how much space you have and what is most comfortable to carry and drink from.
The amount of water you carry depends on how you sweat, the terrain, temperature, and how much water you drink. However, as a good rule of thumb, aim to carry about a liter of water for every two hours you hike. Developing a personal water strategy is key to staying hydrated during your trip.
Making a gear list
It can be tempting to geek out on gear and overpack for your first backpacking trip. But ultimately, backpacking is about minimizing the number of belongings so you can be more present with where you are.
However, you don’t want to under pack and risk getting stuck without the essentials. The mileage, duration, and location are all major factors in determining what you carry in your pack.
Must-haves on a backpacking trip include:
- A backpack
- Sleeping supplies
- Cookware
- Water filter
- Shelter
- Maps and navigation
- Proper clothing and shoes
- Headlamp and light sources
If you are working on a budget and can’t purchase all the essentials, try asking friends if you can borrow items. Or, look on craigslist and online marketplaces for gently used gear. REI has a used gear section on its website for those looking for recycled gear.
MORE Gear RESOURCES
- Check out our What to Pack for a Backpacking Trip post for an exhaustive list to get your gears grinding about what you’ll stuff your sack with.
- For the ladies that have a trip planned during their moon cycle, find advice for female hygiene on the trail here.
- Check out our post on buying gear secondhand for your next backpacking trip.
- Learn about what to wear while hiking.
Testing Your Gear
It is easy to assume everything fits into your pack and that it fits well, but if you haven’t tested all your gear prior to your trip you might come to some unfortunate realizations.
Make sure to do an overnighter and bring along everything you want to on your longer trip. If you can’t manage this, try setting things up in your backyard or living room. Make sure your gear works properly before you get twenty miles out into the woods with zero cell reception and no way to cook your dinner.
Once You're on the Backpacking Trail
Leave No Trace
Familiarize yourself with leave no trace principles. These principles provide guidelines for the public to follow when spending time outdoors in order to minimize our impact on nature. We want to keep the wilderness wild so that future generations can reap the enormous benefits of spending time there.
Watching For Wildlife
Many people go backpacking to see wildlife, so it can be a major contributing factor in why you’ve selected your route. People travel from across the nation to parks like the Grand Tetons and Yellowstone to catch sight of bison, bears, and elk. While these sightings can be inspiring, too close of a run-in can quickly turn your incredible experience into a hazardous one.
safety tips for maintaining a healthy distance from the wildlife on your route:
- Research the area you’ll be traveling in to understand the wildlife you might come into contact with.
- Properly store food. Most areas with bears will require backpackers to store food in bear-proof canisters. These containers keep the smell and odors of your items tucked away. In addition to food, put anything you think might attract animals and wildlife in these containers, like scented chapstick or candy wrappers.
- Wash dishes away from camp so as to keep the smells away from where you sleep.
- Make noise while you walk. Talking with your fellow backpackers works as well as saying “Hey bear” every time you’re about to turn a blind corner. Get creative and see what fun wildlife songs you can come up with!
- Stay aware at all times. Remember you are invading their living room.
For a more in-depth look, check out the NPS page on how to deal with wildlife run-ins.
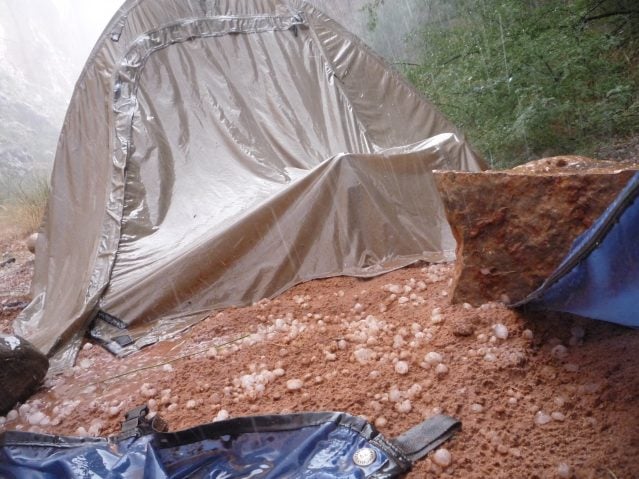
Weather
In the days before your trip, make sure to check the weather. Consider your options should bad weather hit: will you carry on, or will you reschedule? If you’re hiking or camping above the treeline in the mountains, look at a map and determine a descent route in case a storm rolls in.
Keep in mind that weather is highly unpredictable until a day or two before. Have a backup plan and a flexible mind.
Final Preparations
Backpacking, especially for your first trip, can be a very liberating and empowering experience. Whether you choose a guided trip or decide to organize one with your best friends, we at Wildland hope you have a great time out there. Go get a map and get inspired today!
