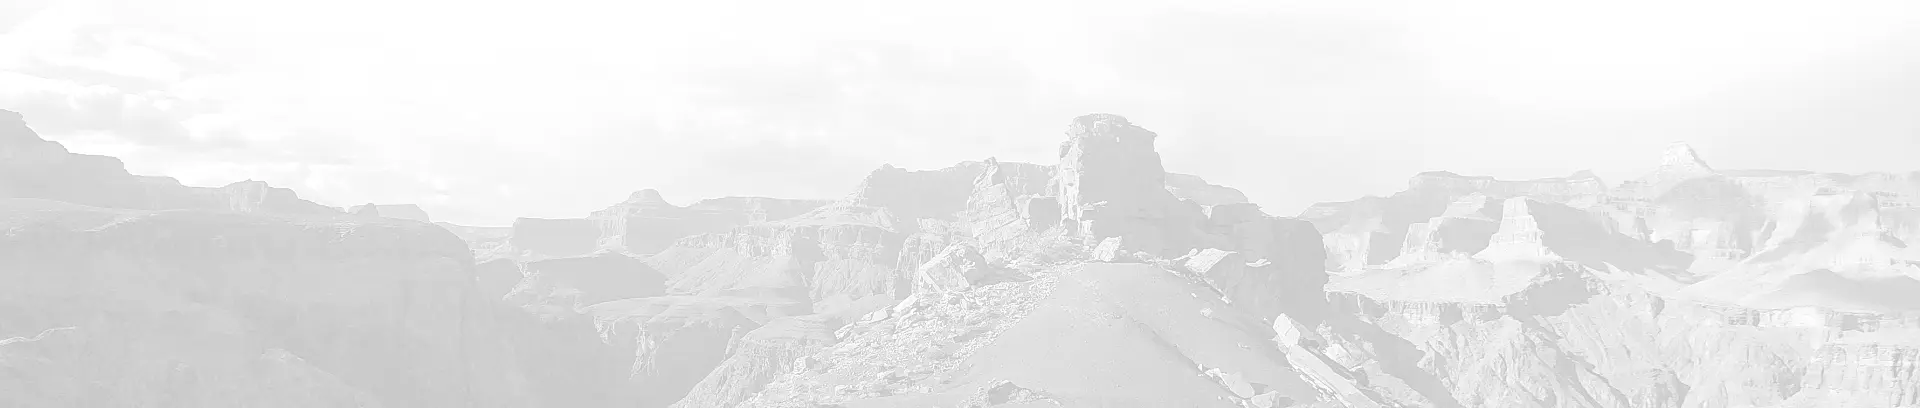
Hiking Rim to Rim in the Grand Canyon
Learn what you need to pull off one of America's most famous hikes - Rim to Rim!
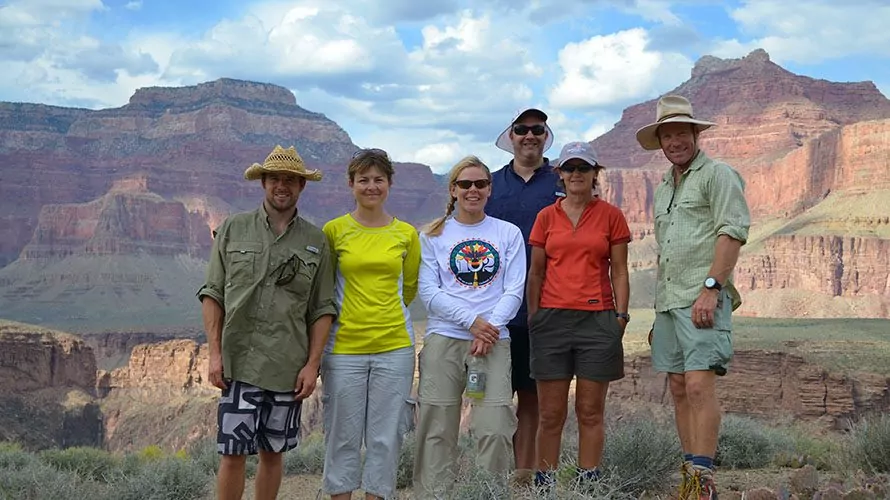
The Grand Canyon’s hiking trails are popular among outdoor enthusiasts who like to challenge themselves. And while all of the Canyon’s trails are fairly strenuous, the famous Rim to Rim hike is the most famous challenge of all and has become a bucket list adventure for many hikers around the globe. Rim to Rim can be done in many different ways: as a one-day hike, as a multi-day backpacking trip, or as an overnight trip with lodging at Phantom Ranch. All of these options except the one-day Rim to Rim are available as guided trips or to do on your own. Below we detail much of what you need to know to plan your Rim to Rim hike, including when to go, how to train, what to pack and more.
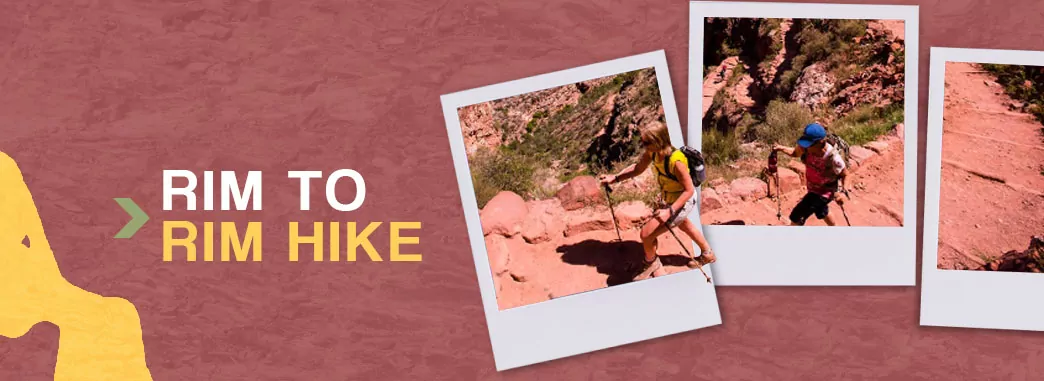
ABOUT THE RIM TO RIM HIKE
This arduous hike is 21 to 23.5 miles long and drops more than a mile to the floor of the canyon — where temperatures can reach 120 degrees Fahrenheit — and then climbs back out. The journey takes an average of nearly 12 hours to complete and is not for the faint-hearted or unprepared. In fact, less than one percent of the park’s five million annual visitors decide to brave this epic journey.
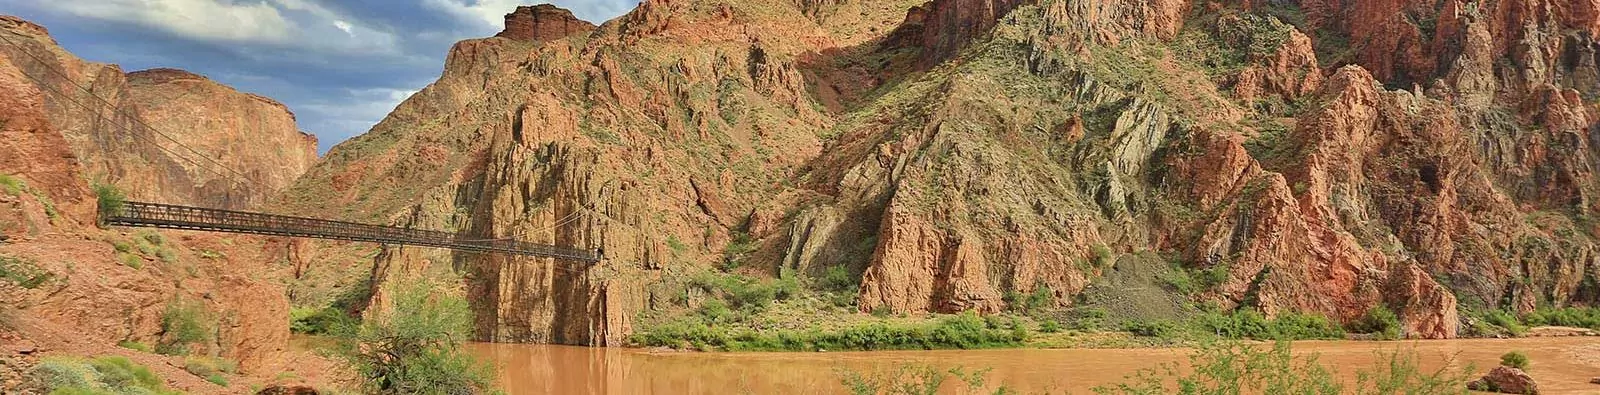
But this trail’s fame is not just due to its length or difficulty — it also offers countless stunning views and passes by many points of interest, including several waterfalls, Phantom Ranch, the Colorado River and remnants of old civilizations. When you reach the bottom of the canyon, you can also enjoy the unique experience of seeing both rims at the same time.
In this guide, we offer a variety of tips to make your rim-to-rim adventure a success, including when to go, how to train and what to bring along.
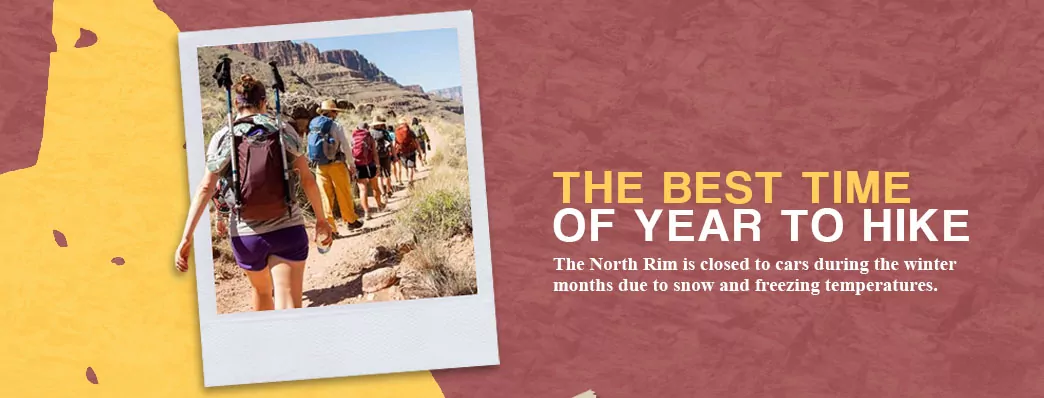
THE BEST TIME OF YEAR TO HIKE
The North Rim is closed to cars during the winter months due to snow and freezing temperatures. Because of this, hikers have a relatively short window to complete a one-way Rim to Rim hike, with the season typically lasting from May 15th to mid-late November. The North Rim officially closes on November 30 or after the first significant snowfall on the North Rim, so planning your trip after October 15 comes with some risk of the North Rim closing. While hikers can still hike the trail in the winter, they will have to do a rim to rim to rim hike, meaning they must turn around upon reaching the North Rim.
Although the high-elevation North Rim and South Rim remain rather cool throughout the season, the bottom of the canyon, which is only 2400 feet above sea level, experiences temperatures exceeding 100 degrees Fahrenheit from late May to early September. The climate at the bottom is somewhat similar to that of Phoenix, AZ — but unlike in Phoenix, you won’t be able to take refuge in an air-conditioned building or vehicle. Additionally, the walls of the Inner Gorge (a steep cleft that hems in the Colorado River) are comprised mainly of schist, which is a dark rock that absorbs the sun’s heat and increases the temperatures at the bottom of the Canyon. The bottom of the Grand Canyon can feel like a solar oven in the summer months.
Because of the dangers associated with hiking in extremely hot temperatures, we recommend that you take the trail as early or as late in the season as possible. Not only is the weather likely to be cooler at these times, but the trails also tend to be the least crowded.
How to Hike the Grand Canyon Rim to Rim
There are several ways hikers commonly choose to hike Rim to Rim:
- One-Day Hike: If you choose to hike the Grand Canyon’s rim entire trail in a single day, it is recommended that you begin your journey as early as possible in the day and rest under the shade during the hottest hours of the day. Make sure to wear a wide-brimmed hat and bring along salty and sweet snack foods and no fewer than three liters of water. You don’t need a permit needed for a day hike.
- Two-Day Hike: If you wish to hike the entire trail the first day and then hike back on the second day, the first thing you should do is make a reservation at one of the South Rim lodges, which include Thunderbird, Kachina Lodge, Bright Angel, El Tovar, Yavapai and Maswik. Keep in mind that reservations are difficult to get and should be made many months in advance. If you choose this option, we recommended that you book a second day at a South Rim lodge to relax some more. If you have trouble booking accommodations at the South Rim, you can also try reserving a hotel in the nearby town of Tusayan.
- Phantom Ranch: This option involves hiking to Phantom Ranch, spending one or two nights there, then finishing the hike on the following day. Hikers can hike South to North or North to South. Because of the extremely high demand to stay in this lodge, hikers hoping to stay here must now enter a lottery.
- Backpacking Trip: This option involves camping in the canyon is typically completed in three or four days. Hikers can hike from South to North or North to South, but because the North Rim is higher in elevation, going southbound is easier. To return to your starting point, you will need to take a shuttle. Camping overnight requires a permit, which is awarded via a lottery system.
For most of the above options, you will need to get either a permit or make a rim lodge reservation — both of which are exceedingly difficult to get. For this reason, the only realistic option for many hikers is the fast-paced day hike. While this day hike could be one of the most memorable experiences of your lifetime, if you don’t have the proper training or pack the right items, there is a high risk of serious injury or illness that may require you to call for emergency medical assistance, which is difficult to get in the canyon.
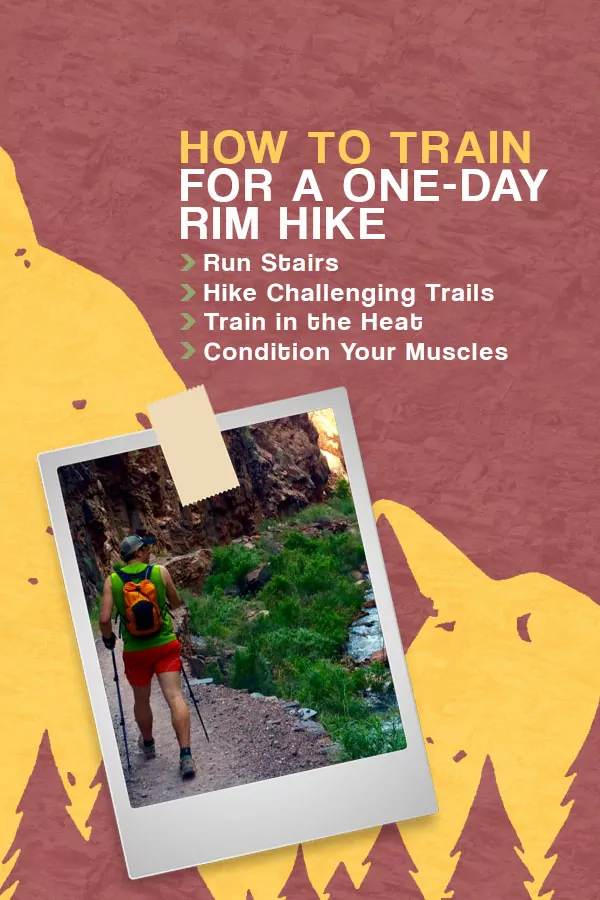
HOW TO TRAIN FOR A ONE-DAY RIM HIKE
With the right preparation, people of all ages can complete this hike — including young children and the elderly. Even if you’re an avid, fit hiker, you should be serious about training for this challenge. This arduous hike demands more of your body than many marathons — therefore, you should train for it with the same dedication.
The major difference between this hike and a marathon, of course, is that you can’t just quit your hike when you’re exhausted or hurt. As the park aptly sums up: “hiking in is optional — hiking out is mandatory.”
Training for a rim to rim one-day hike requires you to work your knees, hips and heart for several months beforehand. Regardless of how fit you are, the effort you put into your targeted training will make your hike that much safer and more fun.
Below are some tips on how to build your strength and endurance for your Rim to Rim hike:
- Run Stairs: Running up and down stairs is an excellent way to prepare your body for the inclines and declines of the Rim to Rim trail — and it will also boost your aerobic fitness. This activity is great for strengthening your leg muscles, including your hamstrings and glutes. Find a nearby tall building, set of bleachers or park with stairs to prepare your legs for the Grand Canyon’s constant elevation changes. Before beginning this exercise, however, it is important to warm up by simply walking the stairs first or running some laps. When running up and down the stairs, make sure to take frequent short breaks. Do this exercise for 20 to 30 minutes.
- Hike Challenging Trails: The Rim to Rim hike features constant elevation changes, for which you can prepare by regularly hiking difficult trails with an elevation gain of at least 1000 feet. Hike the same trail multiple times, and aim to complete it faster each time.
- Train in the Heat: You will almost certainly encounter extremely high temperatures while hiking rim to rim, which most of us are not accustomed to exercising in. This is why it’s important to expose yourself to heat during your training. There are various ways to do this, including wearing a hat while walking in hot weather, practicing hot yoga or exercising in your bathroom with a space heater turned on. By doing this, you will see how you react to exertion in high heat.
- Condition Your Muscles: Do some simple exercises to prepare your muscles, such as downhill lunges, goblet squats and step-ups. If your leg muscles are balanced, you are less likely to experience knee pain during your hike.
Do the Rim to Rim Guided Or On Your Own?
Many people choose to hike Rim to Rim with a professional guide service, and many people choose to hike it on their own. There are benefits and drawbacks to both avenues. Below we outline some of the benefits of each:
Benefits of Guided Trips
- Elevated Safety. Hiking with an expert Grand Canyon guide will elevate your safety level. Desert/canyon hiking is a unique activity for several reasons, not the least of which are potentially high temperatures and the fact that you hike down first and uphill last. Going with experts who know the desert, know how and when to move camp, how to stay cool, and how to manage the unique desert environment will help you avoid becoming one of the hundreds of evacuations performed by the National Park Service every year.
- Delicious Meals. Guided trips – if you go with a quality company – will provide exceptional backcountry meals. As Grand Canyon guides, a stereotypical scene is us serving our guests a hot, freshly prepared meal with real ingredients while people in the campsites around us look over longingly while they eat a bland, slightly cardboard-tasting meal out of a bag. Read more about food on Wildland trips.
- Travel Convenience. A huge benefit is that at Wildland we provide nearly all of your gear. This means you can travel conveniently with just clothes and personal items. Leave the heavy lifting to us.
- Permits Handled. Grand Canyon National Park’s permit system is a cumbersome, confusing beast of a process. It’s a lottery system with specific deadlines, and some strategies can help increase the odds of success. We handle the permits so you don’t even have to think about it, other than waiting to make travel arrangements until we confirm your permits is secured.
- Natural and Cultural History. The Grand Canyon is one of the most amazing landscapes on the planet because of its geology, ecology and cultural history. The Grand Canyon is like a book telling a story that goes back over 2 billion years. A quality Grand Canyon guide will be able to easily bring the Canyon to life in a way that’s nearly impossible on your own through the natural and cultural interp knowledge they accumulate over time.
Benefits of Going On Your Own
- Financial Savings. Hiking Rim to Rim in the Grand Canyon on your own is cheaper than going with a guiding company IF you already own your own gear. If you have to purchase gear for your trip, then this is no longer a benefit. On Wildland trips, guests are outfitted with approximately $1000 (retail value) of backpacking gear.
- Choose Your Group. Although on most guided trips the guests enjoy each others’ company, there is always the chance you could end up on a trip with someone you don’t enjoy. Going on your own ensures you will select people whose company you enjoy.
- Hike at Your Own Pace. On guided trips some people can feel either slowed down or sped up by other hikers in the group. By going on your own, it’s ensured you won’t feel any pressure to hike at a certain pace.
Wildland Trekking Guided Rim to Rim Options
All-inclusive Rim to Rim Trips

Accomplish Rim to Rim with expert guides. Trips include permits, gear, meals, transportation, professional trip leader(s) and more. Choose from a 4-day backpacking trip or a 3-day Phantom Ranch Rim to Rim Trek.
WHAT FOODS TO BRING
We cannot overstate the importance of bringing the right foods on your journey. Ideally, your hiking foods should provide plenty of energy without making you feel heavy. Avoid bringing along foods high in sugars and fats, which can cause tiredness, and instead choose ones rich in protein, carbohydrates, fiber and electrolytes. By starting off your day with a hearty, nutritious meal and eating healthy snacks every couple of hours afterward, you’ll have the energy you need to get you through the hike.
Keep the following suggestions in mind when choosing foods for your day hike:
- Find Foods With Lasting Energy: Foods ideal for hiking are rich in nutrients and provide energy over a longer period of time. Whereas sugary foods only provide a quick, short energy boost, those rich in proteins, healthy fats and complex carbohydrates are broken down more gradually, providing the body with a steady energy supply.
- Don’t Forget About Fresh Foods: If you’re only hiking for one day, you can bring along some perishable items, as well, such as sandwiches, fresh fruits and cheese.
- Consider Bringing a Cooler: If it doesn’t add too much extra weight to your backpack, you may want to consider taking a small cooler and an ice pack. You’ll be able to enjoy many more food options, including refreshing cold drinks.
- Hydrate Yourself: In addition to bringing along 3.3 liters of water per person, also make sure to drink plenty of water before you even begin your hike. As the inner canyon will likely be hot, it is important to drink water even where you’re not thirsty. In addition to keeping you hydrated, water will also help you stay energized during your hike.
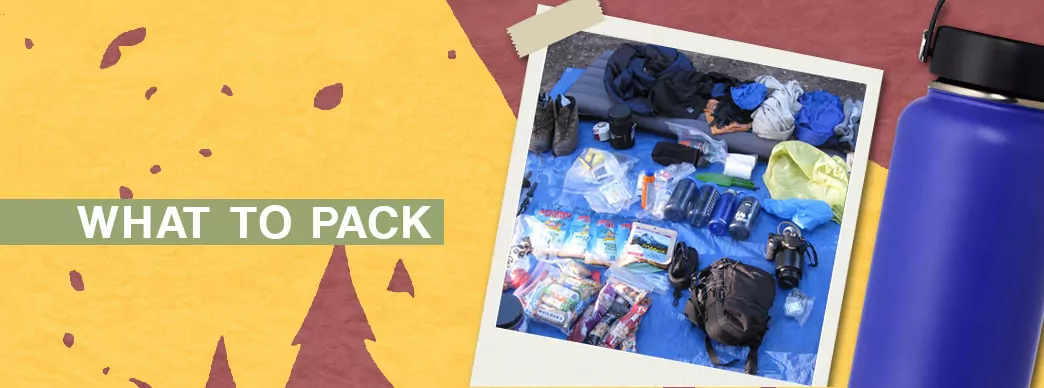
WHAT TO PACK
While training is essential, it’s not the only requirement to successfully complete a rim-to-rim hike. You must also use the appropriate gear.
To take some literal weight off their shoulders, hikers starting at the South Rim can choose to hire a mule service to carry their equipment to the canyon bottom and then back up again. Regardless of whether you choose this option, you will have to bring along a daypack with many carefully selected items, such as clothing and other necessities for an environment with dramatic temperature changes.
Your rim to rim hike packing list should include the following essential items:
- Water: Bring at least 3 liters of water for each person in your group, stored in bottles or bladders. If you’re hiking from mid May to mid September, you may want to carry a fourth liter to pour over your head. Burying frozen energy drinks or bottles of water deep in your pack can make for a wonderful treat hours later on your hike.
- Proper Footwear: Wear broken in tennis shoes or light hiking boots — and don’t forget to bring some high-quality socks.
- Proper Headwear: This should include a wide-brimmed hat, sunglasses and a bandana, which you can use to wipe the sweat from your eyes or protect your neck from the sun.
- Proper Clothing: You should bring along cotton T-shirts and layers that include wicking long sleeves. Temperatures will likely fluctuate at least 20 degrees over the course of your hike.
- Sunscreen: Waterproof sunscreen and lip balm with SPF are absolute musts.
- First-Aid Kit: Your emergency kit should have sterile dressing pads, gauze, wound closure strips, antiseptic towelettes, pain relievers, a knife, safety pins, antihistamine and antibiotic ointment.
- Headlamp: Your hike may run past sunset, and the trails may not be illuminated at night.
WHICH SIDE TO START ON
The side of the canyon that you choose to start on will affect your experience. Because the North Rim is 1000 feet higher in elevation than the South Rim, it is easier overall. Below are some other differences between the two starting points:
- South Rim: The South Rim, where the Grand Canyon Village is located, is considerably more populated and offers a wealth of accommodations, restaurants and other facilities. Some hikers start their hike here to take advantage of its many conveniences before leaving behind civilization. To access the trail from the South Rim, take the South Kaibab trail. This route is quicker, steeper and will save you 3.5 miles of hiking, although keep in mind that no water is provided along the trail. You can access the trailhead by taking the hiker’s shuttle that departs from Bright Angel Lodge.
- North Rim: The North Rim offers the same types of facilities as the South Rim, although there are not as many options to choose from. Some hikers may choose to begin their journey here for its secluded, relaxing environment. If starting your hike on the North Rim, remember that the trailhead is more difficult to access, and you will need to take the hiker’s shuttle, which has a limited schedule. Space is also limited, so you’ll need to reserve a seat.
Regardless of which side you decide to start on, it is recommended that you spend the night at an accommodation close to the trailhead so that you can start your trek as early as possible, with 5 a.m. being ideal. As the rims can be quite chilly in the early morning, make sure to bring several layers.
BOOK A GUIDED TOUR WITH WILDLAND TREKKING
While hiking across the Grand Canyon in a single day might be an exhilarating challenge for some hikers, many others may feel rushed to reach the other side by sundown. By booking a multi-day Grand Canyon hike with Wildland Trekking, you can take your time hiking the trail and spend more time appreciating the park’s abundant natural beauty.
Some of the other benefits of our tours include:
- Experienced, Fun Guides: Our guides are all certified, well-trained and dedicated professionals who love sharing their passion for nature and providing guests with an unforgettable adventure.
- Small Ground Size: Our hiking groups never have more than 12 guests, meaning you will be able to enjoy a personalized hiking experience.
- All-Inclusive Tours: You won’t have to worry about buying the right gear, packing meals or obtaining permits — because we handle all of these things!
- Excellent Reviews: Wildland Trekking is a top-rated Grand Canyon hiking tour company on Trip Advisor and has 5-star status on Yelp, Google Reviews and Trust Pilot.
You can request a reservation by filling out our form or ask us any questions by calling 800-715-HIKE (4453).
Related Pages