
How to Pack a Backpack for Hiking
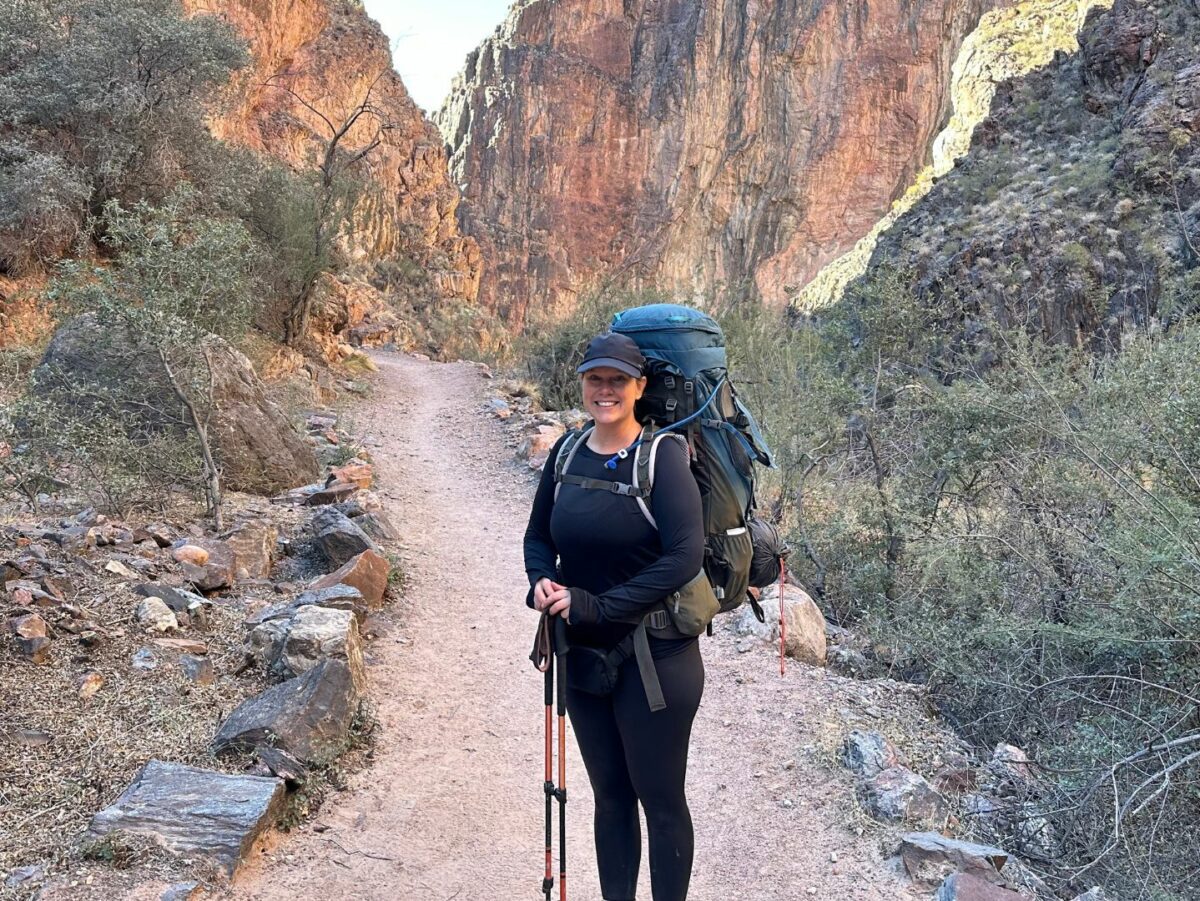
Flights are booked. Your guide is hired. All your last minute trip items have arrived in the mail with just moments to spare. You’ve prepared for everything…or just about everything. In the corner of your room still lies the big unknown: your backpack. Right now it is so approachable. So empty. Look at all those pockets, just waiting to be filled. It’s an exciting yet daunting prospect: in just a few short days you will fill this backpack with only the essentials and walk away from civilization.
My interest in backpacking doesn’t come from the prospect of sleeping under canopied forests or beneath towering canyon walls. Nor does it stem from the allure of total solitude or the promise of starry skies. What drew me in was the idea that I could be strong and capable enough to carry everything I needed to survive on my own back.
However, backpacking can quickly turn from a dream into a nightmare if not done correctly. To make the most out of your backpacking trip, it’s important to familiarize yourself with your supplies and understand how to prepare and pack your gear.
The Ten Essentials
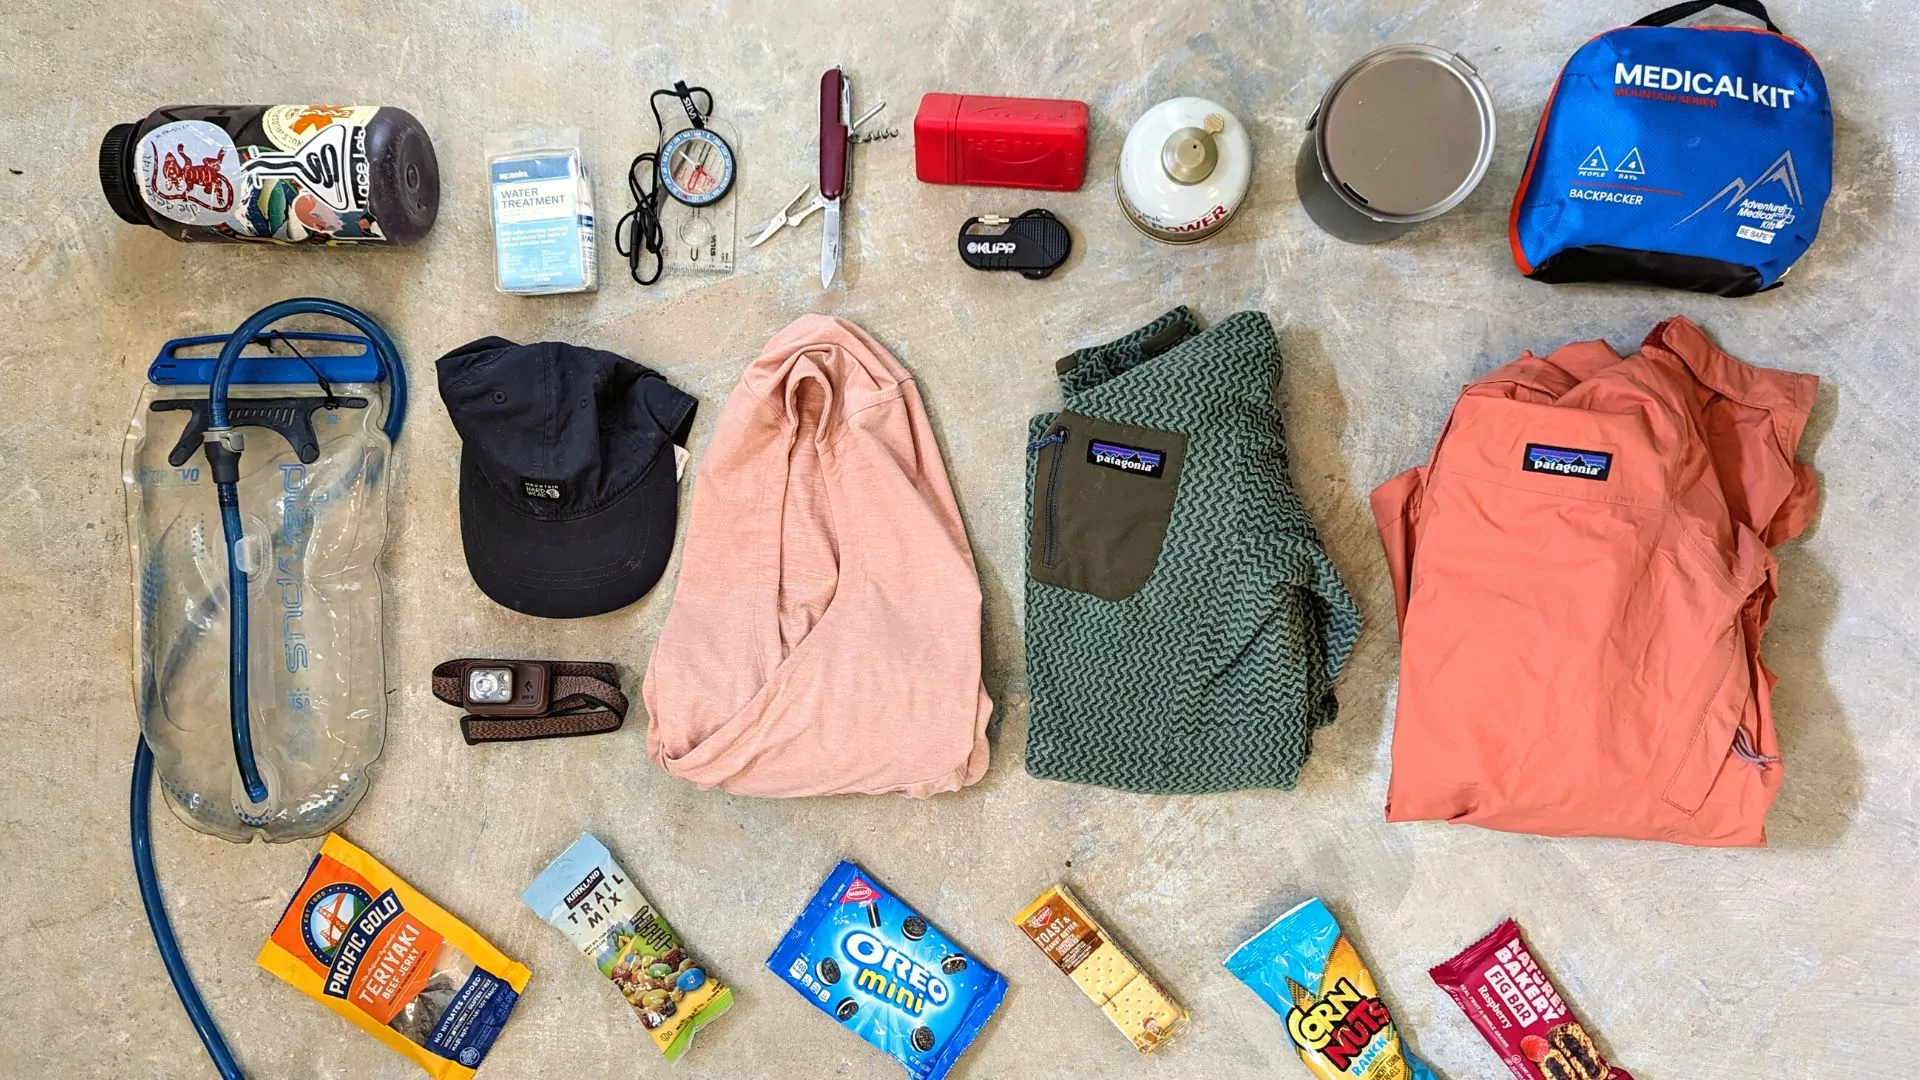 Every hike is different. Some are short and require minimal gear, while others require days or even weeks of planning. Despite the nature of your trip, consider the “ten essentials” when it comes to hiking.
1. Navigation – There are a number of navigation systems that will help you plan and prepare for your trip. Common devices include a rechargeable GPS system or Satellite phone, a compass, and a topographical relief map.
Challenge yourself: Before your big adventure, try orienting yourself in your backyard or neighborhood with a compass and map.
2. Illumination – You will likely find yourself operating without a conventional light source on a backpacking trip. Lights with a strong LED bulb are essential in the backcountry whether it is a headlamp, flashlight, or lantern. Don’t forget extra batteries!
3. Sun Protections – Everyone loves a sunny day while backpacking, but too much sun can have devastating effects on the skin, eyes, and hydration levels. Protect yourself by packing lightweight layers, sunglasses, SPF (preferably one with a mineral base to protect wildlife), and a hat.
4. Insulation – Think beyond what you may typically sport for layers. Nature is unpredictable and your body may have trouble regulating when it is working hard. Depending on your location and time of year, prepare for the worst weather you could encounter.
Start by following a three-layer system: a thermal base layer, a mid-layer or fleece, and an insulated outer shell. Many adventurers will also include a puffy or insulated jacket in their arsenal. It’s important to know your body and recognize how well you regulate in extreme temperature fluctuations.
5. First Aid Supplies – Modify your First Aid Kit for each adventure. Do some research regarding FAK essentials (ace bandage, ibuprofen, a sterilization system) and build it up from there.
6. Fire Supplies – Not only will you need a lighter to ignite your camp stove, but you may need to create and maintain a fire for emergency situations. Consider bringing waterproof matches and a small fire starter to supplement your pocket lighters.
7. Repair Kit & Tools – Repair kits can often consist of common household items. Start collecting supplies that could be used in case of gear malfunction: duct tape, string, zip ties, and safety pins are a great place to start. In addition to your repair kit, travel with a small pocket knife or multitool.
 8. Nutrition – One of the best parts about hiking and backpacking is all the fun snacks you get to eat! It’s up to you to pack the right amount to keep your body fueled, as it is unlikely that food will be readily accessible on your trek (unless it’s berry season – free snacks!). Bring at least one extra day’s worth of food, should your trip take longer than expected. Salty and dehydrated foods make for great nutrition when hiking. Think dried fruit and nuts, granola bars, and jerky.
9. Hydration – Depending on the time of year and location of your trek, water can be a precious commodity. Get to know your water filter before you head out on your backcountry trip. There are dozens of water filtration systems that will vary greatly in weight, size, and efficiency, so do some research to decide which is the best for you. Bringing a vessel that can carry a minimum of 3-liters is advisable.
10. Emergency Shelter – Regardless of whether or not you are a minimalist camper, an emergency shelter is imperative to complete your backpacking kit. Choosing the right option here will also depend on how much weight you want to carry. Opt for tents weighing anywhere from 1 to 5 lbs, or skip the tent and carry a bivy sack, hammock, or space blanket. Whatever the right choice is for you, it’s important to prepare for extreme weather situations.
Non-Essentials/ Managing Weight
In addition to the “ten essentials,” there are going to be extra supplies or “luxury items” that sneak into your pack. Remember that every ounce counts when backpacking, and those extra items will stack up quickly. Non-essential items may include camp shoes, a backpacking pillow or chair, a heavy camera, or books/notebooks. While one or two of these items may make it out on trail (I love a good pair of camp shoes on a backpacking trip), you will be a happier hiker without the additional weight, and it’s best to leave the majority of your “luxury items” at home.
Challenge yourself: Cut weight by leaving behind any fancier hygiene products such as soaps, deodorants, and face lotion. It’s okay to be a little smelly for a few days.
ABC's of Packing Your Backpack
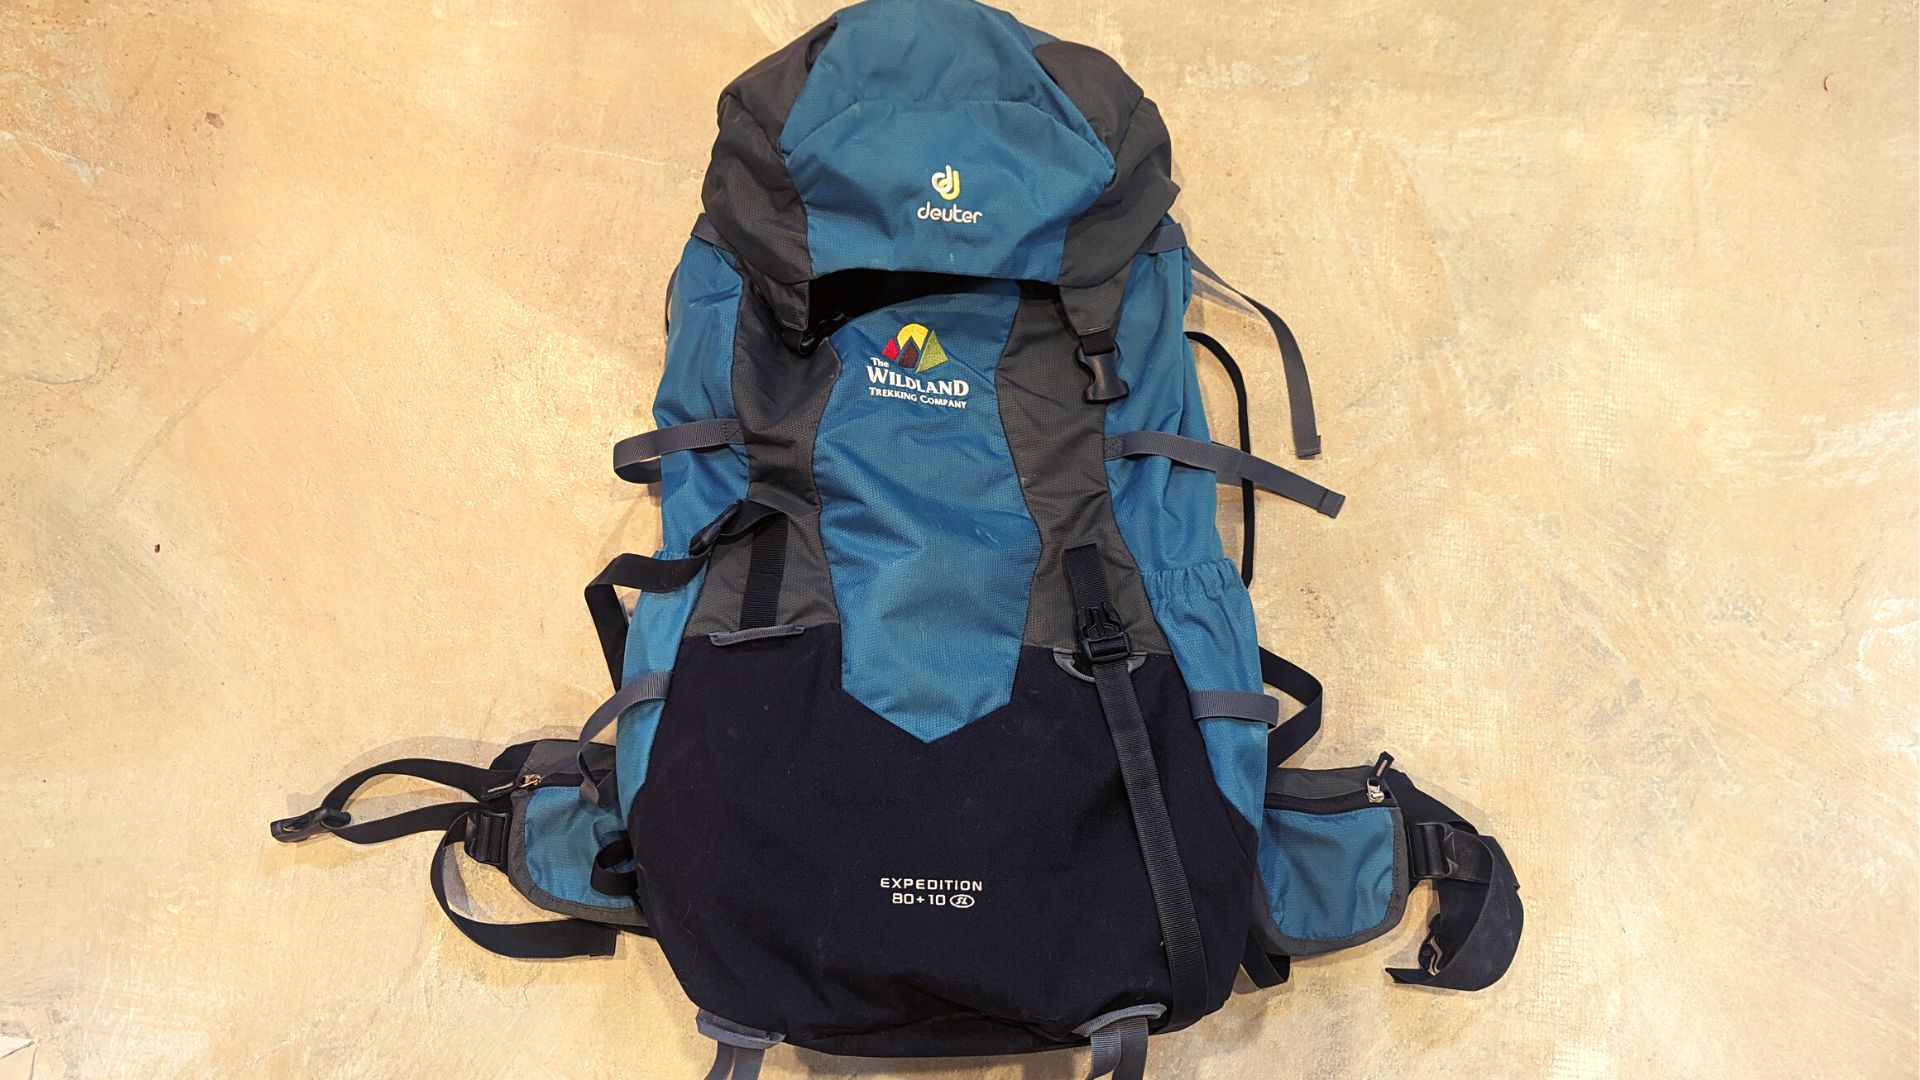 Woah, that’s a lot of stuff! All those empty pockets on your pack may feel less approachable now, but never fear: follow the ABCs of packing your pack and you’ll be a pro in no time.
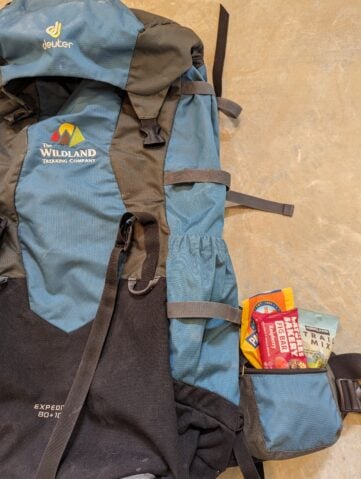
A – Accessibility
When loading items in your bag it’s best to think about how accessible you need an item to be throughout the day. For example, you won’t need any of your sleeping gear until you get to camp for the night, so items like your tent, sleeping pad, and sleeping bag can be situated near the bottom of your pack.
Items such as your rain jacket, water filter, map, sunscreen, and trail snacks may require immediate use throughout the day and should be stashed where they can be easily accessed. The brain (or the top lid that fits over the main compartment) is a great place to store items that will see a lot of use. Other easily accessed compartments include the side pockets or the mesh pouch on the outside of the pack.
B – Balance
Finding balance in your pack is arguably the toughest challenge when gearing up to hit the road. You want to keep in mind that your hip belt should be taking the majority of the weight, therefore, keep your heaviest items at your core. This includes your trail meals, tent, and other bulky miscellaneous items. Store your midweight items, like your sleeping bag, below the hip belt. When you are hiking, you shouldn’t feel any significant pulling or tugging from one single side. Check in with yourself and your muscles while on trail to ensure the weight is evenly distributed, and don’t be afraid to stop and make adjustments!
Challenge yourself: Stash all of your items into your backpack where you think they should go. Can your backpack stand up all on its own without tipping over? If so, nice work! That’s a pretty good indicator that your pack is well balanced.
C – Compression
The final component to the ultimate packing job is making your pack as compact as possible. Just like packing the trunk of your car or items into a suitcase, you want to make sure you are using every bit of space as efficiently as possible. Fill the spaces around larger items like your tent and sleeping bag with smaller, more malleable items like clothing. This stage in packing might feel like a workout in and of itself! By the end of it, your pack should feel like one large entity as opposed to many individual items. Don’t let empty spaces go unused.
 Challenge yourself: Shove your fist into your backpack and blindly feel around for empty pockets of space. Do your best to migrate items lower in your pack to fill all the holes. If you’re sweating, you’re doing it right!
Best Beginner Backpacking Trips
Packing the perfect backpack takes years of practice. Over time you will figure out what works and doesn’t work for you and your body. Investing in quality gear will help you cut weight and arranging your supplies will become more intuitive. The important thing is to not get frustrated. Take your time and adjust items when something feels wrong. You want to control your backpack, not have your pack control you. Practice at home before the big trip, and most importantly, have fun.

