
Build Your Hiking Skills: Tackling Tough Terrain
At a certain point, most hikers will set their sights on trails with more challenging and technical terrain. Perhaps you’re looking for a new challenge or intrigued by the promise of a view that you can only experience with extra work. While you may be eager to lace up your boots and hit the trail ASAP, it’s crucial to make sure you properly prepare and train. Luckily we’ve got you covered. Read on to learn our top tricks and tips for tackling hikes with tough terrain.
Explore Your World with Award Winning Guides
Part 1: Prepare for Your Hike
It doesn’t matter if you have one or one hundred hikes under your belt: never underestimate a trek with challenging terrain. As you start pursuing longer and more technical routes, pre-hike preparation becomes increasingly essential. At the bare minimum, we recommend researching each trail, getting the right gear, going on a few practice hikes, and cross-training.
1. Research the Trail and its Terrain
You always want to have a rough idea of what you’re walking into before starting a hike. So do some Googling, pick up a map, or download an app before your hike. Apps like AllTrails are a one-stop-shop for everything you need to know, including the trail’s length, location, and elevation gain. AllTrails also provides a topographic map, directions, and trail reviews.
2. Get the Right Gear
Once you have a rough idea of what kind of trail you’ll be walking on, you can make sure you have the right gear. Getting “the right gear” is subjective and widely varies from trail to trail and person to person. Your gear list could be as simple as a good pair of hiking boots, a backpack, a first-aid kit, and proper amounts of water and snacks. Or, you might need extra equipment like hiking poles or a headlamp. Do your research and then pack accordingly.
3. Practice, Practice, Practice
Practice might not make you perfect, but it will make you prepared. That’s why we recommend going on practice hikes on easier and more accessible trails. If you don’t have access to trails with a similar type of terrain, look for other qualities to mimic on practice hikes, such as elevation gain or length. Check out our training guide for inspiration on how to create a practice hike schedule leading up to a trek.
4. Cross-train to Match the Terrain
Adopting a well-planned cross-training routine will go far in helping you tackle your hike with ease and energy to spare. Incorporating a mix of cardio and strength-based exercises is critical. Before your hike, get creative and think about what areas you want to strengthen based on the types of movements you expect to use on the trail. Will you be walking through uneven terrain, so you need to work on your balance? Or maybe you need to build overall strength and endurance for hiking up steep hills at high elevations? Whatever the terrain, you will not regret beginning a balanced cross-training regimen that incorporates cardio, strength, flexibility, and mobility training.
Part 2: Hone in Your Basic Hiking Skills
Let’s break down essential techniques and tips that will help you succeed as you progress to more physically and mentally challenging adventures.
1. Pack Your Bag Correctly
When you’re just starting to hike, it’s easy to overlook how you pack a daypack. As you start venturing out on long strenuous hikes, in uneven terrain, or on multi-day treks, how you pack your bag is crucial. A properly packed bag helps maintain your center of gravity and mitigate potential discomfort from unequally distributed weight while hiking. Follow these essential tips when packing your bag:
- Don’t throw all of your gear randomly into your pack. Pack the heaviest items, like water, flush against your back and right at or above your waist. Doing this will offer the most support, keep you balanced, and won’t strain or pull your back toward the heavy weight.
- Put the gear you won’t need much at the bottom of your bag and the gear you will need frequently on top or in the side pouches.
- Keep your bag balanced. If you put a heavy water bottle in your packs’ right side pouch, counterbalance it by putting gear of similar if not equal weight in the left side pouch.
- Don’t over or underpack. Practice hikes are an excellent time to experiment and find a balance between what you want and need on the trail. Finding this sweet spot is an art. The goal is to make your pack as light as possible while ensuring you’re as prepared as you can be on the trail.
2. Steep Uphills
Steep uphills will get your blood pumping and test your cardio (and mental) stamina. Conquering uphills with ease and speed requires practice, preparation, and proper technique while on the trail. Here are some tips:
Before your hike, focus on increasing your cardio endurance and incorporating strength-based exercises like weighted step-ups into your training routine. Once you hit the trail, pay attention to how you are walking. With each step, your heel should touch the ground first and then move through your sole to your toes. This technique creates forward momentum and pushes your body in uphill motion. However, as the trail gets steeper, you may find yourself mainly stepping on your toes and soles. Focus on taking smaller steps over big ones. You may take more steps, but you will conserve more energy. As a kid, my father told me to look at the trail and imagine where water would roll down it naturally and then follow that path. Your breath is also your best friend on challenging hikes! You can use it to push through strenuous sections and gauge your pace (hint: if you’re breathless, you’re probably going too fast).
It’s important to note that one of the most complex parts of hiking uphill is the mental challenge. Your mind, just like the rest of your body, may need some training before tackling steep inclines. Check out our Hike Strong: Mental Training for Long Days on the Trail for great tips and tricks for unlocking your mental strength and stamina.
3. Steep Downhills
As mentioned above, hiking downhill is harder on the body, given the added impact of gravity. When hiking down steep descents, it’s critical to do so in a way that minimizes the inevitable wear and tear on your body while keeping you balanced and safe on the trail.
On steep downhills, it’s easy to pick up speed and momentum, leading to clumsy steps and falls. Instead, take small and deliberate steps with your core tight and center of gravity over your legs. (We like to say “keep your nose over your toes,” meaning don’t lean too far forward or backward.) This will minimize your risk of falling off balance or letting momentum and gravity get the best of you. On incredibly steep sections with significant step downs off of rocks or logs, I turn my body perpendicular to the trail as I step down and then turn my body 180 degrees and step down in the same way, but leading with the opposite foot first. You can brace the impact of each step by staying low and keeping your knees bent while your foot hits the ground.
Gear-wise, hiking poles are great to bring on hikes with steep downhills. Hiking poles provide extra points of contact and thus stability. They also take some of the weight off your legs and help protect joints like your knees.
4. Uneven Terrain
Walking on uneven terrain is part of what makes hiking so physically demanding. Your body uses 28% more energy when walking on uneven ground than it does on flat ground. Your body is constantly having to adjust to the terrain and activate different muscle groups for various movements. In addition to using more of your body’s energy, hiking on uneven terrain requires more attention. Rolled ankles and slips can happen easily outside if you’re not paying attention to the trail. That’s why it’s best to keep your eyes on the trail and take small, thoughtful steps. We also recommend walking with a set of poles for added support to help avoid unnecessary falls.
5. Pace, Breaks, and Fuel
Proper pacing, breaks, and refueling is essential for every hike regardless of the terrain. On average, hikers can cover anywhere from 1 to 2+ miles per hour, depending on their experience, fitness level, and the trail conditions. Don’t be surprised if your pace slows when hiking on rugged terrain. It’s wise to begin challenging hikes at a moderate and steady pace to give your body time to adjust to the new movements. Starting your hike too fast is a sure-fire way to burn unnecessary energy early on.
Water and food breaks are another crucial part of ensuring prolonged energy throughout your hike. Like pace, the duration and frequency of breaks vary from person to person and will probably increase as your hike’s difficulty does. Ensure you are drinking enough water and snacking when hungry. However, you should also be aware that taking frequent or long breaks will add to your hike’s overall duration. Pack nutrient-dense snacks that will provide lasting energy, such as fresh fruit, nuts, and protein bars. Bringing electrolyte tablets will also give your body and energy levels an extra boost. For more detailed suggestions on planning, packing, and eating on hikes, check out our article Best Foods to Eat While Hiking.
6. Keep it Positive
As we mentioned before, hiking is a physical challenge, but it is also a mental one. You can’t prepare for everything you’ll encounter on the trail with training and preparation, but you can overcome many challenges with determination and grit. Bringing a positive and resilient mindset to the trail will do wonders in helping you navigate and complete strenuous hikes.
Part 3: Tips for Specific Types of Terrain
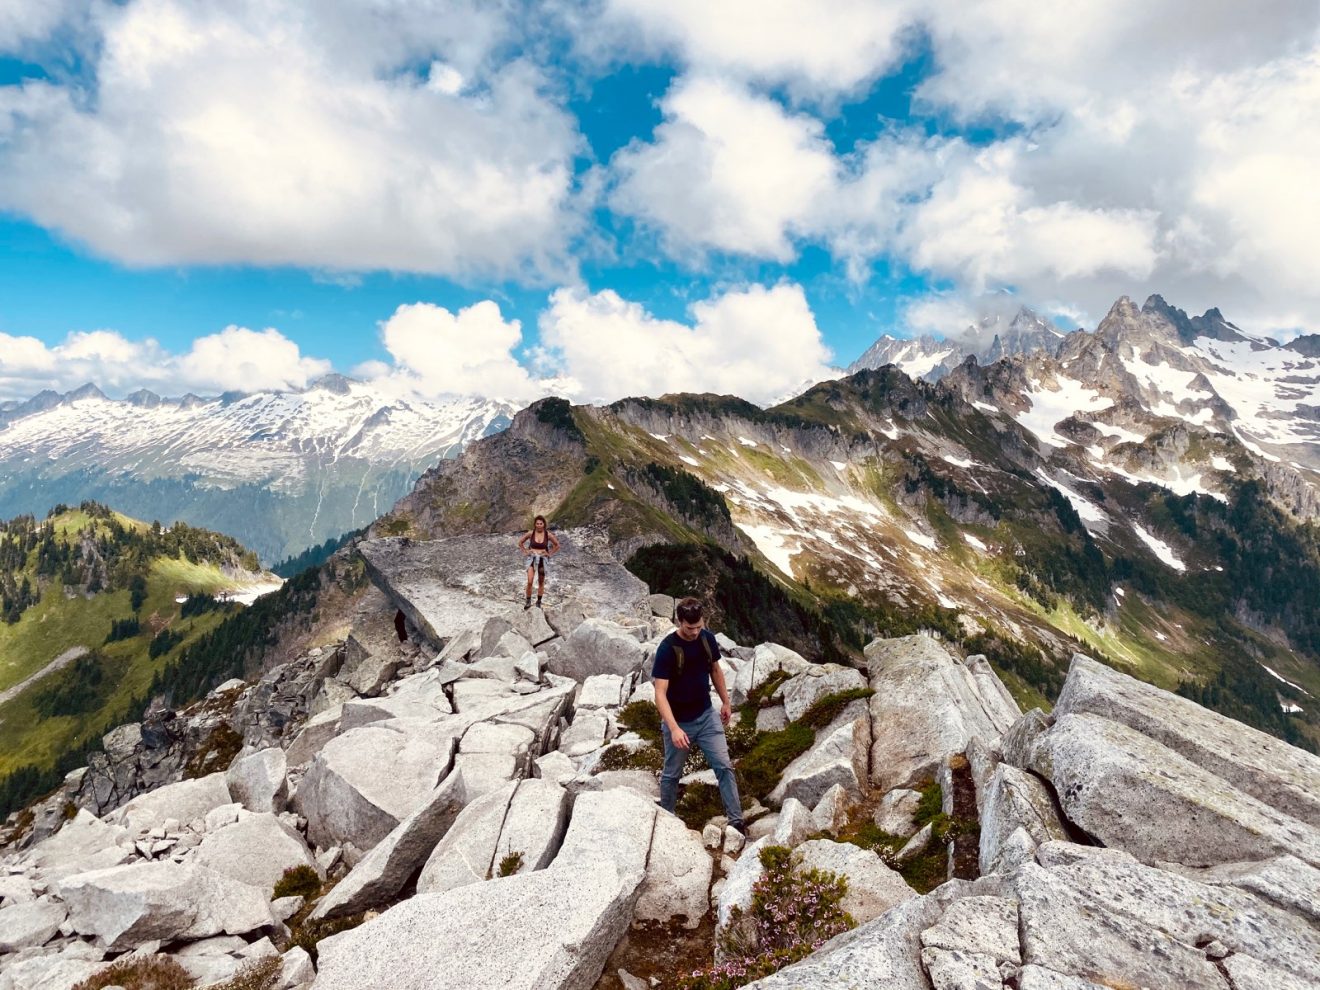
1. Boulder Fields
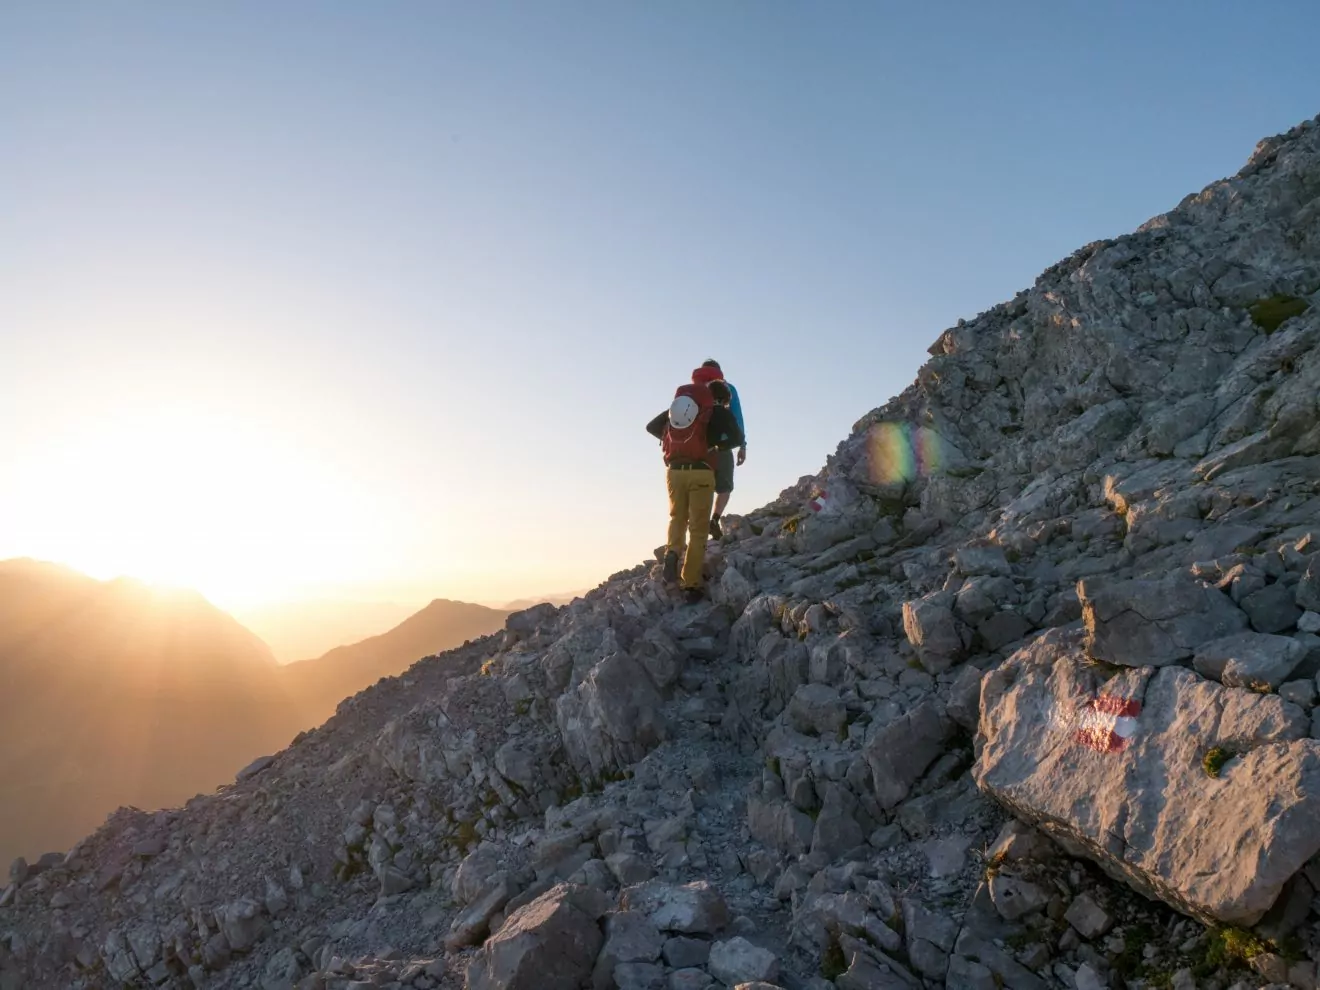
Photo by Colin Moldenhauer on Unsplash
Hiking through boulder fields is a unique experience that can take you through jaw-dropping places such as the Sahale Arm in Washington, Longs Peak Loop in Colorado, or our Wind River Range in Montana. As visually stunning as boulder fields are, they can be incredibly challenging to hike through. If a boulder field lacks defining features, you can easily get lost and lose track of the trail. In situations like these, make sure you have a map and keep an eye out for cairns to guide you.
Since boulder fields are by definition composed of many big, small, and irregularly shaped rocks, they can be a recipe for tumbles and twisted ankles. When hiking through boulder fields, keep your eyes on where you are stepping and use hiking poles for an added point of contact. We also recommend checking your footing before committing to a step. Rocks in boulder fields are often loose and can quickly become dislodged. Avoid taking significant steps or jumping from rock to rock. Instead, take small, deliberate steps, keeping your core tight, so you are ready to react if a stone moves. Once you begin to get the swing of things, try looking one step ahead as you walk which will help maintain your balance and pace.
2. River Crossings
The challenges hikers can encounter during a river crossing range from minor inconveniences, such as soaking wet boots, to life-threatening situations. When you arrive at a river crossing, it’s essential to survey the scene. The trail may have a designated crossing site, like a log, a path of rocks, or a marked shallow section of the river. When crossing, keep your eyes on the ground and ensure the designated crossing area is safe before you start. Rocks in the river could be slippery or unstable, so always check your footing before committing to a step. Keep your boots on during the crossing to protect your feet and look for submerged snags, like fallen branches. As you walk across the river, angle your body upstream and make sure to unbuckle any backpack straps in case you fall, get carried downstream, and need to toss your pack.
Check out the National Park Service’s page for more in-depth safety measures and tips for river crossings. River crossings are not to be underestimated, so if you’d like to tackle your first one with a professional guide, join one of our Bechler River Traverse or Wonders of the Grand Canyon trips!
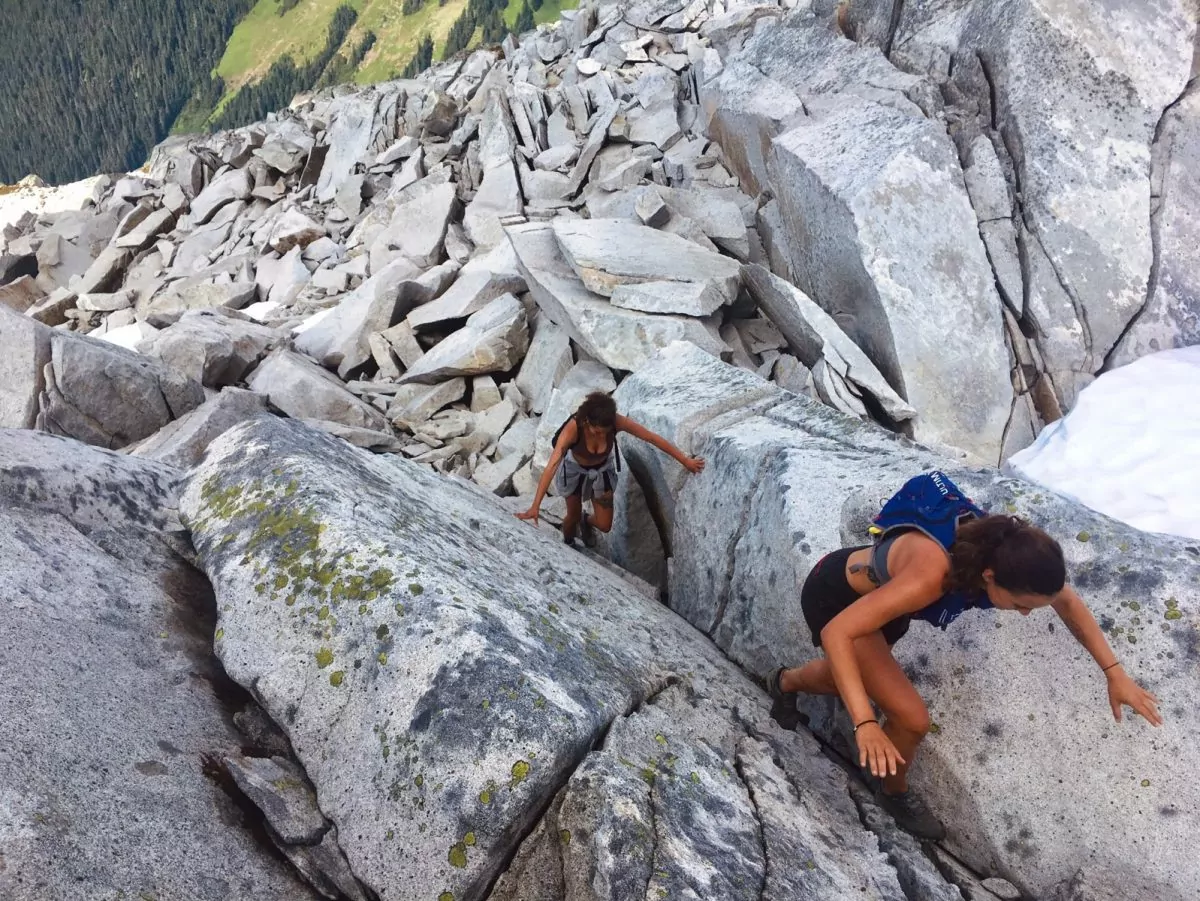
3. Rock Scrambling
Sometimes reaching spectacular viewpoints (ahem Mount Conness in Yosemite National Park) requires a little rock scrambling. Rock scrambling is a happy medium between traditional hiking and rock climbing in which you ascend a non-vertical trail using your hands and feet. As you get into more difficult scrambles, the defining line between a rock climb and scramble gets blurred, so it’s important to take scrambling seriously.
When scrambling, make sure to keep at least three points of contact on the ground at all times as a precaution. There may be more than one way to go up a scramble, so look for the trail’s least steep and most stable sections. Test your foot and handhold before committing, and try not to use vegetation as a hold. Grabbing onto a tree or root might look appealing, but there is no way to tell if it will hold until you fully commit. Make sure your hiking shoes have excellent traction, or consider investing in a pair of approach shoes before heading out on a trail that involves rock scrambling.
It’s important not to underestimate the risk involved with rock scrambling just because you aren’t scaling 50 ft vertical walls. Akin to climbing, scrambles are graded and can range anywhere from Class 2 to 4 (While the true scale goes from 1 to 5, 1 is pure hiking and 5 is technical climbing involving ropes.) Start with a few Class 2 scrambles and see how you do before moving onto Class 3 scrambles, which usually involve harder movements and navigating difficult terrain. Class 4 scrambles should only be attempted by experienced hikers who are comfortable with significant exposure, loose rocks, and potential fall risk.
4. Beaches and Sand
Countless breathtaking treks can be found along rugged coastlines. Both the North Coast trail in Washington and Lost Coast Trail in Northern California attest to this. Beach hikes are spectacular, but they are also challenging.
First, portions of coastal trails could be impassable during certain times of the day, depending on the tide. For trails with no cell reception, bring a printed chart of high and low tides for the day(s) in which you’ll be hiking. Sneaker waves and high tides have been deadly on coastal hikes, so come prepared. Second, what you will encounter on a beach hike varies greatly depending on the coast. You could be hiking through loose or packed sand, along with rocky tide pools or a field of small pebbles. Since sand and pebbles give as you hike through them, they require a lot of physical exertion. Hiking poles provide added support, stability, and momentum when walking through the beach’s loose and potentially slippery surfaces. Lastly, consider wearing a pair of gators to keep your boots from getting both wet and sandy
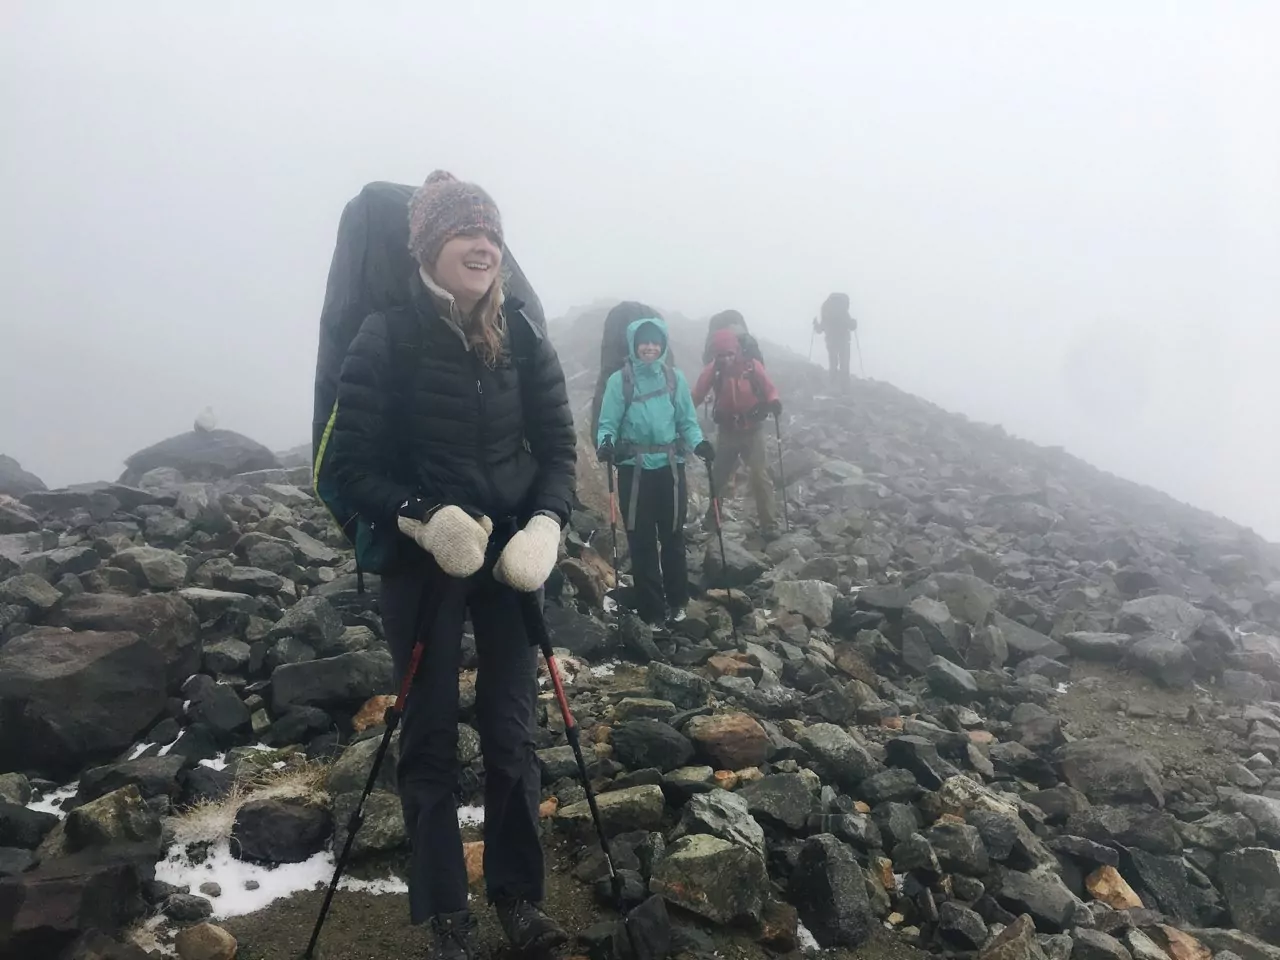
5. Snow
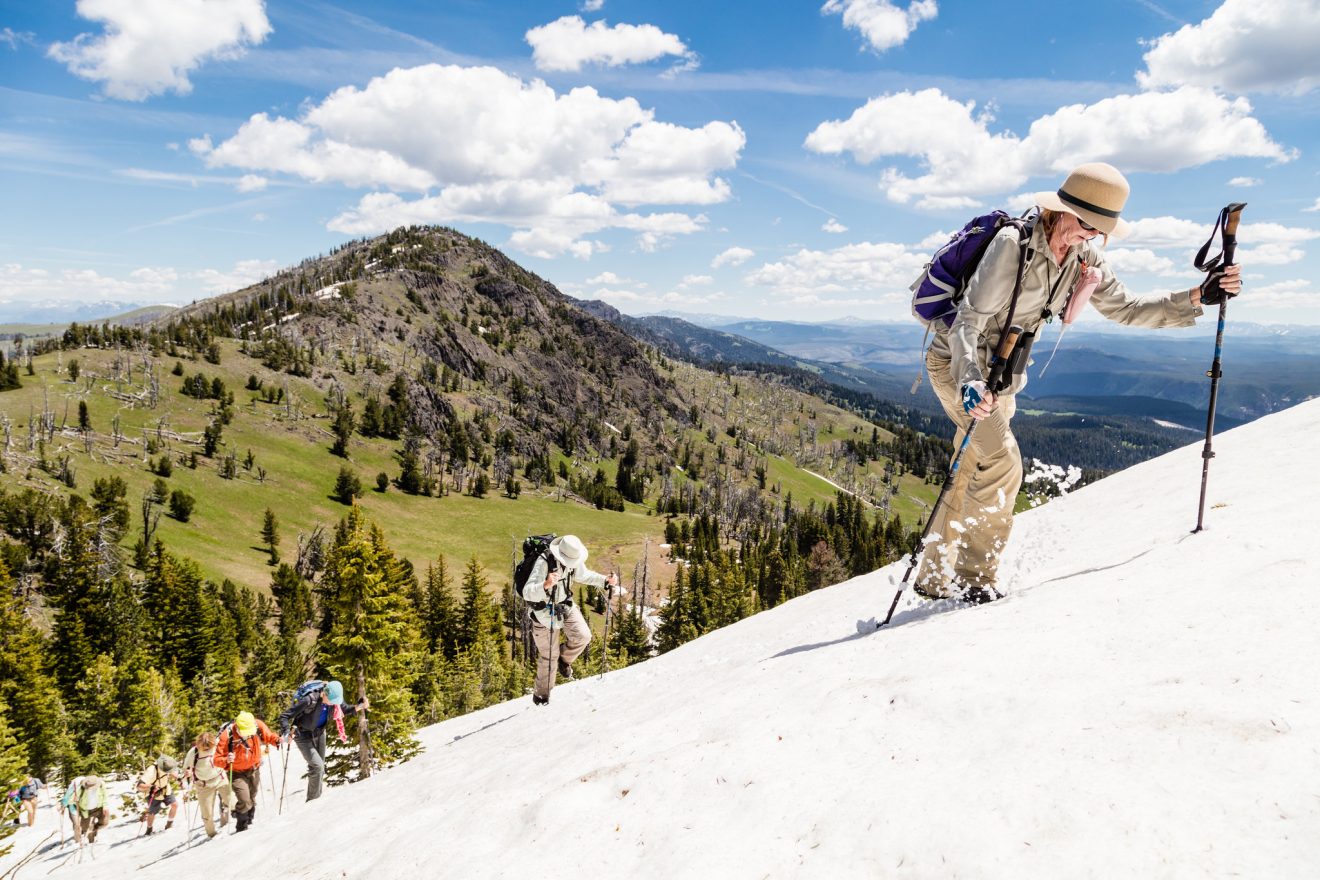
Snow hikes are spectacular but they come with added risks, including avalanches, frozen rivers or lakes, and unstable snowpack that could extend past a trail’s natural edge. That’s why it’s important to prepare properly before hiking on a snow-covered trail.
Having the correct gear is critical when trekking through snow. Check to see if microspikes or crampons are recommended or required for the trail. If you’re hiking on steep snowfields, you should carry an ice ax and know how to self-arrest.
Make sure you have plenty of warm and water-wicking layers to strip off and add on. This is especially true for high elevation treks, such as Camp Muir in Mount Rainier National Park. Depending on the season, your hike could start with warm weather and end at a snow-covered summit. Also, make sure to bring enough food, water, and safety equipment. If you’re hiking in an area with high avalanche danger, it’s a good idea to bring along an avalanche beacon and know the basics of avalanche safety.
Learn Advanced Hiking Skills on a Guided Trek
We hope these tips and tricks help you prepare for your next adventure into more technical and tough terrain! For more support, consider joining a guided day hike or backpacking trip near you to learn how to tackle tough terrain safely with a seasoned guide.
