
Training for Extreme Elevation Gain
Training for elevation gain on a big backpacking trip or hike is crucial. But, it can be hard to accomplish — especially if you live on the East Coast or in the Mid-West without access to hills and mountains. So how can you replicate the intensity of big mountain climbs while you’re training at home?
Many of our level four and five backpacking trips require extreme elevation gain and loss, and the more you train before your trip, the happier you’ll be on the trail. Really, we can’t stress it enough: the more fit you are, the more fun you’ll have. We promise. But that doesn’t mean you have to have crazy endurance or Olympic-athlete strength — anyone can train for a backpacking or hiking trip.
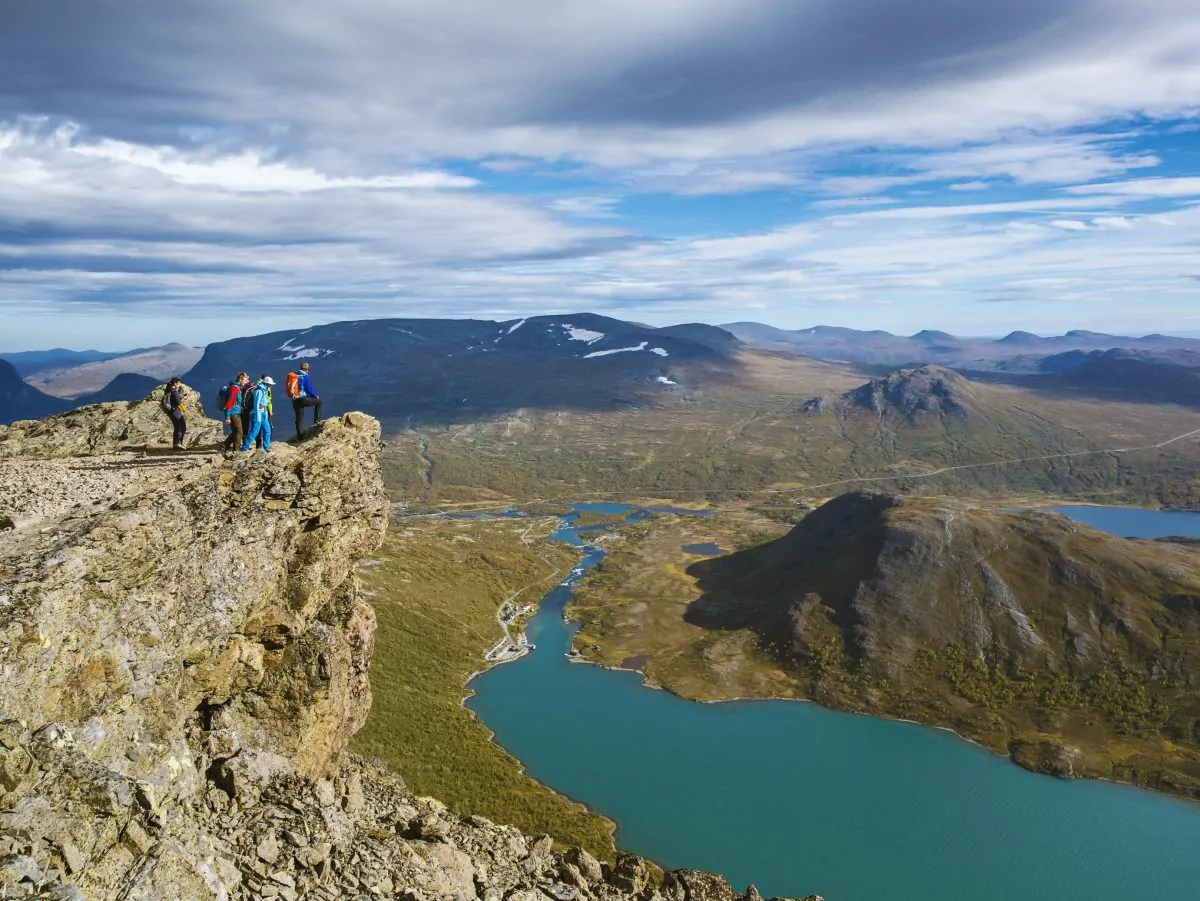
If you’re hitting over 4,500 feet of gain or loss in a single day, like on our Colorado River Traverse and Cascade Pass/Sahale Glacier trips, your body should be strong and your joints need to be stable. In addition to the difficulties of elevation gain, you may also encounter rocky, uneven terrain and boulder fields. In order to stay healthy and prevent injury, you want to come prepared.
Whether your goal is to summit mountains on hard day hikes like Longs Peak or train for an epic multi-day backpacking trip across the Teton Range, we’ve got some tips on how to train for elevation gain to help you prepare.
how to train for trails
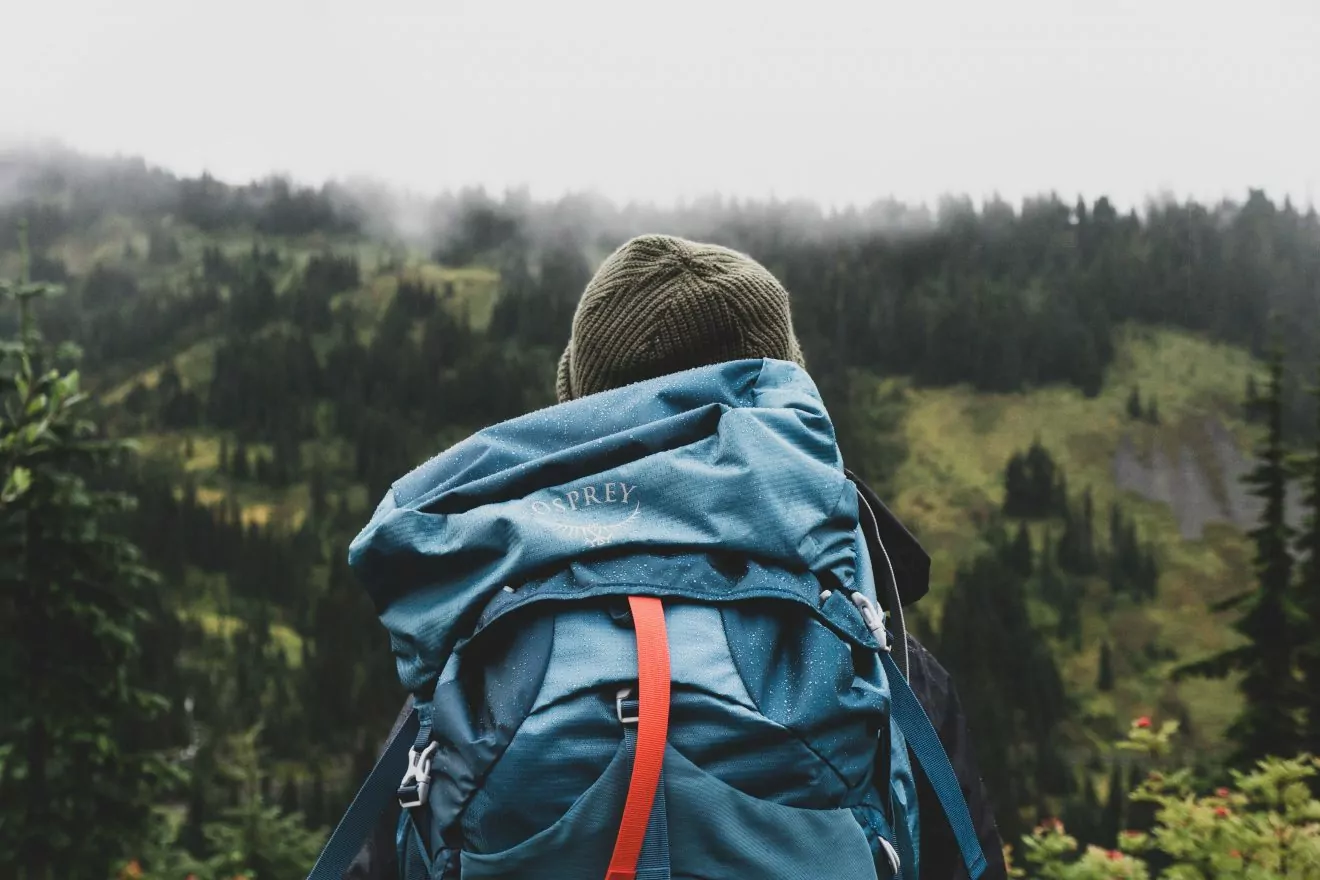
hike, hike, hike (with weight)
One motto of most backpacking guides is “Nothing prepares you for a hiking trip better than hiking!” Taking a walk with your pack is one of the most effective methods you can use to prepare for an upcoming backpacking trip. However, the goal is to prepare your body for your trip, not to overload it. So start slow, and gradually ramp up your training as your body responds.
Ramsey Bergeron, a Scottsdale-based certified personal trainer and owner of Bergeron Training, knows how to prepare people for long days on the trail. Once a year, he plans trips to iconic international destinations to motivate his clients to train for a big event. Bergeron mentions three main variables that you should adjust on your training hikes: 1) distance, 2) pack weight, and 3) elevation/incline. “At first when you’re increasing the elevation gain, decrease the other two variables,” he recommends. Also, when you first start training on trails and uneven terrain, forego the pack so your body can get used to moving in a new environment. Then, as you feel comfortable, slowly increase the weight of your pack. By the end of your training, aim to be carrying the same weight as you expect to carry on your backpacking trip.
If you plan on training for elevation gain, we highly recommend you start hiking before your trip in order to teach your body to move in uneven terrain. When you’re hiking, be sure to wear the boots or shoes you’ll be wearing on your trip! Whether you’re day hiking or going on a backpacking trip, we’ve created a very basic schedule so you can start increasing your mileage.
no hills? find stairs!
Don’t have access to mountains in your backyard? No worries! You can use stairs, a Stairmaster, or a treadmill to replicate the elevation gain.
Out of the methods on this list, a set of stairs is the best substitution for actual trail elevation gain. You can find stairs in parking lots, apartment complexes, outdoor parks, and more. Just like training with hiking, start with minimal weight on your back and then gradually increase your load to your expected trip backpack weight. While stairs prepare your large leg muscles (like quads) by replicating the up and down motions of steep trail hiking, they do little to prepare the small balance muscles of your feet, ankles, and hips for rough trail miles. If you don’t have access to trails near you, consider adding in some balance training (listed below) so you’ll feel great as you transition to the rocky mountain, desert, or forest environment.
Because of the type of movement required, a treadmill is the least effective tool at reproducing the load required for long, uphill miles. But it’s better than nothing! If a treadmill is your only option, set it on a steep incline and “don’t hold on,” Bergeron instructs, “At that point, you’re just taking away bodyweight.”
If you’re getting your miles at the gym and you can’t bring a backpack, Berguson recommends using a weighted vest. You could also get light ankle weights if you plan on hiking in rigid, heavy boots.
mobility & flexibility
Mobility and flexibility are just as essential to your training as all the miles you put in and the weight you lift. If you’re constantly stressing your body and never leaving yourself time to recover, you’ll find yourself approaching your trip date with a sore body and mild injuries (if not worse). So, in order to keep your body feeling light and refreshed, you should add mobility and flexibility work into your training regime. You could attend yoga classes (online or in-person), develop a foam rolling routine, or integrate stretching into your training plan (or all three!)
Also, don’t underestimate the benefits of warming up before your workout and cooling down at the end. Dynamic stretching before a hike or gym session will warm up your joints and gradually elevate your heart rate, while static stretching will help circulate blood flow and lengthen your already-warm muscles after activity.
training for elevation gain and loss: top 10 gym or at-home exercises

Trails with extreme elevation gain require you to have a solid baseline of strength if you want to get up (and down!) the mountain safely and injury-free. So, in addition to hiking, we recommend adding some basic strength training into your schedule.
“When most of us exercise, we usually only move in the sagittal plane (moving forwards and backward). But hiking is never done in a straight line. You are constantly stepping around rocks, turning to go down switchbacks, stepping to the side to go around other hikers, etc. To prevent injury and to help strengthen all of your muscles and connective tissue, it’s important to train in all three planes of motion,” Bergeron says. So whether you’re stuck at home training or just want to supplement your hiking with some strength-based exercises, we’ve compiled a list of ten exercises that will help get you moving in every plane of motion.
We’ve consulted some certified personal trainers and physical therapists to bring you the best information. However, if you’re new to exercising and/or have existing injuries, please consult a personal trainer or doctor before integrating strength training into your workout routine.
1. Bosu ball squats
Bosu balls are a great tool to get the ankles and knees ready for hiking. As you work to balance on the shifting ball, you use small, supporting muscles to stabilize your joints. To perform a Bosu squat, place the ball with the curved (blue) side down. Ideally, you’ll want to stand close to a wall or beam that you can use for support. If you’re a beginner, start with simple bodyweight squats on the ball. “Start with your shoes on. If you feel ready and want to activate muscles in your foot, then go barefoot,” Bergeron explains. But he’s quick to note that you don’t want to jump in too fast. You’re training for a big trip, and the last thing you want is an injury.
Variations: When you feel comfortable on the Bosu Ball, you could try standing with one foot in the middle. Then, grab your gym buddy and play catch with a tennis ball. If you feel the ‘strong burn in the arches of your feet or your calves,” you know you’re doing it right.
2. plank and side plank
Before a big hiking trip, you’ll want to strengthen the low back so it is prepared to support a heavy load. And planks — when you use the correct form — are one of the best ways to do this. Planks are a full-core (and full-body) isometric exercise that targets the muscles that support your spine and stabilize your low back. But more than that, you’re working out your chest, arms, shoulders, and legs, as well.
Get into a plank position with either your hands or forearms directly under your shoulders. (If you have any wrist trouble, we recommend the forearms.) Squeeze your glutes, engage your core, and press out through your heels to activate your entire lower body. Keep your neck level with your eyes straight forward. Hold for 30 seconds. As you get more comfortable, hold the plank for longer, while always making sure to keep good form.
Side planks are great for strengthening your side body. Again, place either on your left hand or forearm directly under your left shoulder. While your legs are straight and in line with your body, press into your arm or hand to lift onto the edge of your left foot. Raise your right hand towards the ceiling and engage your core. Hold for 30 seconds. Repeat on the opposite side.
Variations: As you progress, you could try more difficult plank variations. Bergeron suggests a few, such as using a TRX or bench to support your feet on an incline. Or, you could work your balance by holding a plank with your forearms on a stability ball and your feet on the floor. Last, you could hold a traditional plank while lifting opposite limbs (left arm/right leg) and alternating.
3. kneel-downs
Kneel-Downs (also known as surrenders) are a basic bodyweight exercise that you can perform anywhere. This challenging movement works your entire lower body — but especially your quads. This drill also improves your unilateral balance and coordination as you step up onto one leg at a time. Stay low so you can to really feel the burn. Perform 3 sets of 8 – 12 reps.
4. step ups and downs
While you can probably imagine that Step Ups translate well to hiking strength, Step Downs are just as important — and they can do wonders if you ever experience knee pain while hiking. Step Downs develop the muscles that support your knee, helping you protect your body against injury on the trail. Most people think about the elevation gain on a trail, but anyone who has hiked in steep terrain knows that going downhill can be even more taxing.
You can perform both of these exercises traditionally as well as laterally (side stepping up and down). It’s worth putting both variations into your training plan so your legs get used to eccentric loading from all directions.
Variations: As you master the movements, begin to add weight to your step-ups. Slow down your step-downs to maximize the amount of time your leg muscles as working.
5. wall angels
When we think about hiking with elevation gain, we mostly think about the lower body. But having a strong, mobile upper body is crucial. Bergeron recommends Wall Angels to prepare for elevation gain, but especially for backpacking trips. In fact, one of the biggest trail complaints (aside from knees) is back pain. This movement will help you strengthen the muscles around your spine and ensure you have the proper shoulder mobility to put your pack on and off.
Sometimes, trails with extreme elevation gain even require you to use your upper body for balance. Or, you may be moving in ways you haven’t moved in years. By creating a well-rounded workout routine that incorporates shoulder strengthening movements, you’ll be prepared for anything the trail throws your way.
6. twisting lunges
“To develop strength and balance in the transverse plane (twisting, or rotational), I like to have my clients do traveling lunges with a twist,” Bergeron explains, “Holding your arms straight out in front of you (you can hold a light 2-5 lb weight as well), step out into a regular lunge. Hold the position when your front thigh is parallel to the ground and twist your torso so that your eyes and hand rotate out to the side of the body of the lead leg. Stay in the lowered position until your hands return to center. Then take the next step and rotate to the other side over that leg as it’s bent as well. Go slow and don’t use momentum.”
7. banded side steps
Banded side steps are great for targeting your smaller, stabilizing muscles that commonly fatigue during hiking. “Place a band around either your ankles or knees and while facing forward, walk sideways. This helps activate and strengthen the gluteus medius along with ligaments in the knees and ankles. Try to keep your head and hips level with a slight bend to the knees and a slight forward lean. Make sure to do both sides!” Bergeron instructs. As you build strength, you can use thicker bands to increase the difficulty of the movement.
8. Pistol squat variations
“Pistol squats are great for developing eccentric control of the quadriceps. Most people experience pain when hiking downhill because the quads are already tired and not trained to contract while lengthening,” Alicia Filley, physical therapist and founder of the Healthy Hiker program, says. But for many, classic pistol squats are too challenging. Instead, start with this beginner variation before building into the more difficult version.
“Start near a bench or chair. Stand on one leg, and extend the other leg in front of you. Slowly squat down until you sit on the bench or chair, keeping the knee pointing forward. Return both feet on the ground, stand up and repeat 10 times on each side for 3 sets.”
Variations: Full single-leg pistol squats are challenging enough for most people. However, as you progress past the beginner variation, you can return to standing using only your working leg. Once you’ve masted the pistol squat to the chair, begin to squat deeper to a lower box or the ground.
9. calf raises
“The calf muscles propel you upward when climbing and help take the strain off the knees when stepping up, so strengthening them is a must!” Filley says. Her job at the Healthy Hiker is to train people to hike long distances while staying pain-free. She aims to have clients return to camp full of energy and ready to tackle the next day’s adventure. And that’s how we want our Wildland guests to feel after a big hike — accomplished but not too overworked. Because the less pain you experience while hiking, the more you’ll enjoy your backpacking trip!
One of the peskiest problem areas while hiking? Knees. In order to keep your knees and other joints healthy, you need to strengthen the muscles around them. That’s why Filley recommends this commonly neglected exercise. Here’s how to perform calf raises, according to Filley: “While standing, raise and lower both heels. Do 3 sets of 25 reps.”
Variations: Once you’re acquainted with the movement, you can “add weight in a backpack and progress to performing on one leg at a time,” says Filley.
10. box jumps
Once you’ve built a solid foundation of strength, you can begin to add plyometrics into your training. Box jumps are a basic plyometric move that focuses on lower-body power development, which will help propel you up the trail. However, this movement is a high-impact activity meant for experienced exercisers. If you’re a beginner, have persistent injuries, or have issues with joint stability, stick with more low-impact movements, like dynamic squats (where you drop low and then powerfully stand up without your feet leaving the ground.)
Variations: When you’ve mastered the traditional box jump, try your hand at single-leg box jumps to work the small muscles around your ankle and in your foot. Don’t expect to jump as high as you did with your standard box jumps, though. Start with a very low height box and progress naturally.
tips for structuring your training schedule

Training for elevation gain can be tough, and on some days, you just won’t feel like moving. So, we’ve compiled some tips to help you structure and stick with your schedule even on the hardest days.
Write it down
If you’re a schedule-oriented person, it helps to write down your exercise schedule in your daily planner. Each day, you’ll know which activity you want to accomplish. When you have weekly training goals without a detailed day-to-day structure, it becomes much easier to push off your workout until the next day (and the next day, and the next day…)
So, at the beginning of each week, write down your daily training (including rest days). If you have a four-mile hike scheduled for Friday, choose your destination ahead of time. The more details you fill in for yourself ahead of time, the easier it will be to follow through when the moment comes.
be realistic
Nothing breaks a habit faster than unrealistic goals. If you want to start integrating training into your schedule, be conscious of other life factors that take up your time, like kids, work, and volunteer responsibilities. If you try to jump from a sedentary lifestyle to a five-day training regime, chances are you won’t stick with it. So begin adding exercise to your daily routine in manageable bits. Instead of taking your dog for a walk around the neighborhood, throw some water in a backpack and hit your local pup-friendly trail in the mornings. If you don’t have a gym membership, try at-home bodyweight exercises instead of an elaborate gym routine. Start a family yoga practice before bed. Then, as your training becomes part of your life, add in more time and complexity.
find an accountability buddy
You wake up and just don’t want to go to the gym today. It happens to all of us — sometimes you feel tired, overworked, or just not motivated. It’s easier to hit snooze and snuggle up under the covers. That’s where an accountability buddy comes in. If you have plans to meet a friend at the gym or a trailhead, you’ll be a lot less likely to bail than if you’re only accountable to yourself.
make sure to taper
While training can be a ton of fun on its own, you probably have a goal in mind! At least a week before your trip, begin a “taper period” in which you gradually decrease your exercise length and intensity. If you’ve built up to 15-mile day hikes, bring it down to a nice four-mile stroll the weekend before your big trip. Don’t try to push it hard until the very end or you’ll end up with sore muscles and a tired body. If you want all the hard work you’ve put in to pay off, give yourself time to recover before the main event.

