5 Best Utah Backpacking Trips
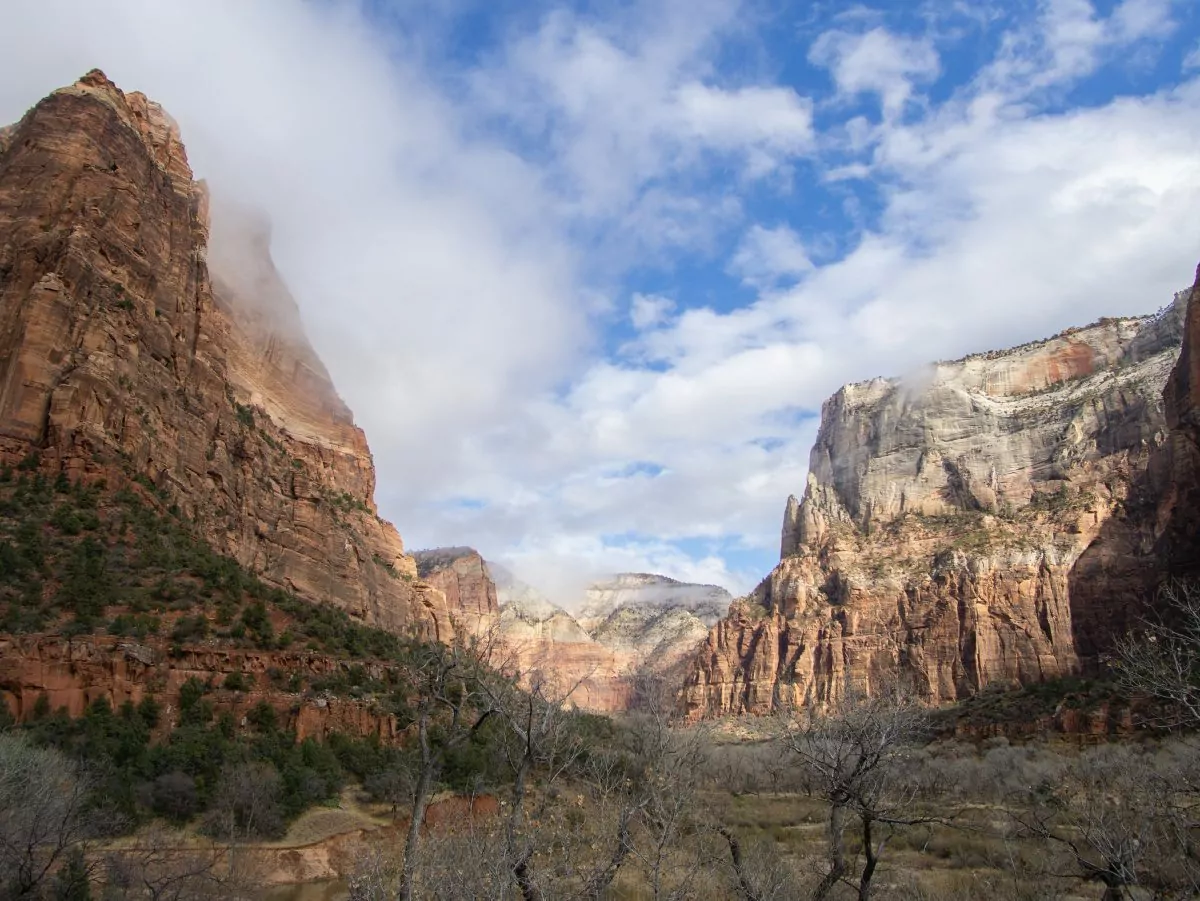
In the world of backpacking, few places offer the level of scenery and remoteness as the state of Utah. Whether you’re hiking on high ridges in the mountains or deep within desert canyons, these Utah backpacking trails are sure to provide an experience that you won’t forget. We know the backpacking opportunities can seem endless, so we’ve rounded up the five best Utah backpacking trips according to Wildland Trekking guides.
Jump to:
1. The Highline Trail, Uintas
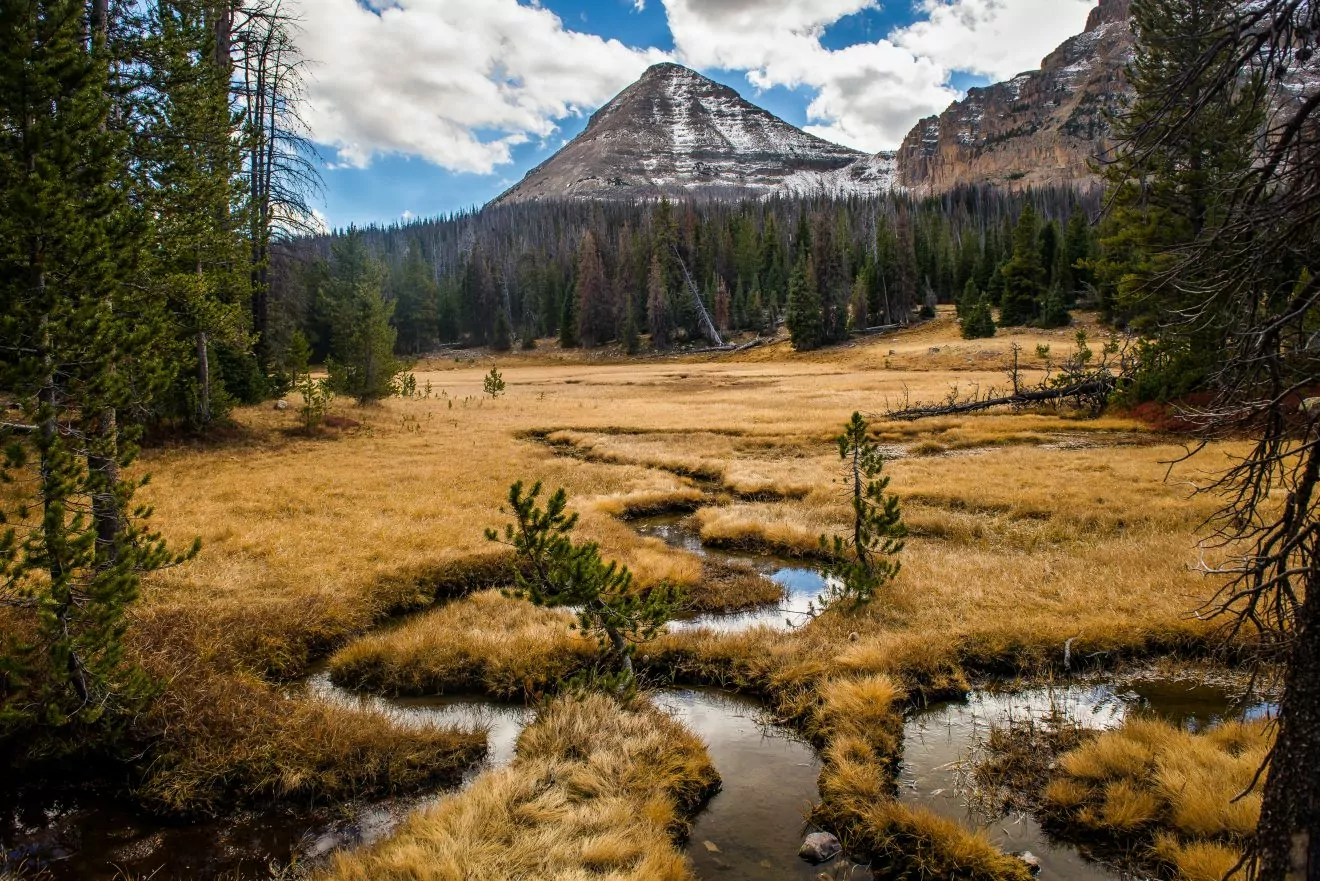
Mileage: 104 miles point-to-point | Length: 7 – 10 days | Elevation Gain/Loss: 16,500 feet
The Hike
This remote thru-hike is a classic Utah adventure — but it should only be attempted by experienced backpackers. This 104-mile trail traverses the entire Uinta Range, a unique east-to-west running range in Northern Utah. During this trek, you’ll stay above 10,000 nearly the entire time. You’ll climb up and over high mountain passes, traverse across meadows and tundras, and camp near pristine alpine lakes. Throughout the ten days, you may only see a handful of other hikers. If you’re seeking a serious undertaking with huge rewards, you’ll enjoy the Highline Trail and it’s expansive basins.
shorter alternatives
If you don’t have the time or experience to complete a 100+ mile thru-hike, you can still experience the grandeur of the High Uinta Wilderness. For a quick out-and-back overnight, check out the Amethyst Basin or the Red Castle Lake trails.
Logistics
Shuttle
As this is a point-to-point hike, you’ll need to arrange a shuttle to hike the entire Highline Trail. This is one of the most logistically challenging parts of the experience: the shuttle is over 150-miles. So even if you have two cars, you’ll need to allow yourself at least five hours to organize them. Park one car at the western terminus at Hayden Pass on Mirror Lake Highway near Kamas, UT, then drive to your starting trailhead at McKee Draw near Vernal, UT. If you’d prefer to save time, organize a shuttle through Mountain Trails Transport.
Permits, fees and Reservations
You do not need any permits to hike this trail or any trail in the High Uinta Wilderness. However, if you plan to leave your car at the Hayden Pass Trailhead, you will need a recreation pass, which you can purchase at the Kamas Forest Service Office. You can also use the interagency America the Beautiful Pass.
Water
If you hike this trail from east to west (which we recommend), you’ll need to carry enough water for the first 25-mile stretch to the Leidy Peak area. After this point, you’ll encounter lake basins and streams regularly, so you shouldn’t need to worry too much about water — just bring a filter! However, as always, use a map to plan your water sources in advance for the best hydration practices.
Campsites
There are no established campgrounds along the route, so you’ll need to practice leave no trace when determining campsite locations. Please camp on durable surfaces at least 200 feet from any water source. Additionally, camp out of sight and sound of trails to maintain the sense of solitude you feel along the Highline Trail.
When to do this Trip
This trip is best in the late summer after the snow has melted from all the high mountain passes. However, summer afternoons bring thunderstorms, so you should know lightning safety tips and be sure to descend from ridgelines before storms roll in. In the fall, weather becomes unpredictable, so prepare for cold weather and potential snowfall.
2. Emerald Lake to Mount Timpanogos, Wasatch Range
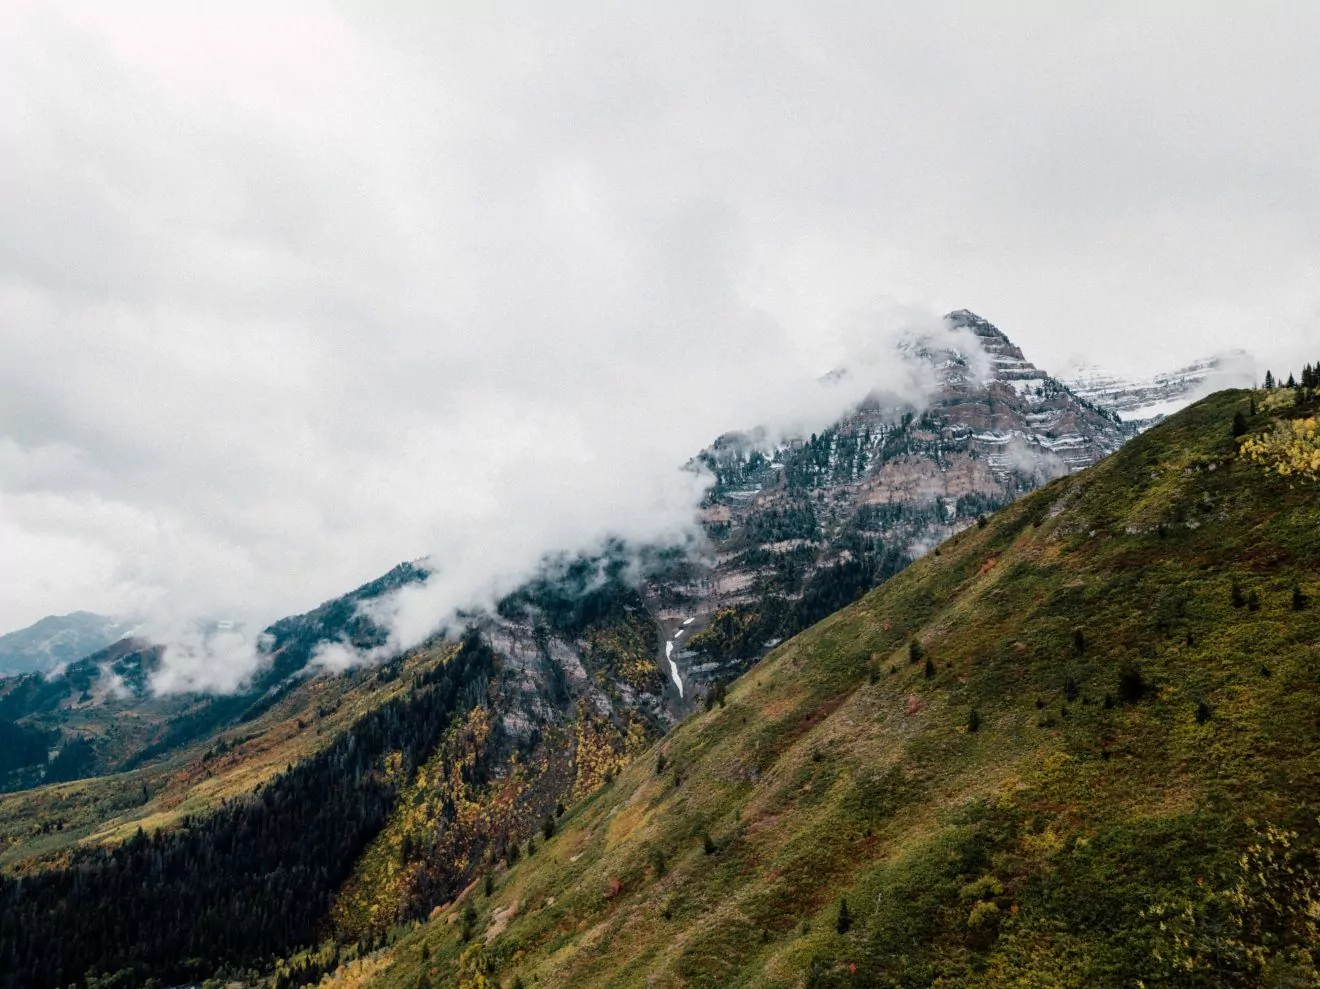
Mileage: 15 miles out-and-back | Length: 2 days | Elevation Gain/Loss: 4,500 feet
The Hike
If you’re looking for a strenuous overnight hike to one of the most impressive summits in Utah, you’ve found it. Mount Timpanogos is a very popular (very long) day hike among Salt Lake residents and visitors. However, if you take an extra day to break up the hiking, you’ll get to enjoy high mountain scenery with a fraction of the crowds. Wake up early to catch the sunrise from the summit for an unforgettable one-night backpacking trip!
If you’re hiking this trail, you have the option to start at one of two trailheads: Timpooneke Trailhead or the Aspen Grove Trailhead. If you intend to spend the night near Emerald Lake (the only water source near the summit), you should choose the later, as it passes right by the lake.
Logistics
Permits, fees, and Reservations
You do not need any permits to hike this trail or stay overnight in the Uinta-Wasatch National Forest.
To enter American Fork Canyon, you need to pay a $6 entrance fee unless you have the interagency America the Beautiful Pass.
Water
If you camp by Emerald Lake, you’ll have plentiful water access. Bring a filter! However, during the hot summer months, most of the trail is dry, so you should have a high enough water capacity for all-day hiking.
Campsites
There are no established campgrounds along the route, so you’ll need to practice leave no trace when determining campsite locations. Please camp on durable surfaces at least 200 feet from Emerald Lake or any other water source.
When to do this Trip
This trip is best in the late summer after the snow has melted from all the high mountain passes. However, summer afternoons bring thunderstorms, so you should know the proper lightning protocol. Arrive at the summit early and descend from ridgelines before storms roll in. In the fall, weather becomes unpredictable, so prepare for cold weather and potential snowfall.
3. Under the Rim Trail, Bryce Canyon National Park
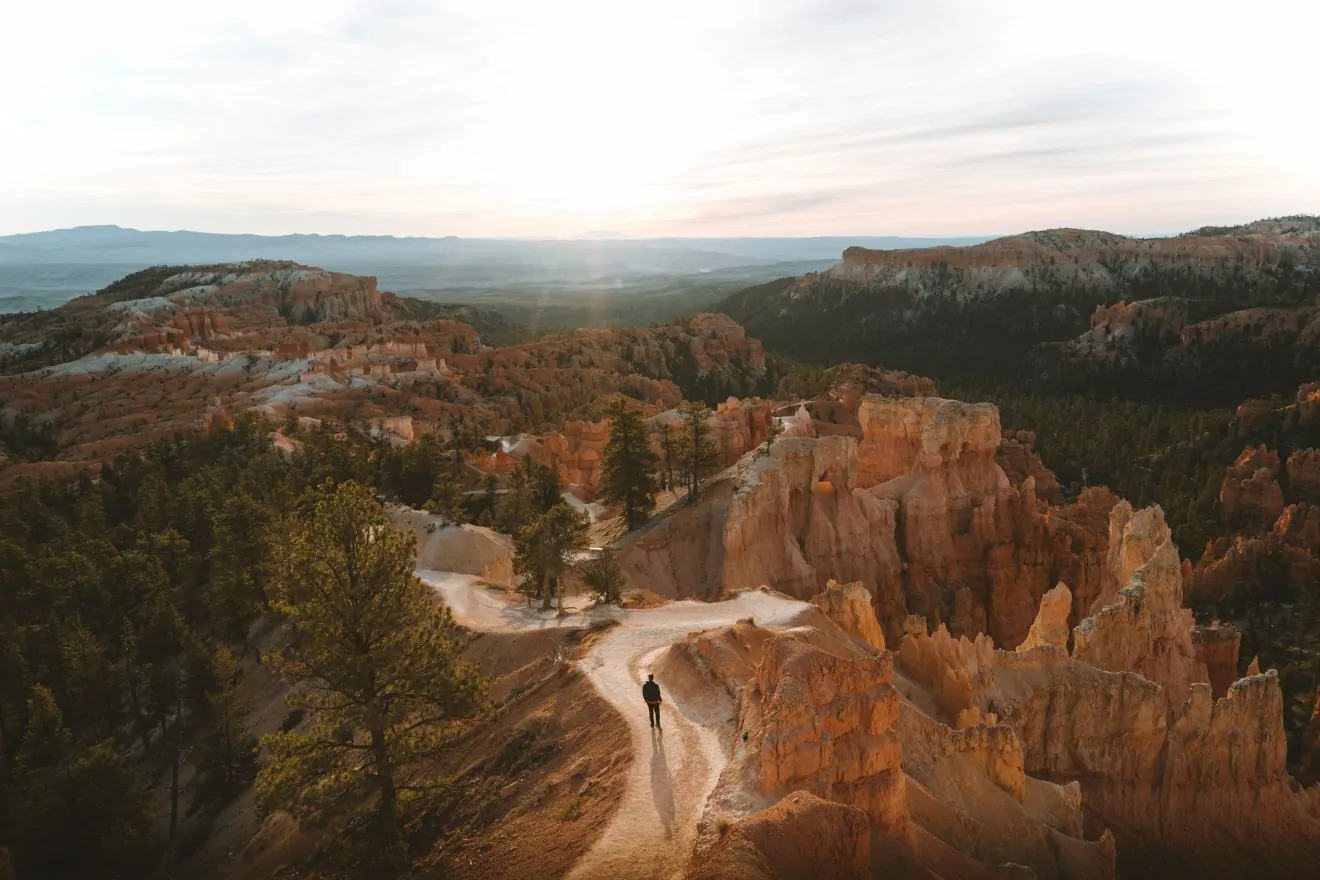
Mileage: 23 miles point-to-point | Length: 2 – 3 days | Elevation Gain/Loss: 16,500 feet
The Hike
Many people overlook Bryce Canyon National Park as a viable backpacking destination. However, there is one worthwhile backpacking trail in the park — the Under the Rim Trail. This moderate backpacking trail will immerse you in the magical world of hoodoos and ponderosa pines. You’ll get off the main tourist path and see a more serene side of the otherwise bustling park. And, if you’re looking for a little bit more mileage, you can add on the 9-mile Riggs Spring Loop to make a 31-mile trip!
While the hoodoos and cliffs are a bit more subtle than the in-your-face attractions of the main park loops, the solitude and silence will allow you to experience the Park as it once was. At night, gaze out of your tent to see a mind-melting amount of stars.
Logistics
Shuttle
As this is a point-to-point hike, you’ll need to use the Park shuttle system, which is free to park visitors. You can park your car at the Shuttle Station for the end of your trip. Bryce Point, your end destination, is along the shuttle line, so you can just hop on the park shuttle and take it back to your car.
The Bryce Canyon Shuttle does not service the south end of the Park, so you’ll need to organize a shuttle to Rainbow Point via the Rainbow Point Tour bus. You should reserve a seat up to 7 days in advance by calling (435) 834-5290. However, check with the park to make sure the bus is running before relying on it for your trip. You can board this shuttle at the Shuttle Station parking.
Please note that hitchhiking is not allowed in Bryce Canyon National Park!
Permits, fees, and Reservations
You will need wilderness permits to stay overnight in Bryce Canyon National Park, but these permits are not nearly as competitive as at nearby destinations. You can reserve your permits up to 48 hours in advance in person only at the Visitor Center. We recommend trying to secure your permit before the morning of your trip. Permits are $5/person.
You’ll also have to pay a $35 park entrance fee or use your annual America the Beautiful Pass.
Water
Water in the desert is often intermittent and unreliable, so we recommend carrying at least 4L per person per day into the backcountry. However, you can often find water along the trail at either Sheep Creek or Yellow Creek. When you pick up your wilderness permit, check with the Visitor Center for the most up-to-date information. If you can’t access reliable water, carry enough for the duration of your trip. If you rely on backcountry water sources, you should purify it with a filter or chemical drops like Aquamira.
Campsites
You must stay at developed campsites along the route and use the established tent pads. There are eight campsites along the Under-the-Rim Trail and seven along the Riggs-Spring Trail. These sites are first-come, first-served.
When to do this Trip
Bryce Canyon sits at a higher elevation (Rainbow Point is around 9000′) than many other desert destinations, so this backpacking trip is best done from May through September. In the early and late seasons, the trail can be covered in snow. However, in the heat of the summer, water sources become more unreliable.
4. Zion Traverse, Zion National Park
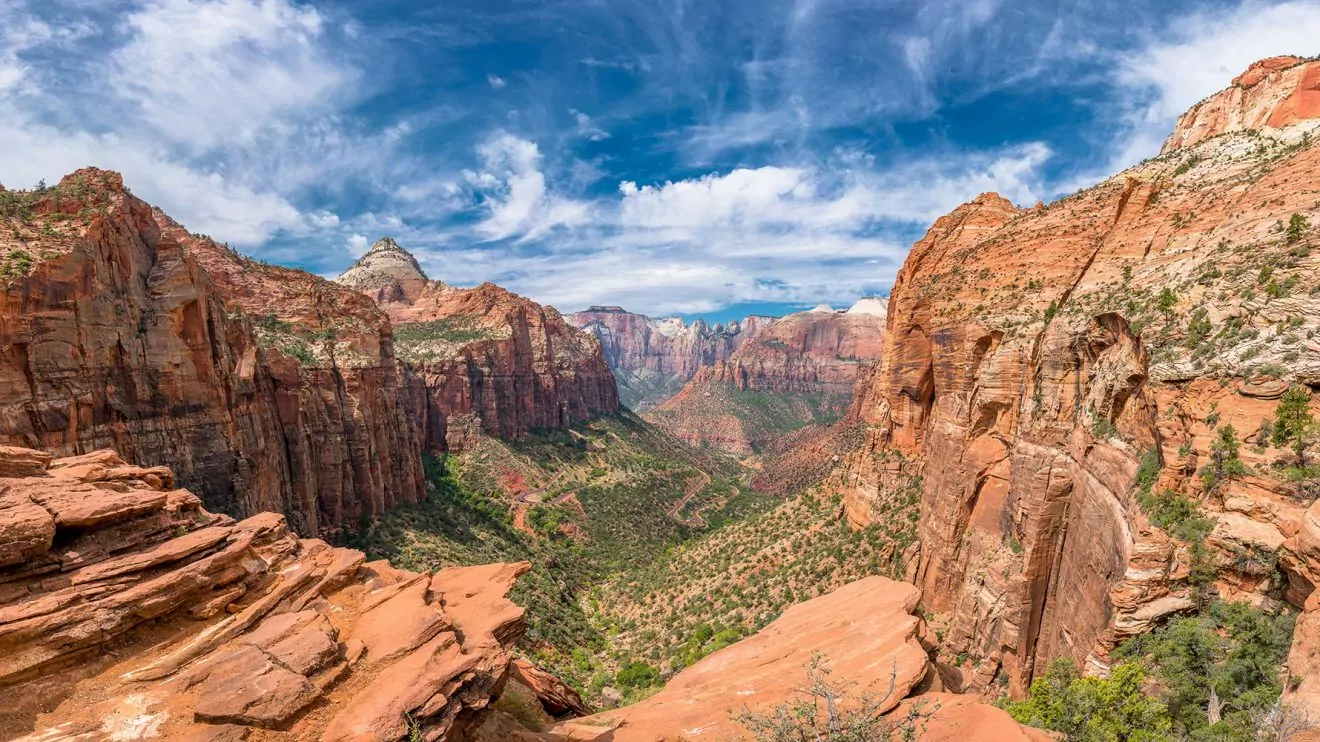
Mileage: 48 miles point-to-point | Length: 4 – 6 days | Elevation Gain/Loss: 6,400 feet
The Hike
The Zion Traverse is the ultimate backpacking trip in Utah that offers one of the most intimate and secluded ways to experience Zion National Park. For those that like to experience solitude and serenity while visiting our National Parks, this hike is for you. This hike is moderately strenuous but worth the hard work! You’ll pass some of Zion’s most impressive attractions and have the opportunity to add on a two-mile roundtrip hike to Angel’s Landing.
Although the Zion Traverse features some of the most popular trail segments in the park (like the West Rim Trail), you will still find stillness and silence among the sheer sandstone cliffs and unimaginable vistas of Zion National Park thanks to the permitting system. It is important to note that this trail is a thru-hike and, therefore, requires a significant shuttle. We recommend hiking this trail from east to west.
** Due to the 2019 rockfall near the Weeping Rock Trailhead, a portion of the East Rim Trail is closed. So, you cannot access the East Rim portion of the traverse, but you can still hike approximately 32 miles from the valley floor to the Kolob Canyons area!
shorter alternatives
If you’re not up for the entire hike, the West Rim Trail is a great, shorter itinerary alternative that includes the most iconic parts of the Zion Traverse. As it is a point-to-point hike, it still requires a car shuttle.
Logistics
Shuttle
This trail starts and ends in two entirely different parts of Zion National Park, so the shuttle can be difficult to organize. If you have two cars, you should drop one car at the Lee Pass Trailhead in Kolob Canyons and then drive to the East Rim Trailhead where you’ll start your trek (about 1.5 hr drive time). Alternatively, you could drop your car at the Lee Pass Trailhead and arrange a shuttle to take you to the East Rim Trailhead. This way, you won’t have to retrieve your car at the end of the hike!
Permits, Fees, and Reservations
A permit is required for all overnight trips in Zion’s backcountry. You can find out more about permits on the Zion National Park backcountry page. To hike the entire trail, you’ll need to make reservations in advance. Certain areas fill up quickly, like the La Verkin campgrounds and the West Rim Trail campgrounds. Reservations open on the fifth of each month for the following month (ie. April 5th for the month of May). Even if all the advanced campsites are booked, you can check the online reservation portal to see if any walk-in slots are available for the day of your intended trip. As this backpacking trip connects a series of different trails, you’ll need to make separate reservations for each park region.
On the day before your intended trip date, you’ll need to email the Park to turn your campsite reservation into a wilderness permit. Permits are $15 for a group of 2 and $20 for a group of 3 – 7.
Given that this trail is within the National Park, you are required to pay the Park entrance fee for hiking within the park as well. Or, use your interagency America the Beautiful Pass.
water
This trail has somewhat plentiful water sources compared to many desert locations. However, you should check the National Park site for information about current water quality, as toxic cyanobacteria are found in certain streams. Although La Verkin Creek flows year-round, you should not use this as a drinking water source unless the conditions change. You can generally find water at Wildcat Spring, West Rim (Cabin) Spring, and Stave Spring, among others, but check the water sources NPS page for Zion! As always, filter your water before drinking it!
campsites
You must stay at developed campsites along the route, and you will book each specific campsite in advance with your permit.
When to do this Trip
Like most Southern Utah backpacking trips, it is best to plan this journey for the spring or fall after the dead of winter but before the heat of summer. April through May and September through November are great times to hike this trail!
We don’t recommend attempting this trek during the summer unless you have desert hiking experience. If you try to backpack this trail during the summer, travel slowly and drink plenty of water. Allow yourself more time to hike shorter distances — you may want to attempt this hike over the course of 5 – 7 days instead!
5. The Big Needles Loop, Canyonlands
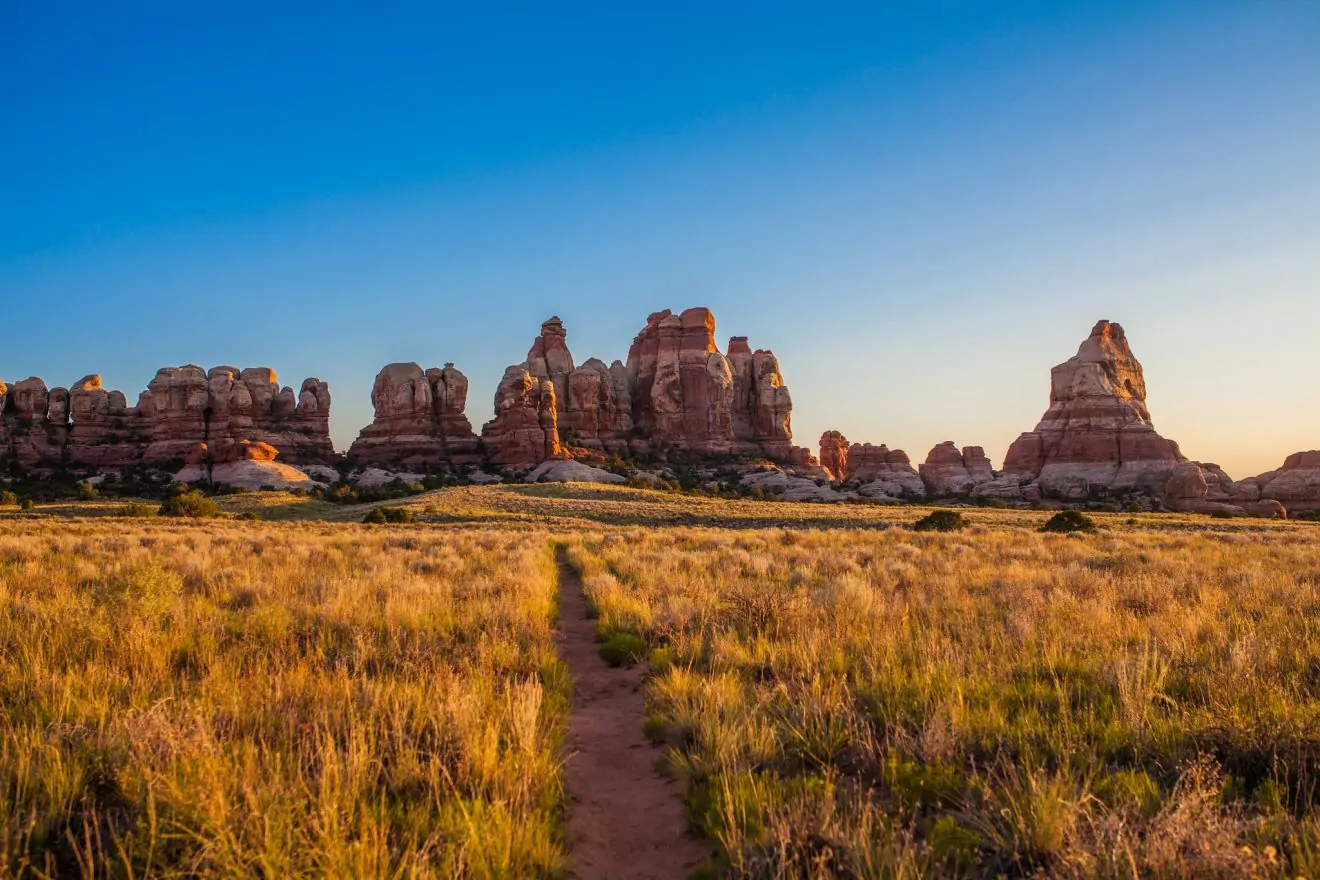
Mileage: 23 mile loop + side trip options | Length: 3 – 5 days | Elevation Gain/Loss: 4,200 feet
The Hike
This Utah backpacking trip traverses one of the wildest spaces in the red rock deserts — Canyonlands National Park. And despite its wild nature, the Needles District is one of the most accessible areas in the Park for a backpacking trip. You’ll be enchanted by the slickrock expanses, the narrow slot canyons, and the striated pinnacles the form castles along the desert skyline.
Given the remote, challenging nature of Canyonlands backpacking trip, we recommended this trail for experienced backpackers only. You’ll need to tackle challenges like navigating tricky terrain, carrying multi-day quantities of water, and packing out your poop. If you don’t have a ton of experience backpacking but can’t get this trip off your mind, consider hiring a professional guide to aid you in your adventure!
Logistics
permits, fees, and reservations
A backcountry permit is required for all overnight trips into Canyonlands. We recommend you reserve a permit in advance, as they are highly competitive. Advanced reservations have a $36 dollar reservation fee for a group of up to 7 people. You may reserve your permit up to four months in advance.
If you didn’t reserve in advance, walk-in permits are available. Head to a visitor center one day before your anticipated trip date to try to secure a permit. However, you may have to remain more flexible with your itinerary.
If you don’t want to deal with the complex permitting system, hire a backpacking guide to work out all the permits for you!
water
Water is very limited throughout all of Canyonlands National Park. In fact, it is a huge reason why we recommend hiring a guide for your first desert backpacking trip. Check with the Park Service for updated conditions, but plan to carry all the water you need for your hike (at least one gallon per person per day). This will substantially increase your pack weight.
campsites
You must stay at developed campsites along the route, and you will book each specific campsite in advance with your permit.
When to do this Trip
Canyonlands backpacking treks are best planned for more temperate months in the fall and the spring. April-May and September-November are great times to plan your trip, however, they are also the more populated times. Avoid hiking this trail in the summer or winter.
Big Needles Loop Backpacking Tours
Wildland Trekking Hiking Adventure
As the world’s premier hiking and trekking company, Wildland believes in connecting people to fantastic environments in amazing ways. Wildland Trekking Company offers an array of incredible hiking and trekking experiences in 9 states and 11 countries. Read more about our world-class destinations.
To learn more about our guided backpacking trips and all of our award-winning hiking vacations, please visit our website or connect with one of our Adventure Consultants: 800-715-HIKE.


