Thunder Creek Trail
General Description
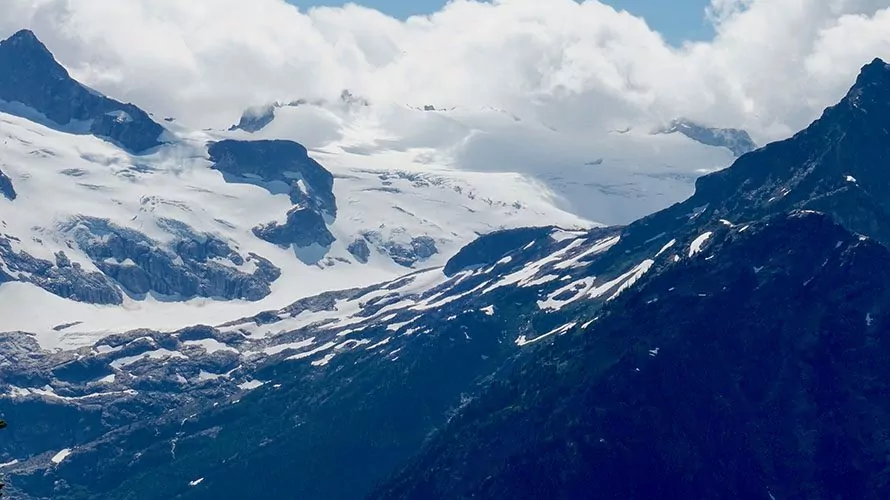
The Thunder Creek Trail is a gateway into the depths of the North Cascades. Old forests draped with lichen make way for the turquoise waters of Thunder Creek, and trails lead along gentle grades besides the creek, or up steep slopes to summits and astounding views. With the trailhead just next to Ross Lake, it’s a perfect destination for easy dayhikes with the family, mellow backpacking trips, or a point of departure for long traverses through the wild North Cascades. The main trail winds along Thunder Creek, taking you to its glacial source at Park Creek Pass and connecting with trails to Stehekin, Easy Pass, and the Pacific Crest Trail. But shorter hikes and loops are plentiful, and an early spur takes you up to the summit of Ruby Mountain with spectacular views of Ross Lake and the North Cascades. Or, take it easy with a gentle stroll out to Thunder Knob, looking out over Diablo Lake.
Explore the North Cascades with Expert Guides
Getting to the Thunder Creek Trailhead
From Highway 20, turn right into Colonial Creek Campground.
History of Thunder Creek
Like the rest of the North Cascades, Thunder Creek and its surrounds have been inhabited and traveled through continuously for nearly 10,000 years. Some major changes have happened in that time, though–perhaps most spectacularly the creation of Ross and Diablo Lakes by the Skagit River Hydroelectric Project, beginning in the 1920s. What used to be a wild river tumbling down from glacial peaks is now a series of brilliant turquoise lakes–Ross Lake and Lake Diablo, just next to the Thunder Creek Trailhead. Without those lakes–and the subsequent construction of Washington Highway 20, connecting East to West across the spine of the North Cascades–these trails would not exist. Highway 20 was completed in 1972, only 4 years after the creation of North Cascades National Park, and with it came Colonial Creek Campground and easy access to the network of trails that now spans the North Cascades.
3 Best Day Hikes on the Thunder Creek Trail
Take a gentle stroll along Thunder Creek and soak up the deep woods, head out towards Thunder Knob for an easy but rewarding view of mountains and Diablo Lake, or go for broke and try to summit Ruby Mountain in a day.
Below are the primary options for day hiking the Thunder Creek Trail
| Destination | Miles | Elev | Difficulty | Style | |
| Fourth of July Junction | 4 mi | minimal | Easy | Out and Back | |
| Thunder Knob | 3.6 mi | 630 ft | Easy | Out and Back | |
| Fourth of July Pass | 9.2 mi | 2,200 ft | Strenuous | Out and Back |
1. Fourth of July Junction
The Thunder Creek Trail begins at the South end of Colonial Creek Campground, alongside Thunder Arm on Lake Diablo. Start walking on a mostly level trail through Western Redcedar and Douglas Firs, keeping an eye out for ancient stumps with notches still visible from logging operations in the early 20th century. Look for glimpses of the brilliantly colored Thunder Arm as you go–the finely eroded glacial flour in the water feeding the Thunder Arm turns it a bright turquoise. Wind through the forest, and cross the bridge over Thunder Creek at just short of 2 miles. The junction with the Fourth of July Trail comes shortly after, where you can turn around, or continue your jaunt along Thunder Creek if you’re enjoying the forest solitude.
2. Thunder Knob
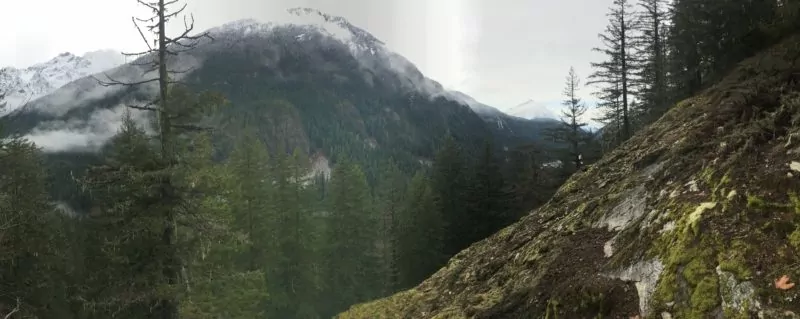
The trail to Thunder Knob begins on the north side of Highway 20, across the road from Thunder Creek. Follow signs for Thunder Knob through the campground, then begin climbing gently through moss-laden forests. Look for the abundant epiphytes, mosses, and lichens that cover the trees, rocks, and everything else–a sign of clear and pure air. At the end of the short trail, you’ll be rewarded with a high lookout over Diablo Lake and towards the surrounding mountains. Bring a snack or a picnic lunch, enjoy the changing light over the lake and mountains, and then return the way you came.
3. Fourth of July Pass
For an all-day adventure, follow the Thunder Creek trail across the bridge to the Fourth of July junction, then begin climbing up switchbacks through the forest. The higher you go, the more glimpses of mountains and glaciers you’ll get peeking through the trees. Watch the trees and ecosystems change as you gain elevation. Shortly before Fourth of July Pass proper you’ll emerge into the open at Fourth of July Camp, with excellent views of the mountains to your west, and abundant birds and wildlife. Fourth of July Camp is a perfect basecamp from which to launch a summit attempt on Ruby Mountain, so if you’re considering an overnight trip, this is your spot. Otherwise, take in the views, explore the pass, and then return the way you came
Maximize Your Visit to North Cascades National Park on Hiking Tour
Multi-day packages allow visitors the opportunity to make the most of their time in North Cascades National Park and to do it hassle-free. Guided tours include gear (backpack, trekking poles, crampons in winter), meals, accommodations on multi-day tours, local transportation, and a professional Washington hiking guide. Through their knowledge, stories, and personal passion, guides can bring a place to life in a way that’s much more difficult to do on your own. Read more about North Cascade Hiking Tours.
Award Winning USA Hiking Vacations
3 Thunder Creek Trail Backpacking Trips
The Thunder Creek Trail is your gateway to the North Cascades! Endless trips are available from this trailhead, but we’ve selected three of the best below.
| Route | Miles | Difficulty | Campgrounds | |
| McAllister Camp | 12.8 | Strenuous | McAllister CG | |
| Ruby Mountain | 15 mi | Strenuous | Fourth of July CG | |
| Park Creek Pass | 46 mi | Strenuous | McAllister CG, Junction CG, Thunder Basin CG |
1. McAllister Camp (2 days)
McAllister Camp is a perfect mellow overnight trip for first time backpackers or if you’re just looking for some solitude. Staying at low elevation, it’s also a great early season trip when the high country is still snowed in. Follow the Thunder Creek trail past Fourth of July Junction and Neve Camp (or stay there for an even shorter trip, if you’re with young kids), and continue hiking through the forest, retruning occasionally to Thunder Creek. At 4.5 miles you’ll pass through a nearly 50 year old burn, and get to observe forest succession at work. McAllister Camp itself is a lovely forest camp, nestled alongside Thunder Creek. Spend a night there, and return the way you came for an easy overnight trip.
2. Ruby Mountain (3 days)
Ruby Mountain is possible as a dayhike, but not recommended unless you’re a glutton for punishment. The far more enjoyable way to reach this spectacular summit is with a three day backpacking trip, spending two nights at Fourth of July Camp and taking a full day to summit Ruby Mountain on day 2. Follow the Thunder Creek trail until the Fourth of July Junction, then switchback up to Fourth of July Camp for your first night. On day 2, leave your camp set up and take daypacks (and lots of water!) up towards Fourth of July Pass. Just before the second footbridge, head north on the unmaintained footpath towards Ruby Mountain. You’ll need strong navigation skills, and a good GPS app won’t hurt–the trail is often obscured by deadfall, and involves scrambling and picking your way along rocky ridges towards the top. It’s a long, steep day, with nearly 3,000 feet of elevation, but the panoramic views of Ross Lake and the North Cascades are worth it. Soak in the views, head back down to camp, and then return to the trailhead on day 3.
3. Park Creek Pass
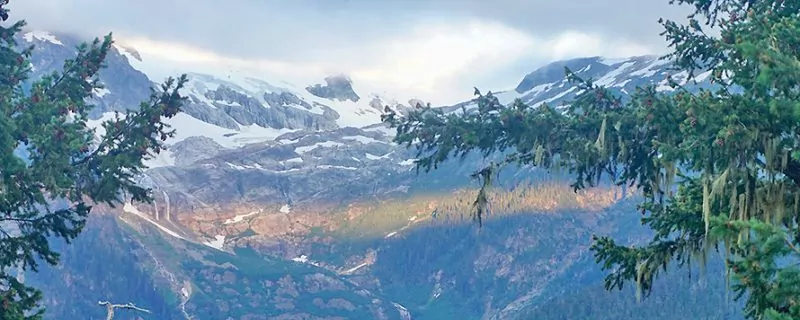
If you can arrange for a vehicle shuttle you can follow Thunder Creek all the way across Park Creek Pass to Cascade Pass or Stehekin. If not, an out and back trip to Park Creek Pass is a spectacular exploration of the North Cascades. Follow the Thunder Creek trail to McAllister Camp, then start climbing steadily. Views of Boston Glacier, old mining operations by the Skagit Queen camp, and more await you, along with plenty of elevation. Make your second camp at Junction or push all the way to the dramatic glacial cirque of Thunder Basin. Head up to Park Creek Pass at 6,100 feet, soak in the views of Mt. Bucker, Mt. Logan, and more, and then return the way you came.
Join a Guided North Cascades National Park Backpacking Trip
Joining an North Cascades National Park backpacking tour is a worry-free, adventurous way to experience North Cascades National Park. With your gear, meals, local transportation, permits, and fees taken care of for you, you can travel light and focus 100% on enjoying the hiking experience, while the guide company takes care of everything else. Also, by going with local experts you’ll enjoy a greater level of safety and gain a much better understanding of the history and ecology of this remarkable region. Read more about guided North Cascades backpacking trips.
All-inclusive North Cascades Backpacking Adventures
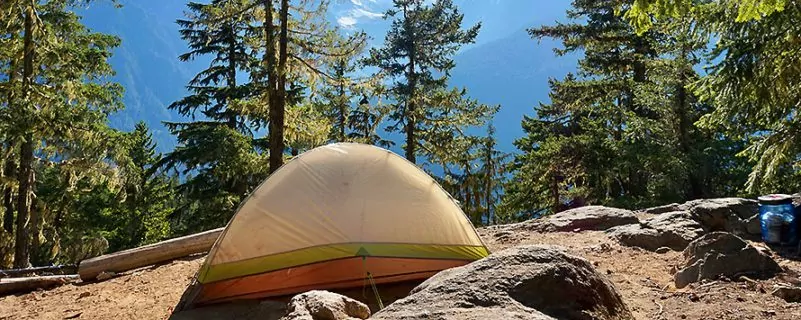
When to Hike and Seasonal Considerations
North Cascades National Park is a land of extremes: heavy snowfall in the winter, rain in the shoulder season, but perfect weather all summer long. The Cascade River Road is often closed by snowfall and avalanches during the winter and spring, but is usually open by July–check the NPS website for road conditions. Snow in the high country makes this route challenging before July, unless you are comfortable with an ice ax and snow travel skills. July-September is the perfect window, but October can have lovely weather and perfect huckleberries as well. Make sure to check the weather before you go!
Necessary Permits
Day Hike Permits
No permits are needed to day hike in North Cascades National Park.
Backpacking Permits
Backpacking permit are require in North Cascades National Park. While some walk-up permits are available, reservations are recommended to ensure you get your desired itinerary. Permits must be picked up at the Marblemount Wilderness Information Center, where rangers can also help you plan your trip, answer questions about trail conditions, and loan you bear canisters to keep your food safe from animals.
Suggested Packing List
Day Hike Packing List (edit)
- Lightweight hiking shoes or hiking boots
- Waterproof rain jacket and pants
- Warm wool or fleece top
- Warm hat and gloves (Spring, Fall, Winter)
- Water bottles or bladder (2 liters total capacity)
- Sunhat
- Headlamp
- Sunglasses, sunscreen and lip balm
- Salty, calorie-rich snacks
- lunch
- backpack
- trekking poles
- 1st aid kit
Backpacking Packing List
- all items listed for day hikes PLUS
- multi-day backpack
- 3-season tent
- sleeping bag
- sleeping pad
- backpacking stove and fuel
- backpacking meals
- 3 pairs wool socks
- extra t-shirts
Please Respect Our National Parks – Leave No Trace
We strongly recommend abiding by all Leave No Trace ethics guidelines and practices so that our national parks and public lands are preserved for the enjoyment of future generations and for the people and animals who call these places home. Simple things like packing out your trash, obeying national park rules, and respecting the peace and quiet of our national park trails is a great start. If you’re going on a backpacking trip, you can read about more about the 7 Leave No Trace Principles.


