
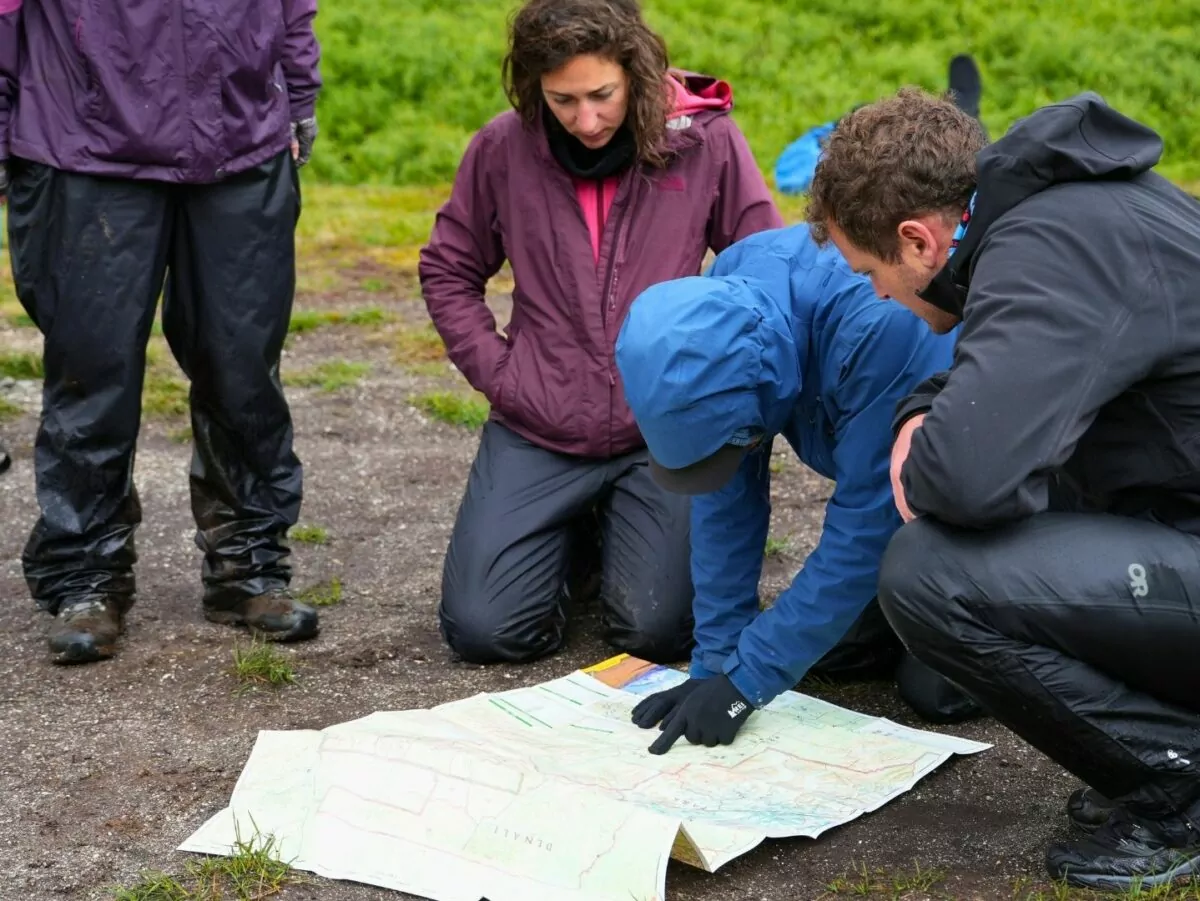
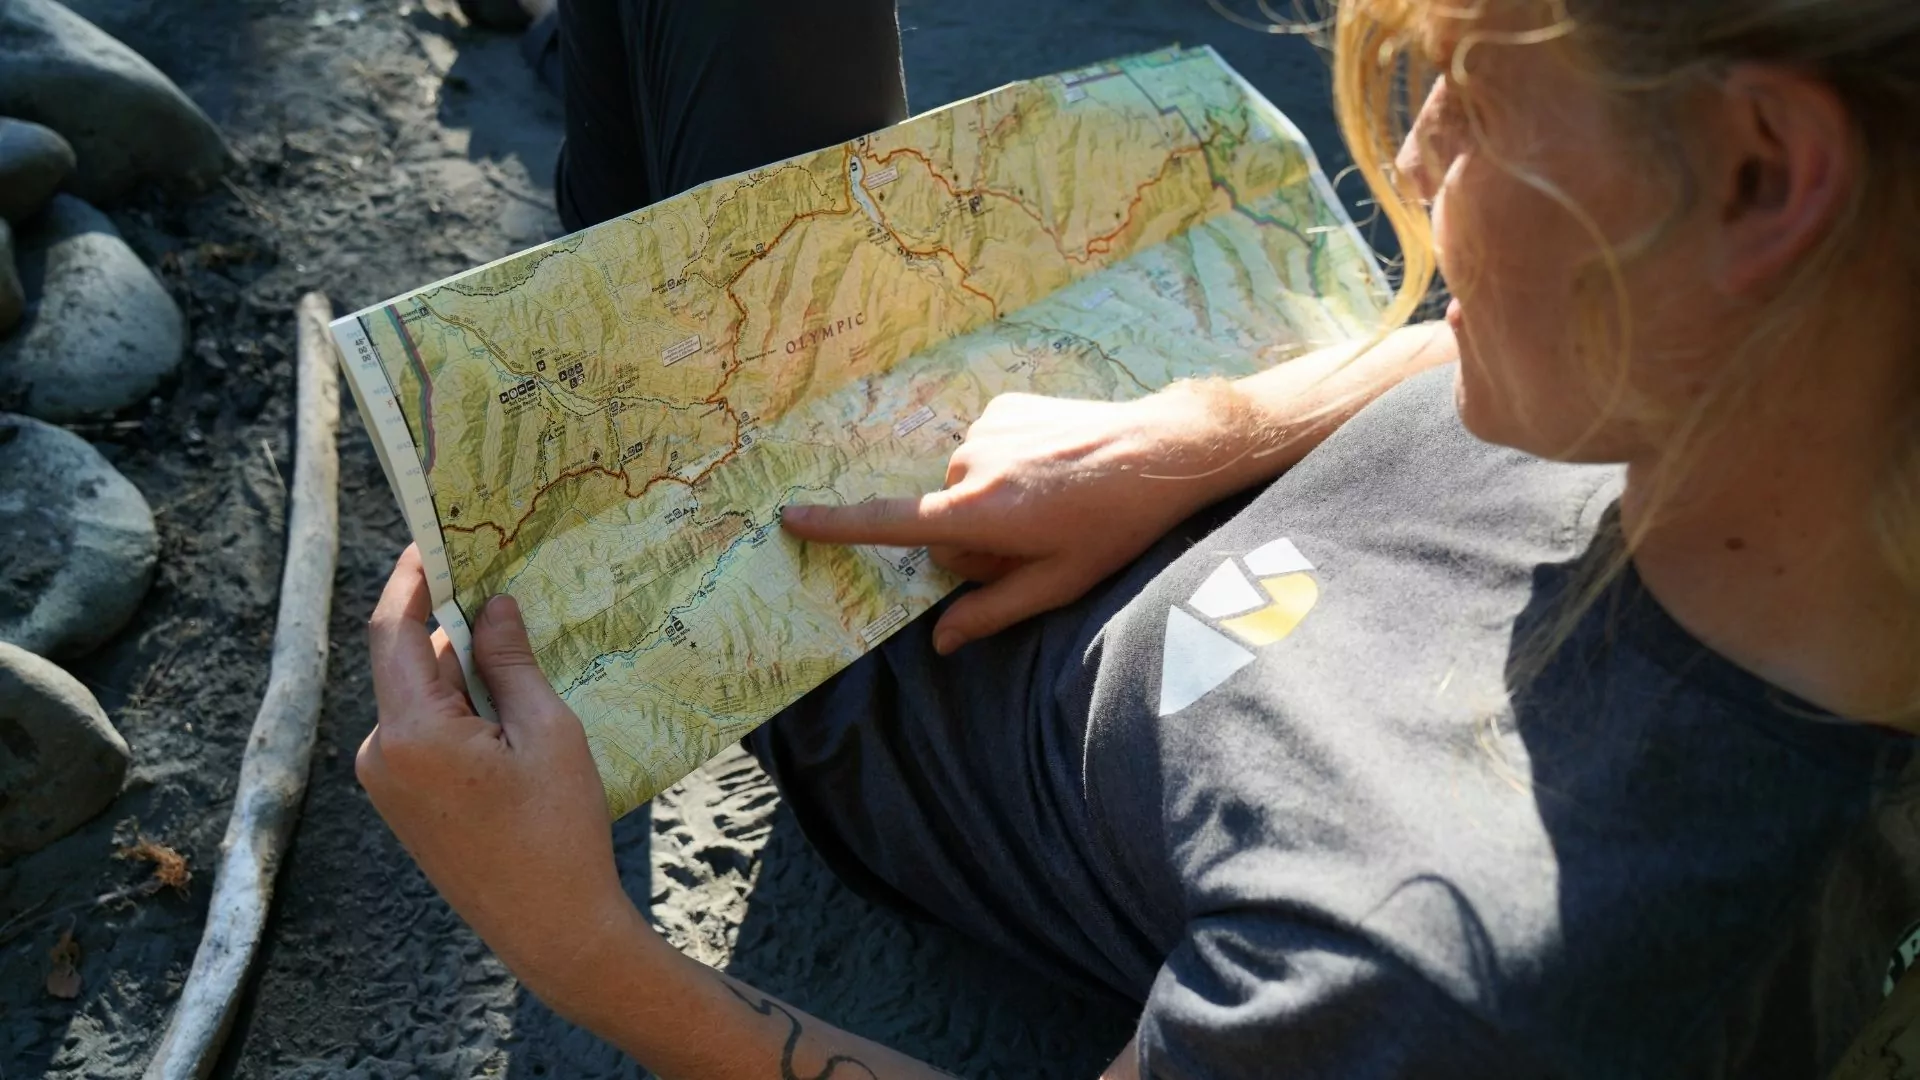
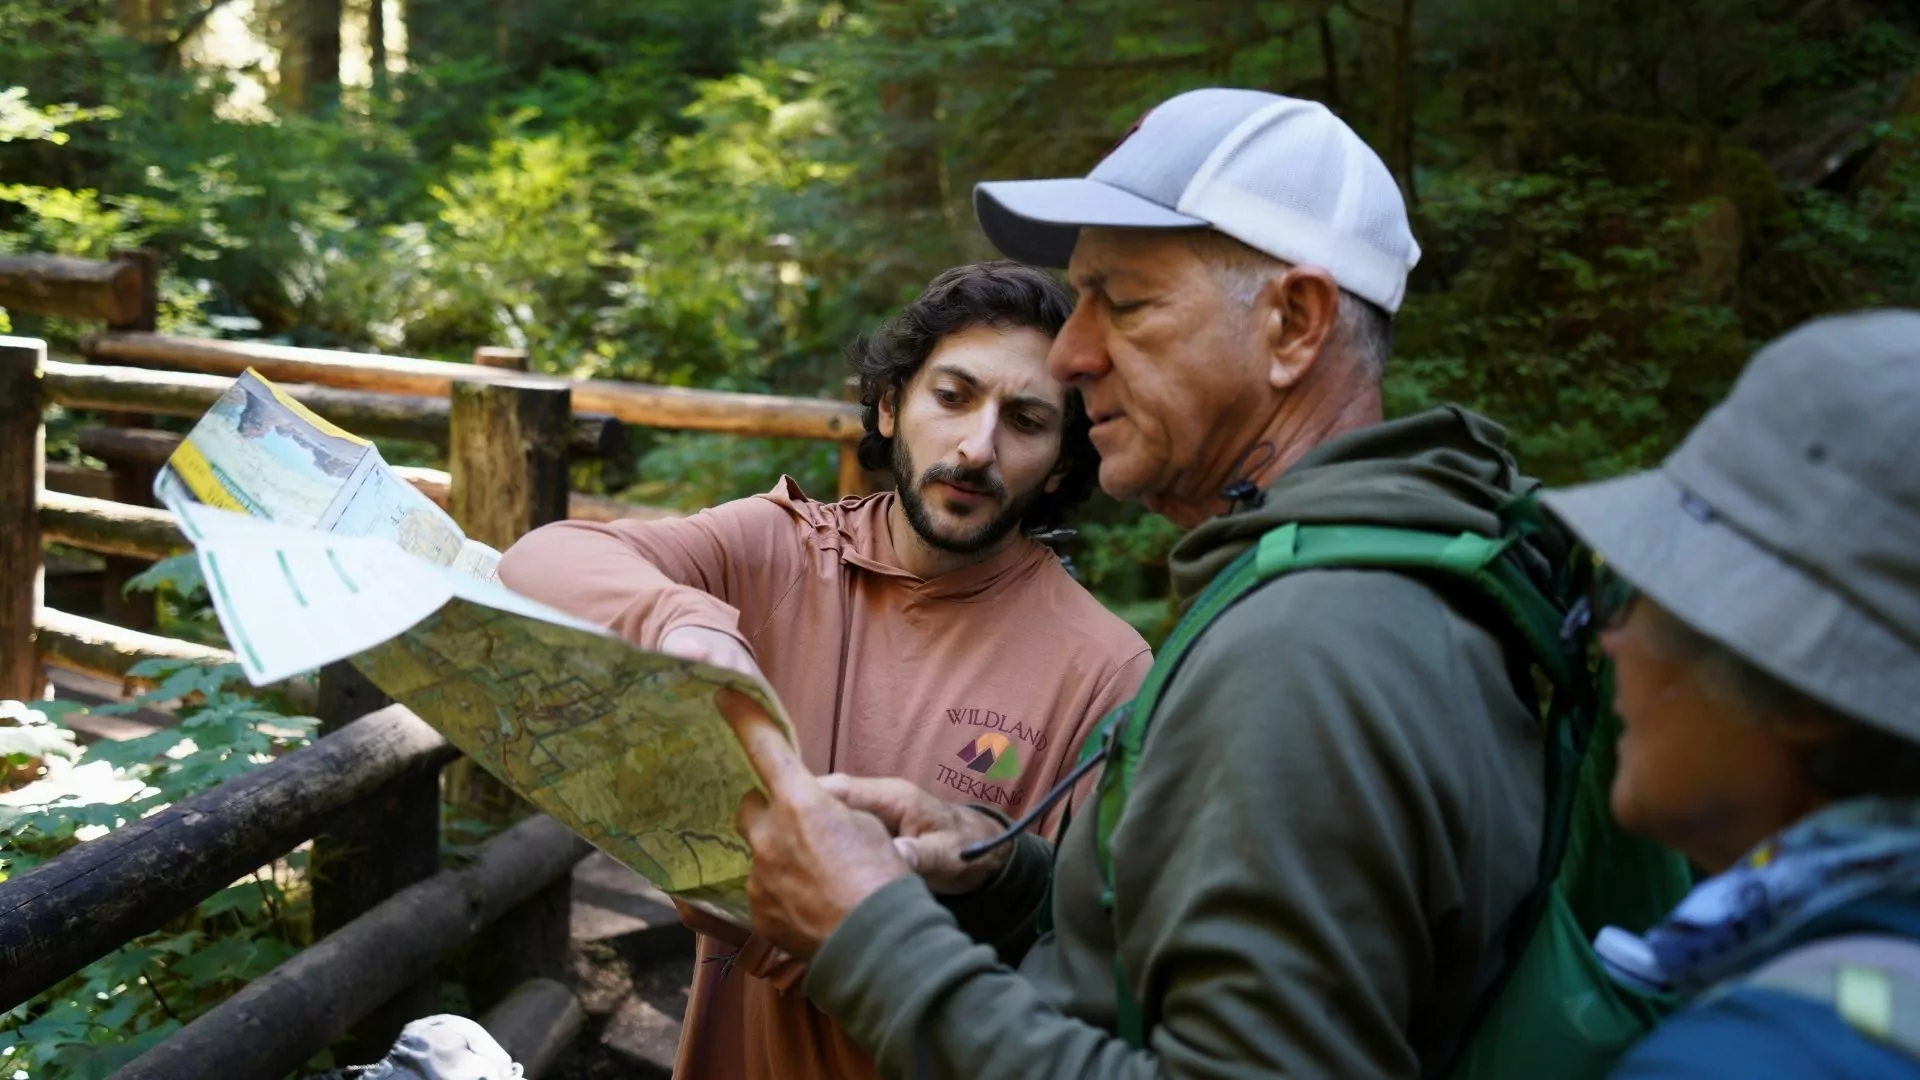
Navigating With a Map and Compass
Picture this situation: You are fifteen miles into the backcountry on the five-day backpacking trip of your dreams. The trail you are following is sparse and intermittent, but you’ve been following a GPS track on your phone to help aid in navigation. You stop to eat lunch at a beautiful alpine lake, and as you stoop over the lake to collect water for filtering, you hear a “plop!” You watch in disbelief as the phone that only seconds ago was in your chest pocket slowly sinks its way to the bottom of the crystal-clear lake. Your phone, and with it your means of navigation, are gone in an instant. Would you have the knowledge and skills to continue to navigate through complex backcountry terrain without the aid of a GPS device?
In this day and age, as people increasingly become reliant on technology in the backcountry, the skill of reading maps and orienteering via a compass has become somewhat of a lost artform. To many it may seem superfluous, but having the knowledge to read and understand maps is, at the very least, a fun and interesting skill-set to have for any passionate backcountry traveler; and it is a skill that in the worst-case scenario could help save you from a true emergency in the backcountry.
While the many symbols and lines of a topographic map may seem overwhelming and daunting at first glance, with the right knowledge a map is a tool that can paint a picture of a 3-dimensional landscape on a 2-dimensional surface. So for those intrepid explorers among us, join me as I take you through some of the basics of reading maps to help you gain knowledge and confidence for your next backcountry adventure.
Key Features of Topographic Maps
These features are what help us paint a picture of a landscape and allow us to calculate distance and elevation change.
- Scale: Topographic maps usually display a scale that indicates the ratio of map distance to real-world distance.
- Contour Lines: The basis for understanding elevation, contour lines indicate the shape and steepness of the terrain.
- Elevation Markers: Specific points marked with their elevation in feet or meters, typically found along contour lines.
- Symbols: Various symbols on maps represent different features like roads, trails, water bodies, and changes in vegetation.
Reading Maps: Using Map Scale to Calculate Distance
One of the first important things to determine when reading maps is the scale of the map. The most common scale for a detailed topographic map in the U.S. is 1:24,000. This means that each inch on the map represents 24,000 inches (or 2,000 feet) in real-world terrain. Map scales vary and a map with a higher scale ratio, say 1:50,000, generally covers a larger area and is less detailed than a map with a lower scale ratio. This is the most useful and important way of gauging distance while reading a map and is essential to navigation. You can use the map scale to calculate mileage and also use it as a rough estimate to calculate pace of travel.
Measuring Mileage
- Trace Your Route: Use a piece of string to follow the path you plan to take, noting any bends and changes in direction.
- Measure: Once the route is traced, measure the length of the string and compare it against the map’s scale to determine the distance.
Calculating Pace of Travel
Once you’re able to calculate mileage from a map, you’ll be able to estimate your pace of travel and calculate estimated time of arrival to a destination. Use these steps:
- Estimate your hiking speed by calculating the amount of time it takes you to cover one mile.
- Compare the distance you have left to hike with your calculated speed. For example, if you hiked one mile in 20 minutes (3 MPH pace) and you have 6 more miles to hike, you’ll be able to estimate that you have two more hours of hiking on similar terrain.
- Important: Be aware of the type of terrain you are hiking on; it will take longer to hike on steeper, rougher terrain than flat, even terrain.
Reading Maps: Using Contour Lines to Calculate Elevation Change and Slope Angle

One key feature of a topographic map is the presence of contour lines. Contour lines are lines on the map that indicate changes in elevation. Each line connects points of equal elevation. The spacing between these lines indicates the steepness of the terrain; closely spaced lines indicate steep slopes, while lines that are farther apart suggest gentle inclines.
Important things to note when using contour lines:
- Contour Interval: This is the difference in elevation between each contour line. Each map is different, but typical contour intervals are 20, 40, 50, or 100 feet and are typically indicated in the map legend.
- Index lines: these are contour lines that are slightly bolder, typically one in every five lines, that will also show the exact elevation somewhere along the line.
Calculating Elevation Change and Steepness
Once you understand how contour lines work, you can put it all together to calculate elevation change on your intended route.
- Calculate the elevation at your current location. Locate the nearest contour line to your location on the map and determine the elevation of that contour line.
- Calculate the elevation at your destination (say the top of a mountain pass that your route ascends) in the same way.
- Be sure to make note of any variations in your route along the way. Just because your trailhead and campsite are at the same elevation doesn’t mean that there might not be a lot of elevation change in between!
- The steepness of a slope is indicated by the distance between contour lines. A large open meadow may not have any contour lines, while a 1,000 foot rock face will have lines so close together as to be virtually indistinguishable. In this way, contour lines are important to recognizing significant landmarks like valleys or mountains.
Reading Maps: Using Map Legend to Assess Vegetation and Key Landmarks
One of the most important tools for reading maps is the map legend. It is important to familiarize yourself with what each different line, symbol and color means.
Knowing the type of tree cover and vegetation is crucial for planning and navigation. Green typically indicates forested areas, while shades can represent different types of cover (e.g., deciduous vs. coniferous). Lighter or white indicates open areas, and blue usually indicates water in the form of rivers, streams, lakes, etc.
Using this information can help you make decisions on your path based on potential visibility and ease of navigation.
Reading Maps: An Introduction to Compass Use
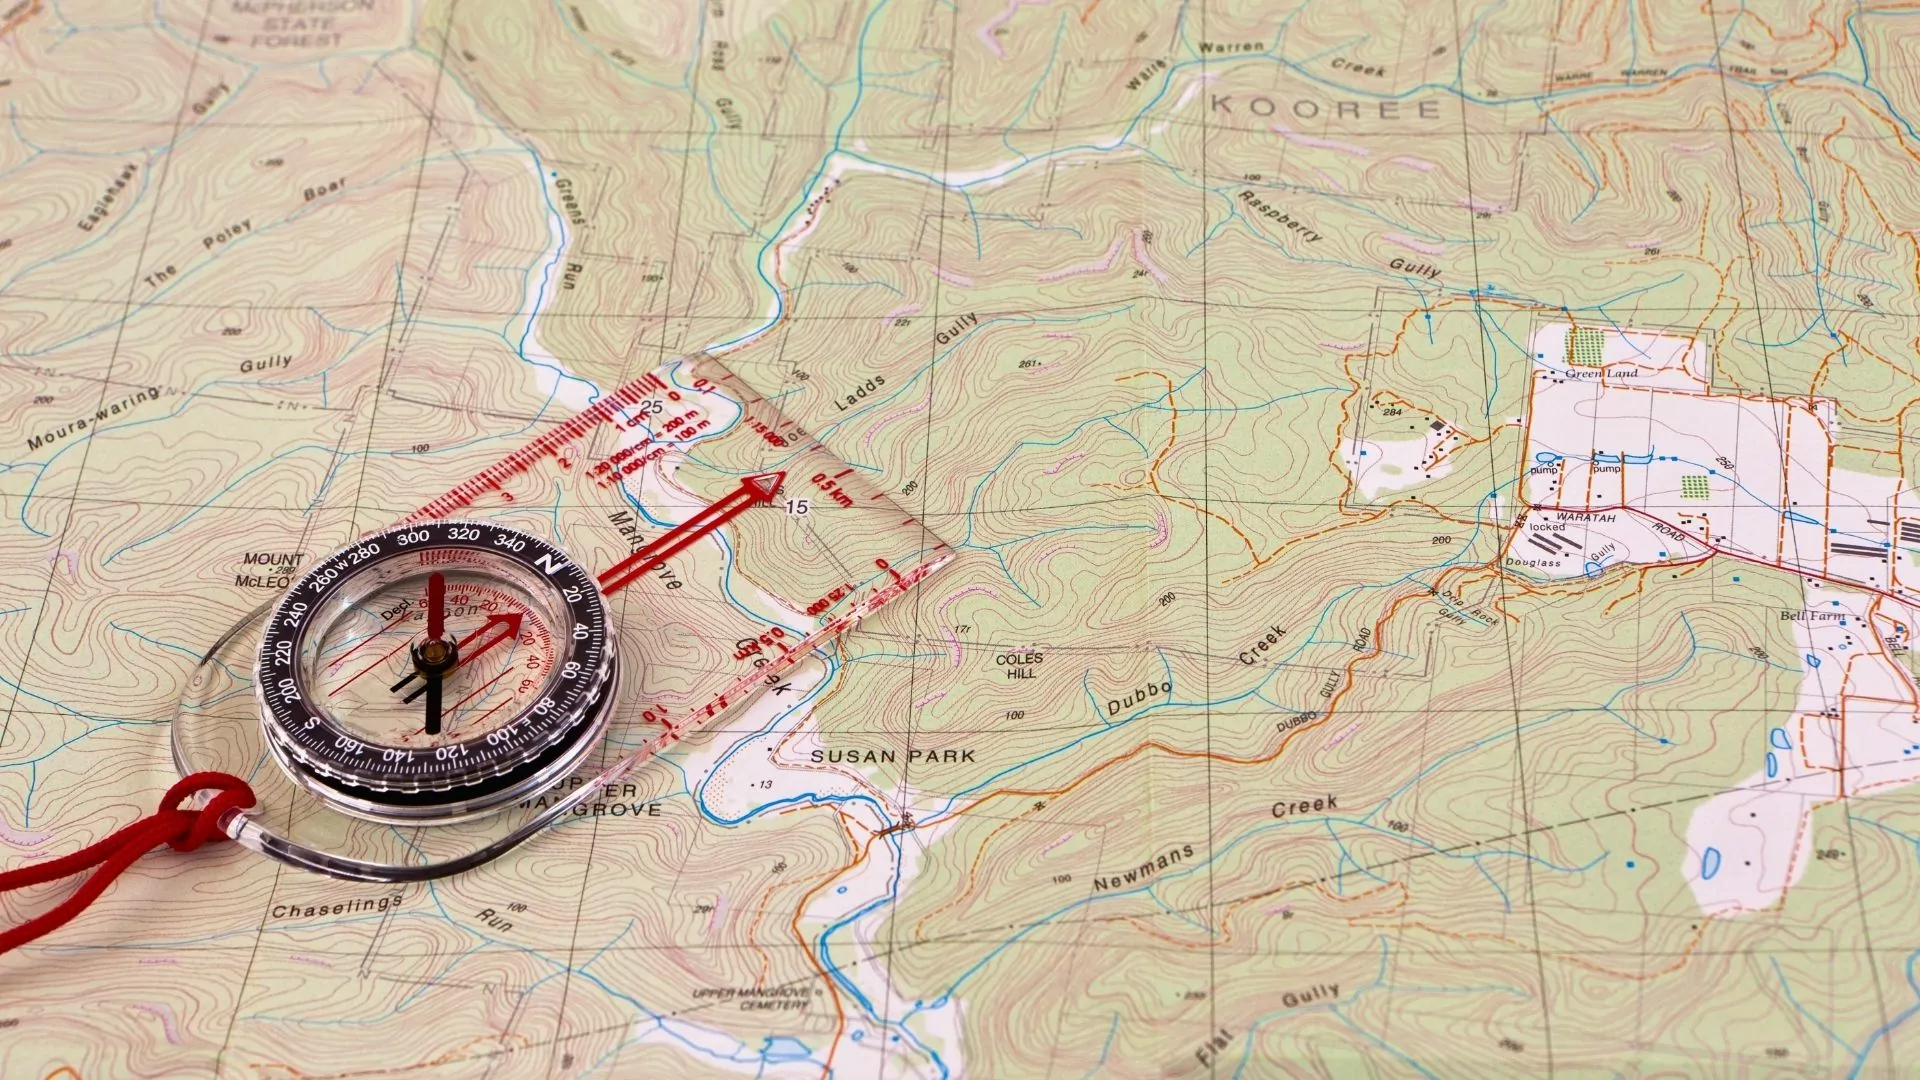
A compass is a vital tool for navigation, particularly when used in tandem with a topographic map. Here are some basic steps to effectively use a compass:
- Find North: The compass needle will always point towards magnetic north. Knowing this, you can orient your map to align with your surroundings.
- Setting the Map: Lay your map flat and rotate it until the north on the map aligns with the compass needle pointing north. This process is known as ‘mapping’ or ‘orienting’ your map.
- Taking Bearings: To navigate to a particular destination, take a bearing by pointing the compass to your target, then read the angle displayed on the compass dial.
Combining Compass and Map
To effectively combine these tools:
- Follow a Bearing: Once you have your bearing, walk in that direction while regularly checking the compass and adjusting as needed due to terrain or obstacles.
- Check Landmarks: Using all the knowledge you now have about reading maps, you’ll be able to identify visible landmarks (i.e. mountains, bodies of water, forests, trails, etc.) on the map and in reality to ensure you are on the right path.
Putting It All Together
Now that you know the basics of reading maps, you are ready to practice in the real-world! Get outside and practice in a safe environment first, ideally with a detailed map and compass. Learning and practicing is half the fun and is a great way to become more in tune with your surroundings. With a little practice, you’ll be confident and ready for your next big adventure. Happy hiking!

