
How to Prevent and Treat Blisters
I’ve hiked thousands of miles across the Appalachian Trail, Pacific Crest Trail, and Continental Divide Trail, without a single blister. However, it took some dialing in on my backpacking trips prior to the Triple Crown to figure this out. In this article I am going to share with you what I’ve learned about blister prevention so you too can be blister free. First and foremost, blister prevention is the best blister treatment.
There’s nothing worse than watching an incredible day on trail turn into a painful slog because of blisters, but the good news is that they’re entirely avoidable. With the right preparation and habits, you can keep your feet happy and blister-free. And if a blister does start to form, knowing how to treat it can mean the difference between increasing the pain or aiding your body in the healing process.
Why Do Blisters Form?
In order to prevent blisters it is important to think like a blister and understand why and how they form. Blisters form as a protective response to friction, heat, or moisture that damages the skin. When the skin is rubbed repeatedly against a surface, it can cause the outer layer to become irritated. The body responds by sending fluid to the affected area, causing a small pocket of fluid to form between the outer skin layer (epidermis) and the deeper layers (dermis). This helps cushion and protect the damaged tissue underneath.
Blisters often form on areas of the skin that are exposed to repeated friction. Moisture, such as from sweat, can exacerbate this friction, increasing the likelihood of blisters. The blister prevention and treatment methods in the article explain how we can better assist our bodies in either stopping blisters from forming or aiding in healing blisters.
Choosing the Right Footwear
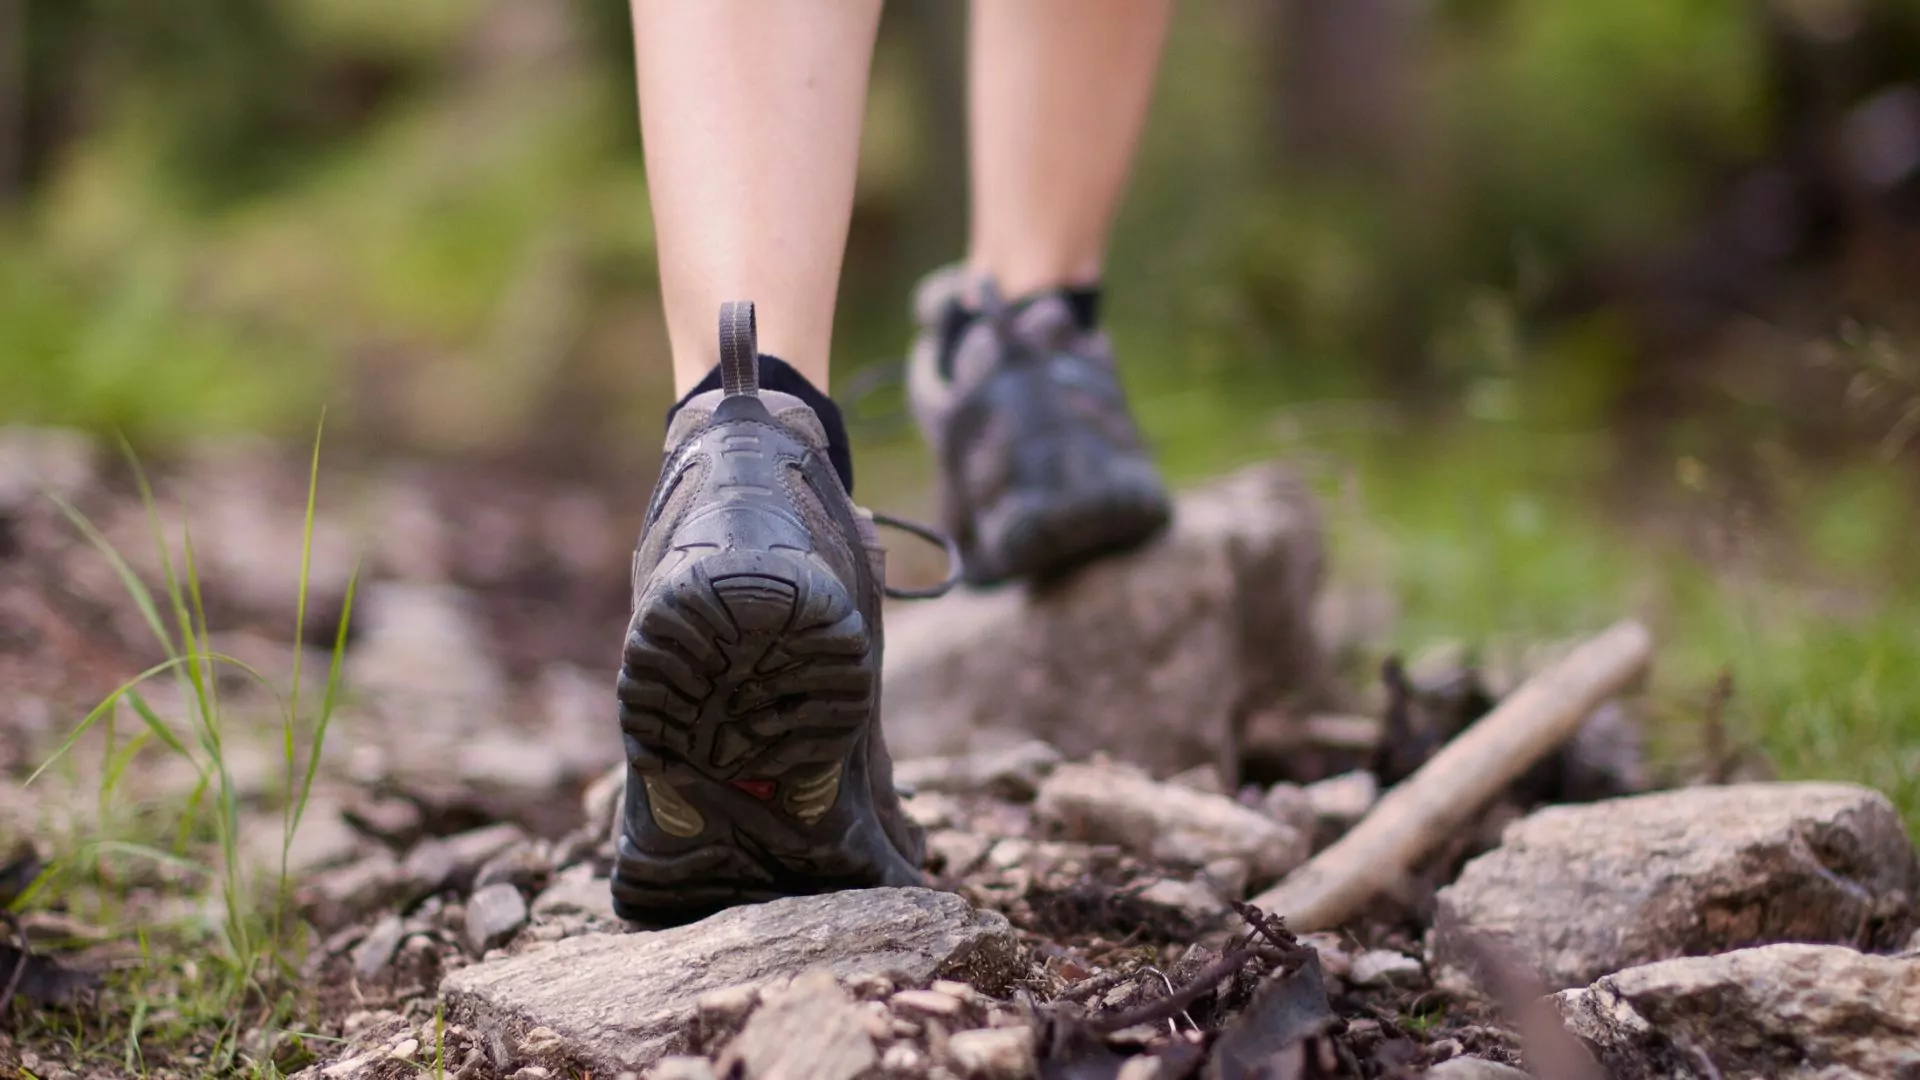
The foundation of blister prevention is choosing the right hiking footwear. If your footwear doesn’t fit properly, you and your feet will suffer. Before you buy, check out this guide on how to choose hiking boots. Make sure your footwear has enough room for your toes to move but not so much space that your feet slide around. Breaking in boots before hitting the trail is crucial – wear them on short hikes, around town, and as your daily drivers to soften the material and mold them to your feet. Stiff, unworn boots can create pressure points and cause blisters early in a hike.
Personally, I’ve found that trail runners are a much better option than traditional hiking boots for long distances. They are lightweight, breathable, and require little to no break-in period. The increased airflow also keeps feet dry, reducing the moisture buildup that contributes to blisters. If you’re hiking thousands of miles or just prefer a more comfortable, flexible shoe, trail runners might be the way to go.
Socks are just as important. Avoid cotton, which traps moisture and increases friction. Instead, go for moisture-wicking materials like merino wool or synthetic blends. I always use a two-layer sock system: a thin liner sock under a thicker hiking sock to reduce friction. Using toe socks as liner socks has been a key blister prevention strategy for me, without them I will get blisters between my toes, with them I do not.
Gaiters are another piece of gear I won’t hike without. They keep dirt, sand, and small rocks out of my shoes, which means fewer friction points and blisters. Even tiny bits of debris inside your footwear can create hot spots that turn into painful blisters by the end of the day.
KnoW Your Feet
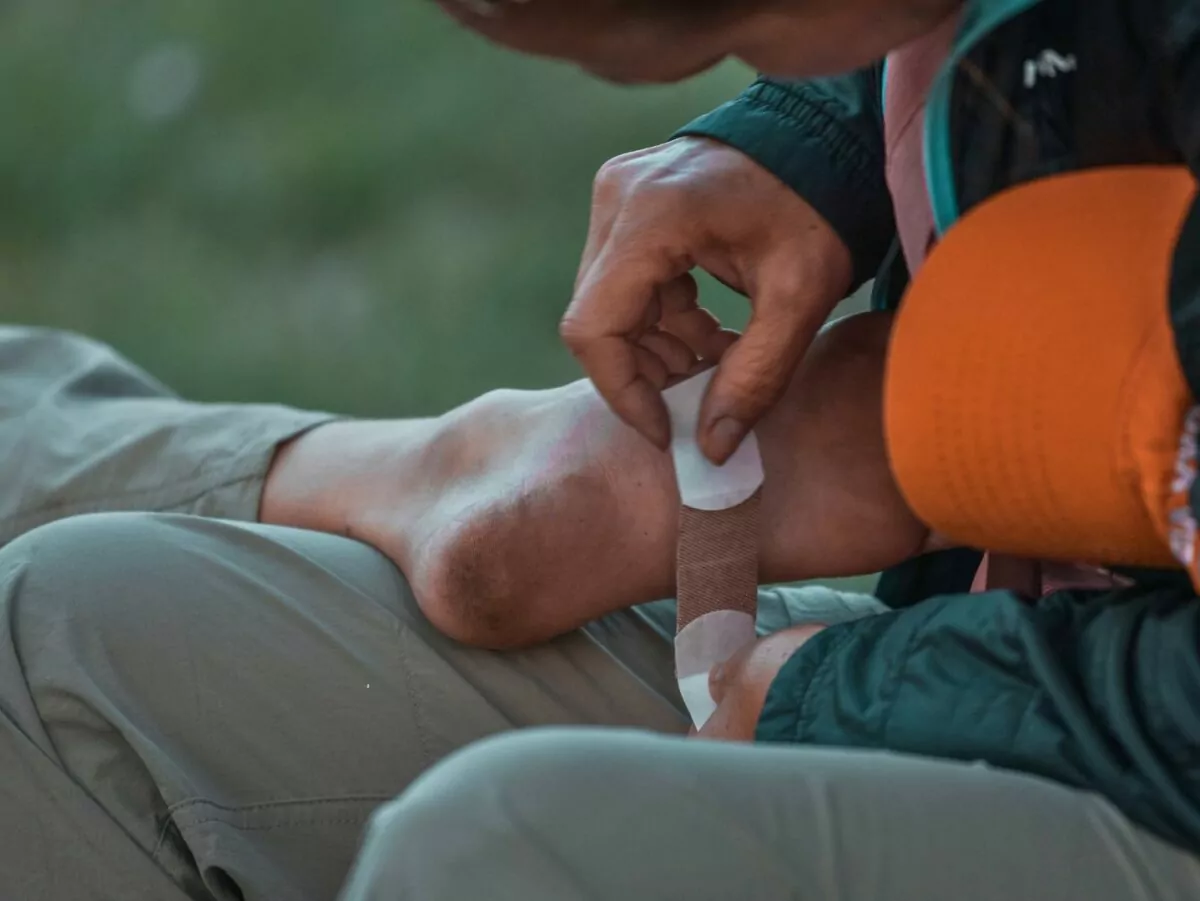
After thousands of miles on trail, I know exactly where my feet tend to blister – between my toes, and I prevent blisters there by wearing a liner toe sock. If you know your weak spots, be proactive. You can also pre-tape these areas with Leukotape or moleskin for extra protection. Leukotape is the most superior product I have ever discovered when it comes to a dressing that will not come up until you want it off.
Trimming toenails before a hike is also crucial. Long nails can press against the front of your shoe, causing discomfort and even black toenails (which, trust me, is worse than a blister). Keeping your feet dry is another big one—whenever I stop for a break, I take my socks and shoes off to let my feet air out. This is especially important in wetter climates and will aid in preventing trench foot.
One of the best natural defenses against blisters? Calluses. Over time, your feet will build up thickened areas of skin in high-friction spots, acting as a protective barrier. I never shave them off completely, but I do keep them smooth with a pumice stone to prevent cracking, which can cause other problems down the road.
Recognizing and Addressing Hot Spots
A hot spot is an early warning sign of a developing blister. It presents as a slight irritation or burning sensation, often caused by friction in a specific area of the foot. Addressing hot spots immediately is a key step in effective blister prevention.
To manage a hot spot:
- Cover the affected area with Leukotape or a blister prevention patch to reduce friction.
- If those materials are unavailable, a piece of duct tape can serve as a temporary solution but should be taken off as soon as possible.
- Adjust socks and shoes to minimize continued rubbing.
- Take a break and allow feet to breathe if the situation permits.
Ignoring a hot spot increases the risk of blister formation. A few minutes of proactive care can prevent significant discomfort later on.
Treating a Blister on the Trail
Even with the best blister prevention strategies, sometimes blisters still happen. How they are treated depends on the situation.
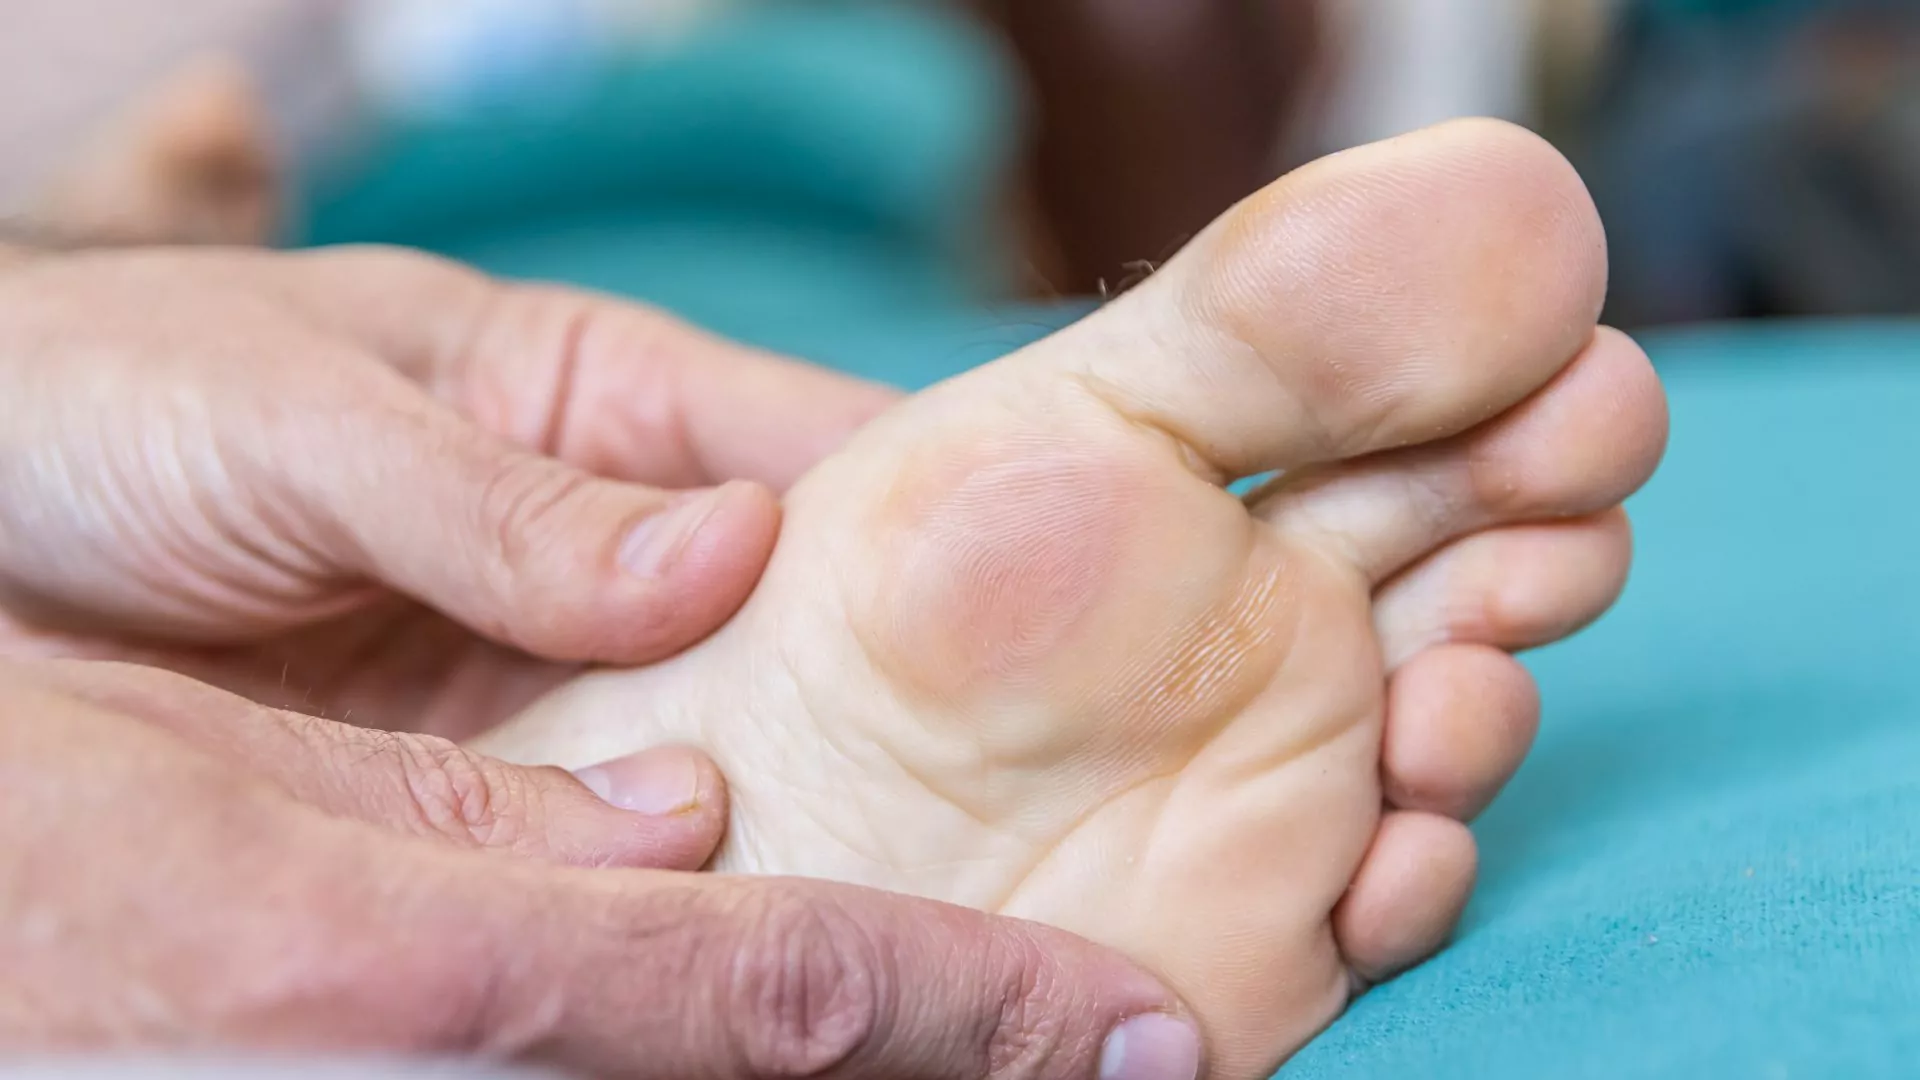
If the Blister is Intact:
- If it is small and not causing pain, it is best to leave it alone.
- Covering it with Leukotape or a blister pad after cleaning will help protect it from further friction.
- On a multi-day hike, reinforcing it with tape for the remainder of the hike can prevent bursting.
If the Blister is Large or Painful:
- Clean the area with an antiseptic wipe.
- Using a sterilized needle (can be done with a lighter) or safety pin, puncture the side and drain the fluid, but leave the skin intact to protect the raw area underneath.
- Apply antibiotic ointment and cover with a bandage, gauze, or blister pad.
- Secure everything with tape to keep it in place.
If the Blister is Infected:
- Signs of infection include redness, warmth, pus, or increasing pain.
- Keep it clean, apply antibiotic ointment, and change dressings frequently.
- If symptoms worsen, seek medical attention as soon as possible.
Building A Med Kit for Blister Treatment
An ideal blister treatment kit would contain:
- Leukotape – and it is useful for more than blisters.
- Antiseptic wipes or alcohol pads
- Antibiotic ointment
- Safety pin or needle (sterilized when draining blisters)
- Small scissors (to trim tape or bandages)
- Gauze
- Extra pair of dry socks
This kit can be made quite light, and many of the items will be able to serve multiple purposes.
Best Guided Beginner Backpacking Trips
Prevention is the Best Cure
Blister prevention isn’t just about comfort—it’s about keeping yourself moving. Whether it’s choosing the right footwear, managing moisture, or catching hot spots early, the little things make a big difference. But if a blister does form, knowing how to treat it will keep you hiking instead of hobbling.
After thousands of miles, I’ve learned to respect my feet. They’re what carry me through every adventure, and taking care of them means I get to keep hiking. If you do the same, you’ll set yourself up for success, whether it’s a weekend backpacking trip or a multi month-long outing.

