
Choosing the Best Bear Cannister
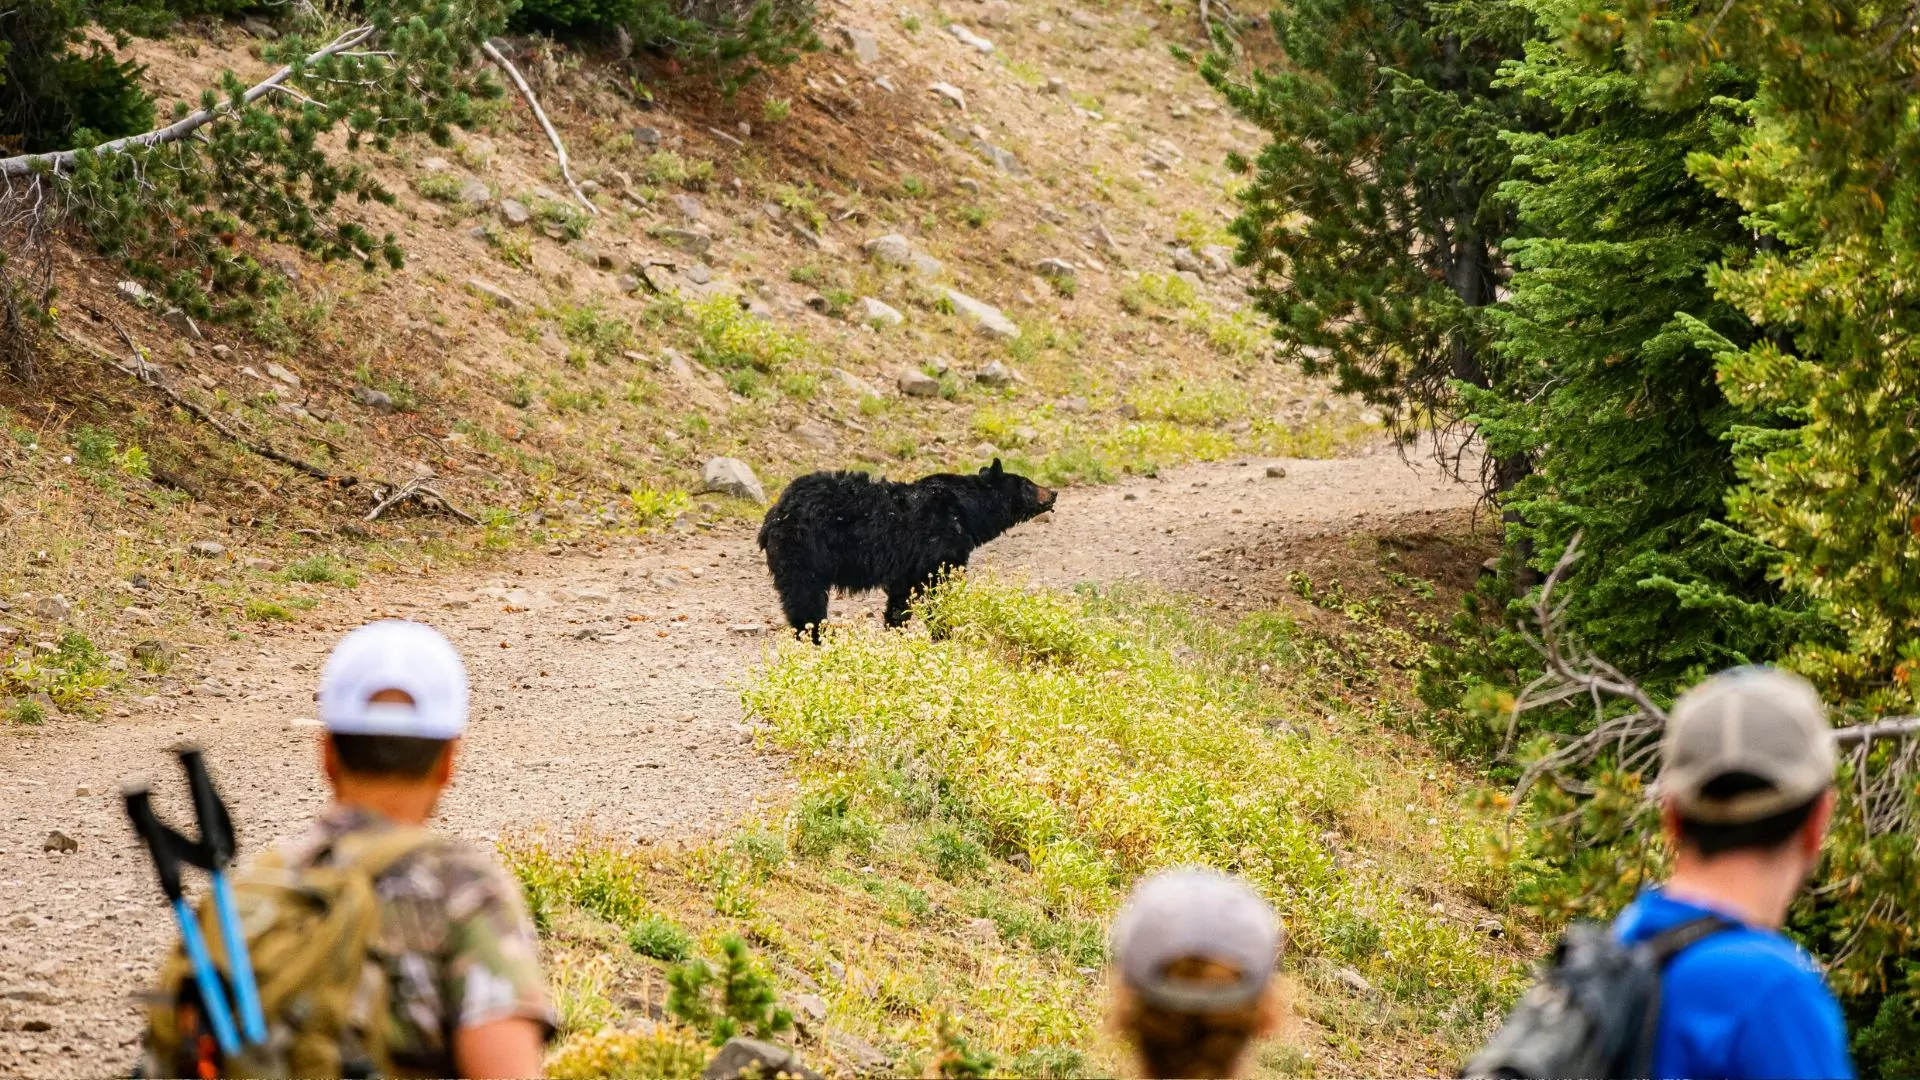
Most of my guests already have an opinion about bears when I first meet them. Some are afraid of bears – perhaps they heard about a recent bear attack or went down the wrong internet rabbit hole. Others desperately want to see one. Either way, I say this: bear sightings are uncommon, and bear incidents even less so. (Heck, dogs kill 400 times more people in the U.S. every year than bears do worldwide!) Still, we make it a practice to adhere to all bear safety protocols on Wildland trips, not just for our safety, but for the safety of future visitors. On backpacking trips in Colorado and the Sierras, that means one thing – bear resistant food containers.
Bear cans vs. bear bags
“But wait!” you may want to interject, “What about bear bags?!”
I’m so glad you asked! Bear bags are a new invention in bear safety – they’re made of interlocking wire mesh, and they’re lighter and easier to fit into a backpack thanks to their soft sides. While it’s true that the Ursack Major and the Ursack AllMitey are approved by the Interagency Grizzly Bear Committee (IGBC), one of two major organizations that certifies bear-resistant products, they aren’t accepted everywhere that bears exist. Yosemite and Bryce Canyon, two places that Wildland leads backcountry trips, still don’t permit them, and I’m personally dubious as to their effectiveness.
Why? I think it has to do with their design. Bear cans are slippery and impossible to carry without human hands, but bears can carry an Ursack away from camp in their mouths. And trust me, they do! I have personally attended to a family in Tahoe whose Ursack was taken by a bear in the night and who had zero food with which to hike out to the trailhead in the morning. I don’t know about you, but I don’t want to wake up and discover that all of my coffee and snacks are gone.
Because of this, I don’t think that bear cans will ever truly go away
How to Pick the Best Bear Cannister
What is the best bear can for backpacking? Personally, if I’m going to buy a bear canister, I want it to be one that’s accepted everywhere. So to choose one, I recommend looking at IGBC-approved food storage devices, as well as Yosemite’s list of approved bear canisters, which follows the guidelines of the recently disbanded Sierra Interagency Black Bear Group (SIBBG). Between the two, there are five approved brands. Here is a comparison of the approved models each currently has in production:
| Brand | Sizes by volume in cubic inches | Total price/ by cubic inch | Weight in oz | Weight (oz) per cubic inch of storage | Clear? | Need tool to open? | Comments | |
| Garcia Machine | 614 | $79.00/$0.13 | 22.4 | 0.036 | No | Yes | -Cheapest and lightest bear can available
-Can be hard to open (even for humans) -Fits well into sleeping bag compartment -Water can leak in from the top |
|
| BearVault | 440
700 |
$83.95/$0.19
$94.95/$0.14 |
|
33
40 |
0.075
0.057 |
Yes | No | -BV500 is the largest bear can
-Difference between BV500 and BV450 is internal volume -Ribbed sides make it easier to carry -Nubs can wear down and become ineffective |
| Bare Boxer | 275 | $79.90/$0.29 | 25.6 | 0.093 | No | Yes | -The Bare Boxer Contender is the smallest bear can
-Can be hard to open (even for humans) |
|
| Lighter1 | 300650 | $129.99/$0.43
$139.99/$0.22 |
28
43 |
0.093
0.066 |
Yes | No | -Internal cross-beam limits volume
-Screws protrude from the outside that can be abrasive -Lid can be used as a pot -Ribbed sides make it easier to carry -There is a bible verse imprinted on the bottom |
|
| UDAP | 502 | $79.99/$0.16 | 38.4 | 0.076 | No | Yes | Can be hard to open (even for humans)
Water can leak in from the top |
As you can see from the table above, the Garcia Model 812 Backpackers’ Cache is the cheapest and lightest bear can available. It also happens to be the most common bear canister loaned out by our National Parks. The BearVault’s BV500 is the largest volume bear can that is approved by both the IGBC and SIBBG. The Bare Boxer Contender is the smallest.
I’m sure there are plenty of ultralight backpackers for whom weight is the only concern, but I’ve found things like waterproofing and usability to be super important to the user experience – which is why I’ve included mention of them. What if you lose your multitool during your trip, or forget to set your bear canister on its side before a downpour? And do you really want to spend time rummaging around inside of a canister for your toothpaste at night?
Lighter1 and BearVault cans use a clear blue polycarbonate, which makes them much easier to organize. You can see everything that’s inside. Unlike Garcia, Bare Boxer, UDAP cans which have inset lids, BearVault and Lighter1 lids wrap around the top edges of their cylindrical shape like a bottle cap, automatically keeping water out. And I can open them with my own two hands. BearVaults have a nub locking system on the lid that you push and turn. Lighter1s use a small, attached screw. Between the two, BearVaults are lighter – which is why they are my bear canister of choice.
Another important factor when choosing a bear canister is volume. ALL of your smellables need to fit inside! Typically, 350 cubic inches equals 3.5 days of calorie-dense food. (I’ve done 4 days with that volume but I spent hours repackaging everything into the smallest possible space and I hiked at a minor caloric loss.) But remember that your first day of food doesn’t count – that’s food that will be eaten before you put things away at night.
If you’re backpacking on your own, I recommend checking out this guide to using a bear canister from Sierra Wild, a nonprofit information hub for wilderness areas in the Sierra Nevadas. Choosing the right food helps maximize space and weight: pay attention to bulky items like salad, potato chips and bread and try to repackage and consolidate food where it makes sense. For example, lots of people repackage freeze dried dinners into freezer-safe Ziplock bags, which pack down better than the original bags and can still safely handle boiled water.
I also strongly recommend checking in with the backcountry office of whatever public land you plan to camp on. They can give you nuanced details on bear activity, bear can rentals, whether you can keep food in your car, and of course confirm whether your bear can is permitted where you’re going.
JOHN MUIR TRAIL Yosemite BACKPACK TRIP
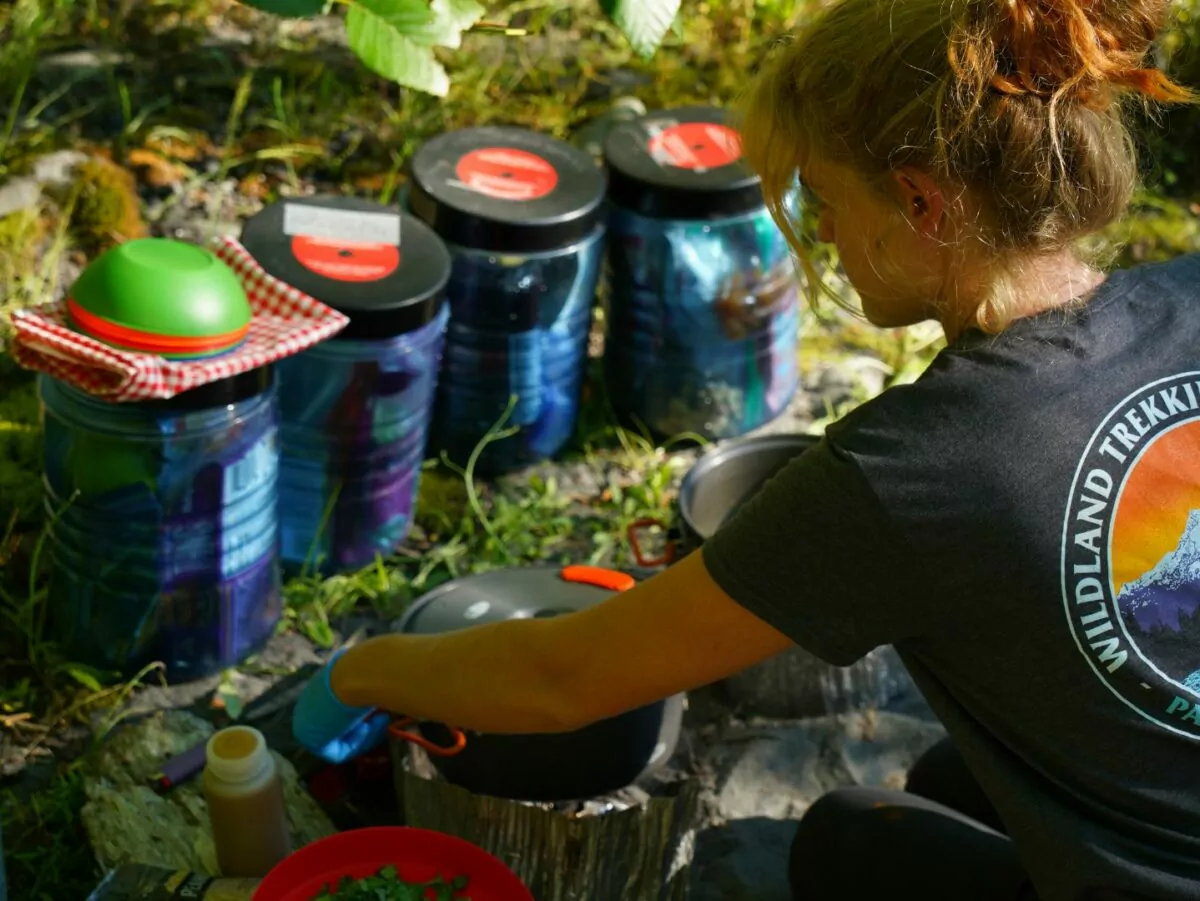
If you’re going on a Wildland Trekking trip in bear country, you can expect to carry BV500’s. Your guide will personally do all of the meal planning for your group and pack your meals into bear cans the day before your trip, including putting reflective insulation into cans that need to keep food cold, and labeling can lids according to what we plan on putting inside. During the trip, we’ll show you how to best fit bear cans into your pack, how to open and close them, and where to store them at night.
Every Wildland guide I’ve met takes a lot of pride in giving their guests a terrific food experience and we all talk one another’s ears off about our favorite recipes and food storage strategies. (It’s honestly an obsession, to the point where I’m pretty sure someone in the company is planning on publishing a recipe book.) We always take weight into account when planning our group menu, and every Wildland guide I’ve met carries by far the most group gear. We’ll never give you something we wouldn’t be willing to carry ourselves. We understand that food storage, especially bear canisters, is a complicated and heavy burden, and we’re here to help you through it.

